Cycling the Rhine: Our 2-Week Bikepacking route from Basel to Rotterdam

Cycling the Rhine: Our 2-Week Bikepacking route from Basel to Rotterdam

Article updated on 07.10.26

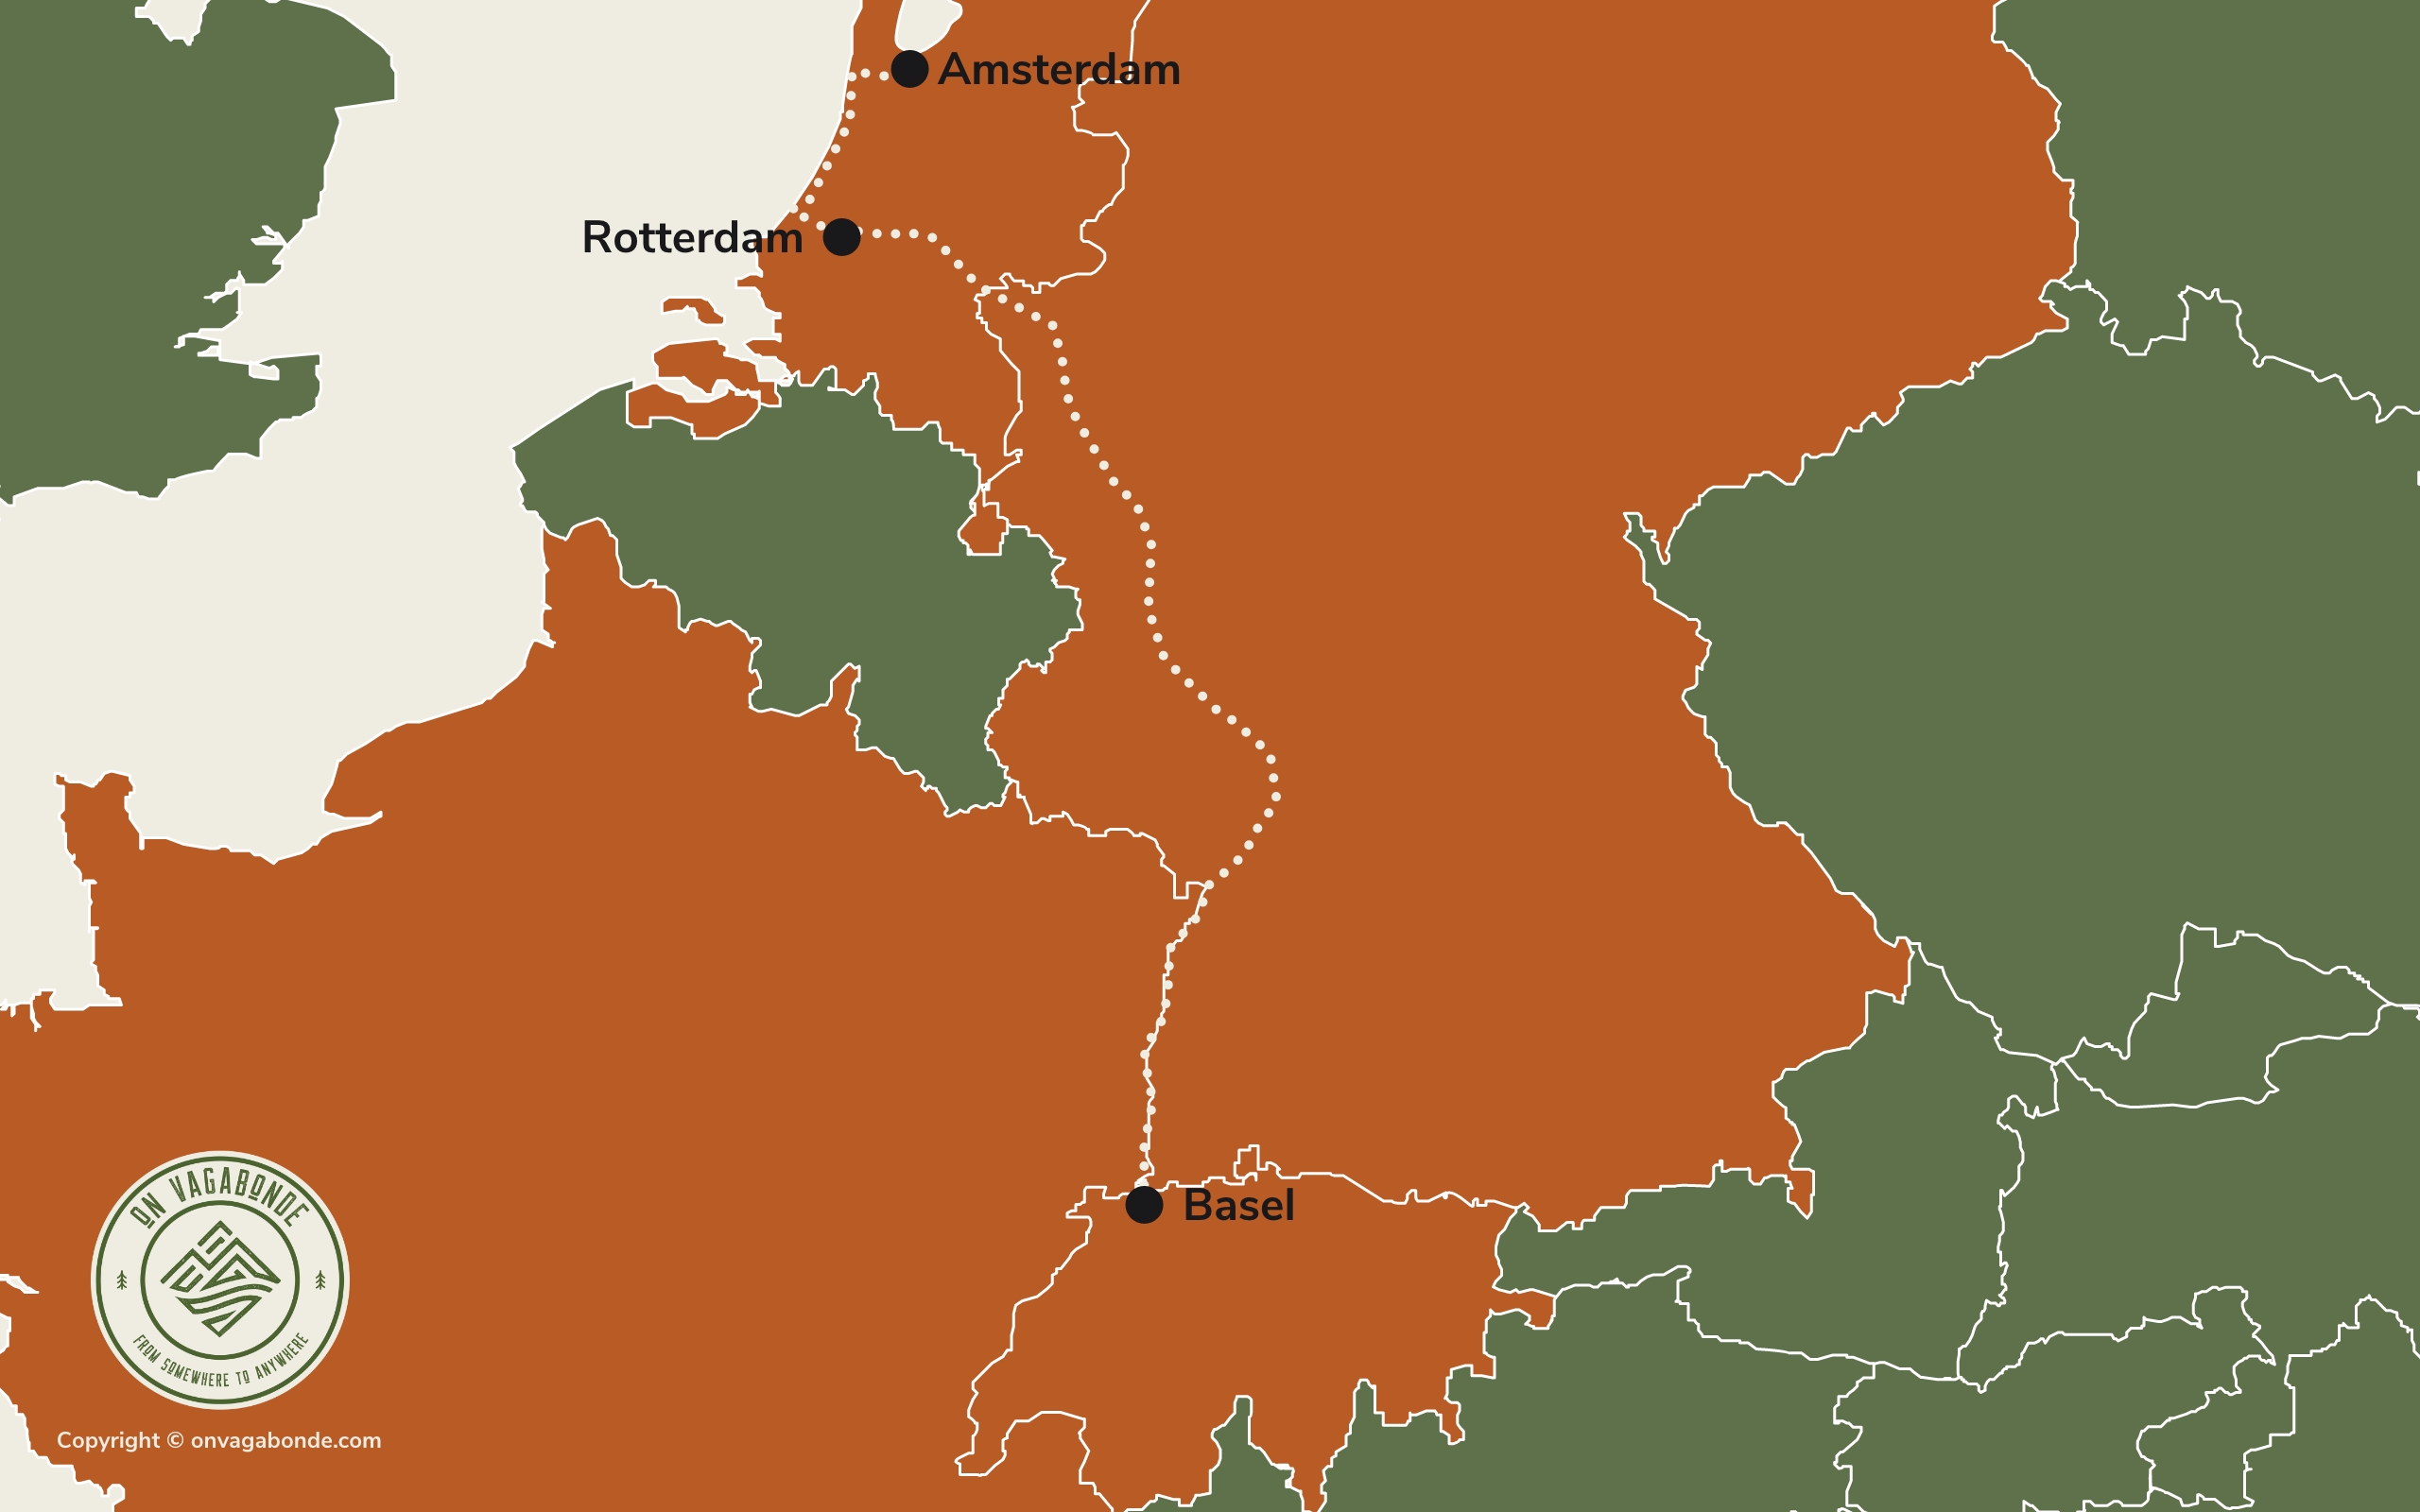
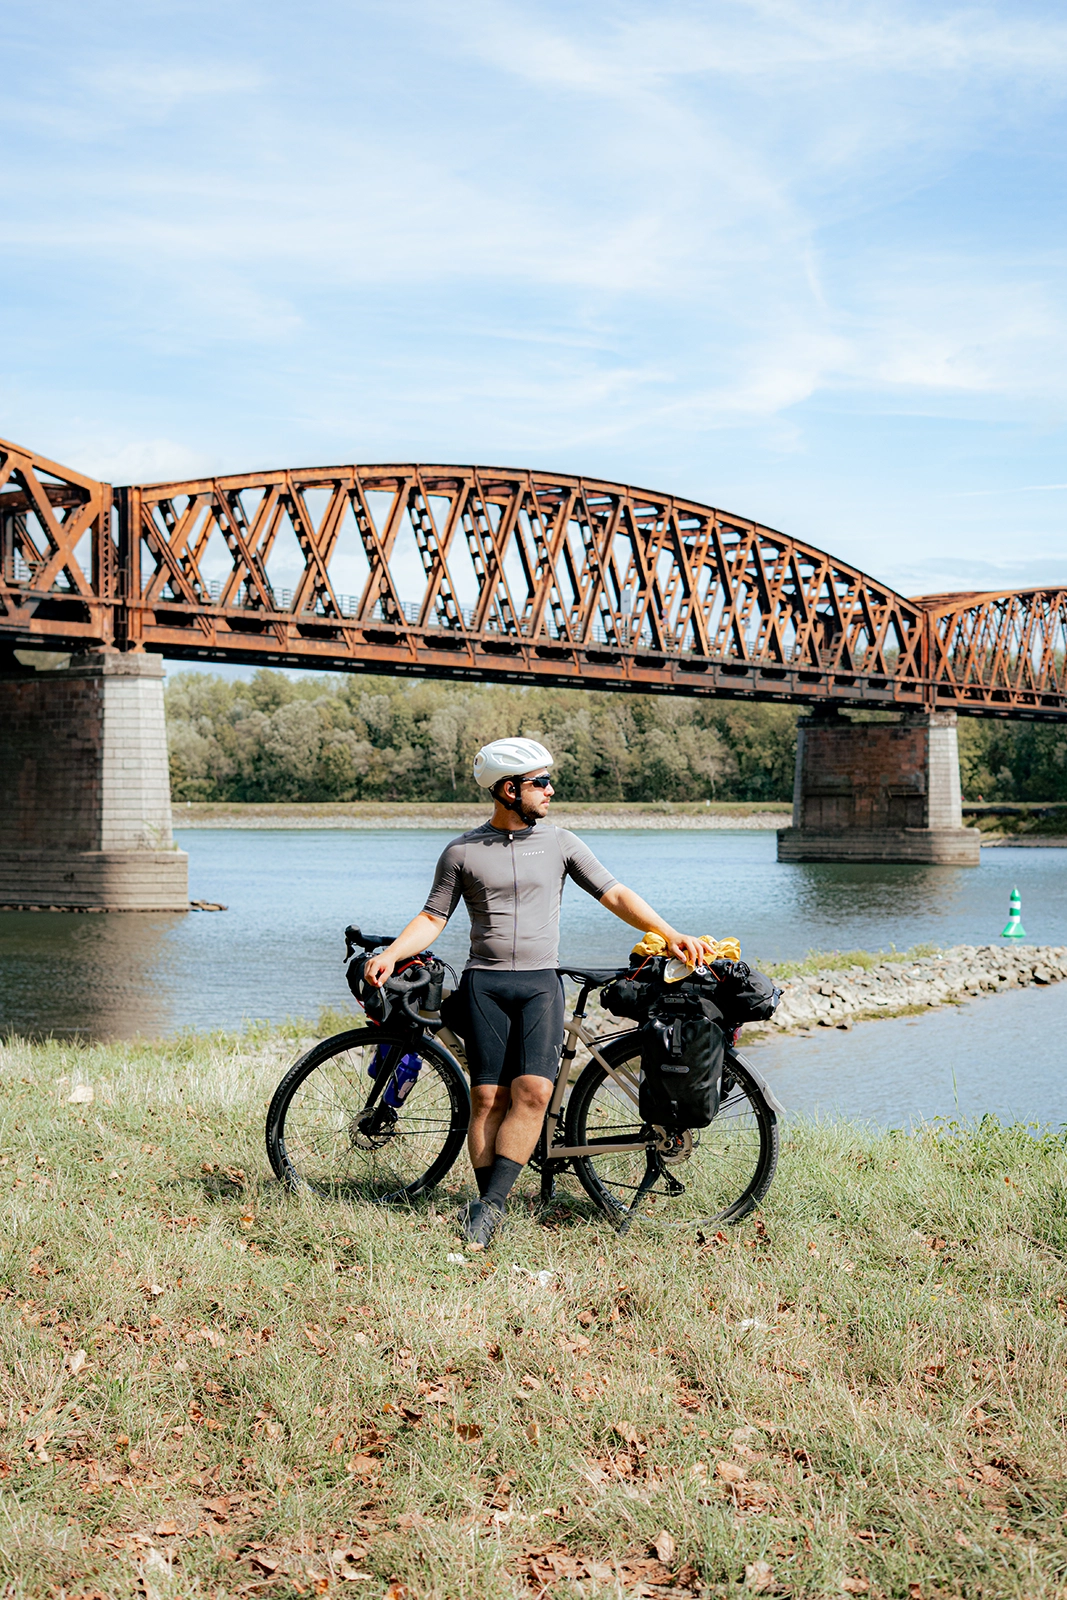
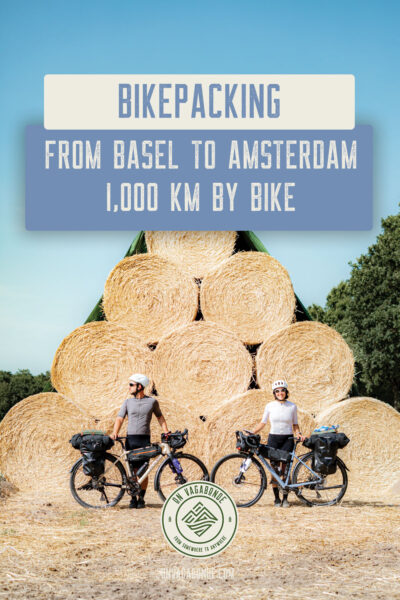
At the end of summer 2026, we set off on our very first bikepacking adventure, following the Rhine River from Basel all the way to the North Sea before continuing on to Amsterdam.

The final numbers? 1,032 km (641 miles) on our bikes, 16 nights camping, and just one flat tire. Our route was inspired by EuroVelo 15, also known as the Rhine Cycle Route, but we made plenty of adjustments along the way depending on campsites, daily distances, and the places we wanted to explore.

In this guide, we’re sharing our entire cycling route from Basel to Amsterdam, along with everything we learned along the way: choosing the right bike, planning daily stages, finding campsites, packing gear, budgeting, and getting back home by train with our bikes.

Our Rhine Bikepacking trip in numbers

🚲 1,032 km (641 miles) cycled
📍 From Basel to Amsterdam
🌊 933 km (580 miles) to Hoek van Holland and the North Sea
⛺️ 16 nights camping
🥾 Between 47 and 81 km (29–50 miles) per day
⛰️ Around 360 m (1,180 ft) of elevation gain at most per day
🚴 Average speed of approximately 15 km/h (9 mph)
🛣️ Roughly 60% paved roads / 40% gravel and unpaved trails
🌡️ Temperatures between 15 and 30°C (59–86°F)
🛞 Just 1 flat tire in 1,032 km
🏨 0 nights in hotels

Our Cycling Route from Basel to Rotterdam & Amsterdam

Before leaving, we had mapped out a rough itinerary, but we ended up adjusting it almost every day depending on campsites, places we wanted to visit, and our goal of cycling around 60 to 80 km (37–50 miles) per day.

We mainly used Komoot to plan our routes, then exported the GPX files to our Garmin Edge. The paid version of Komoot (around €5 per week at the time) allowed us to download offline maps and GPX files.

We also relied heavily on Organic Maps, a free app that turned out to be incredibly useful for finding bike paths, smaller trails, points of interest, and quick alternatives whenever we wanted to change our route.

From Basel to Strasbourg: way more gravel than we expected

The first few days were probably the biggest surprise when it came to the terrain.

When you picture cycling along the Rhine, you might imagine hundreds of kilometers of smooth, paved bike paths running right alongside the river.

Well, that wasn’t exactly our experience.

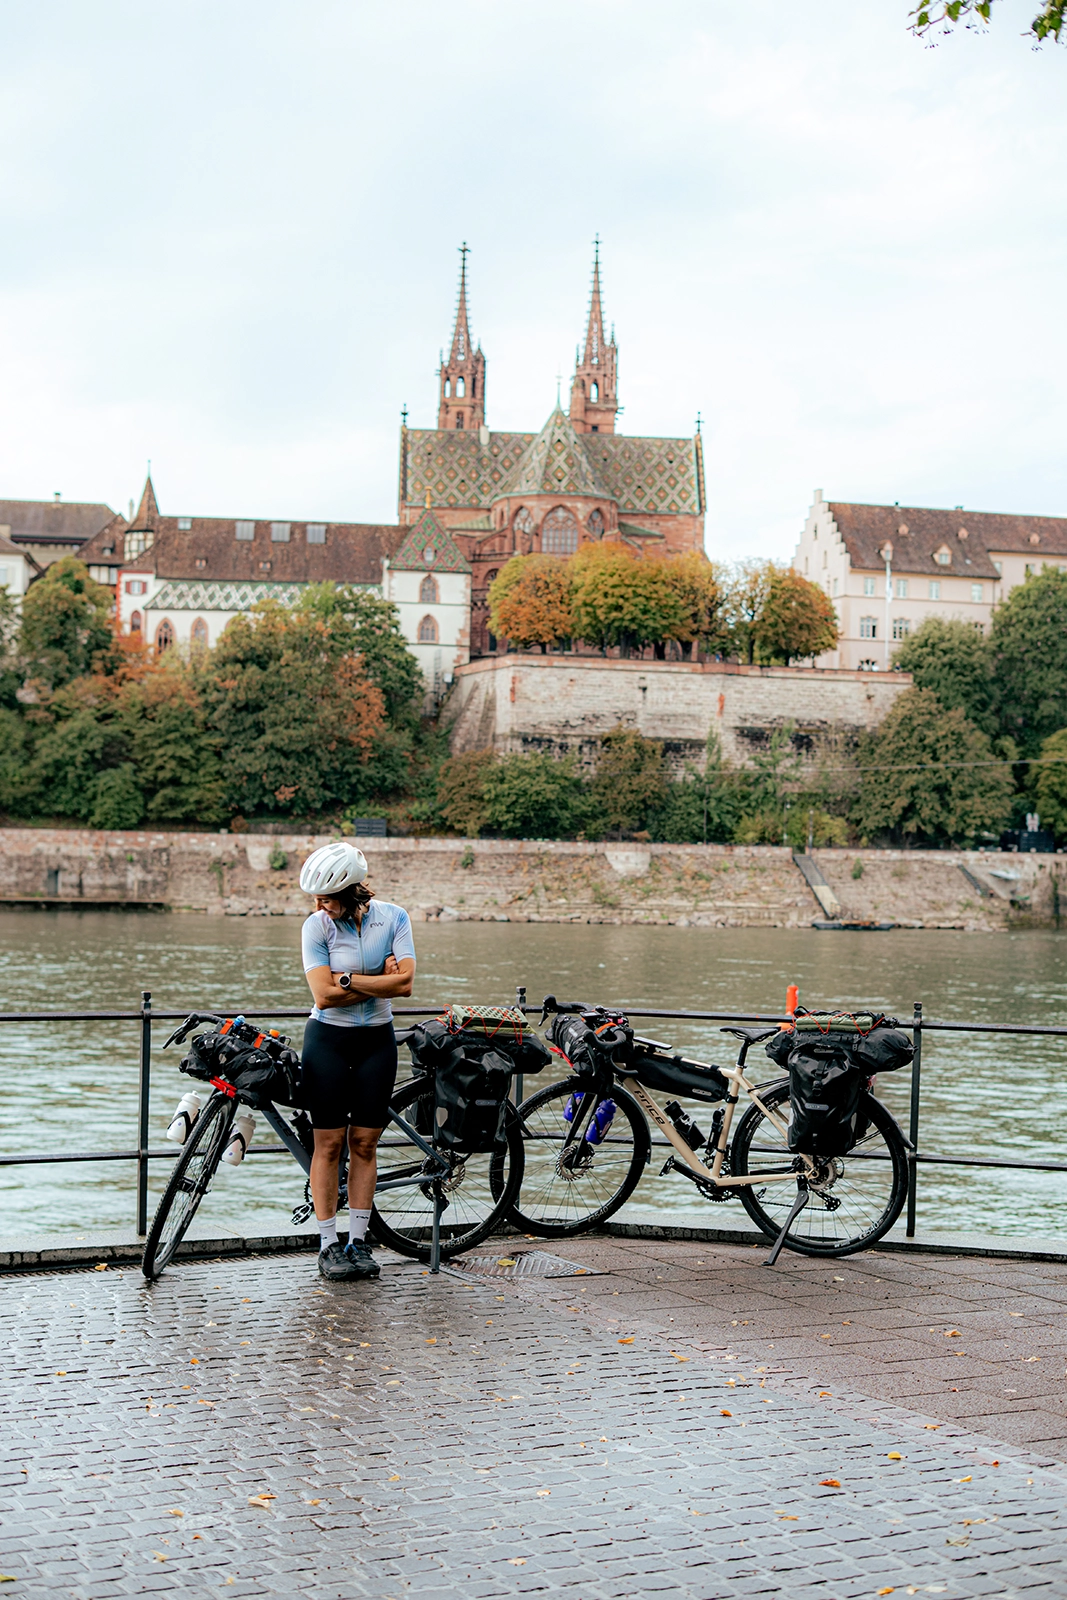
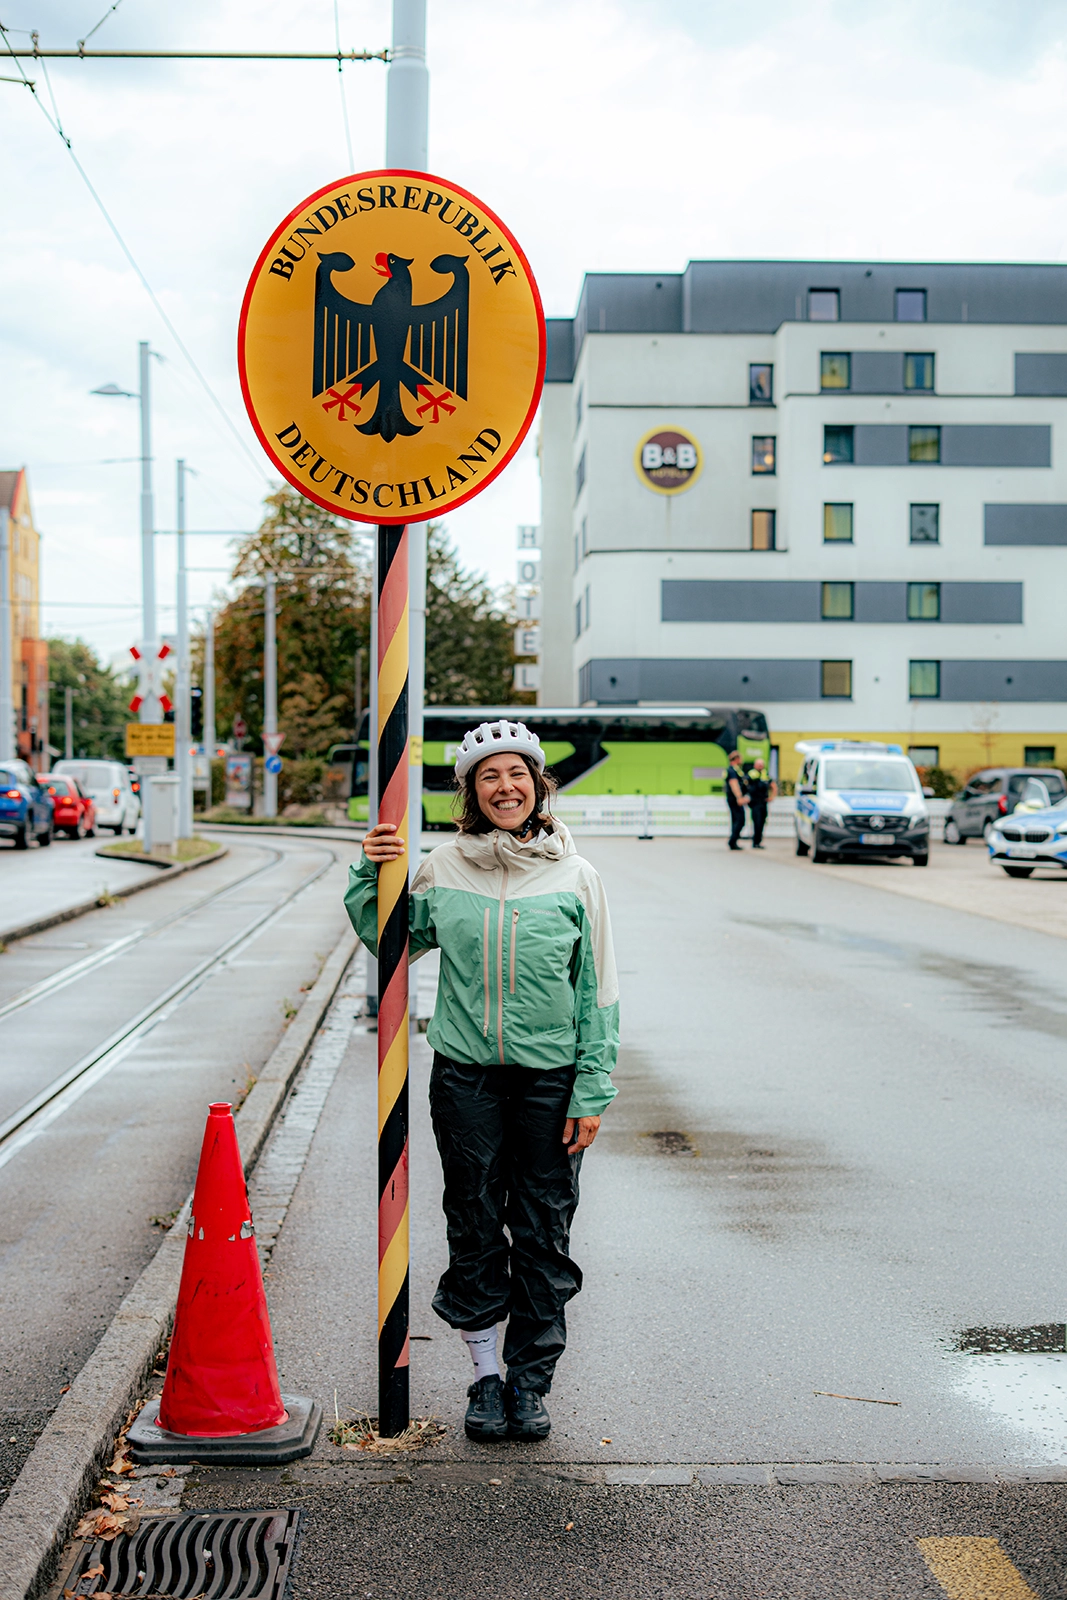
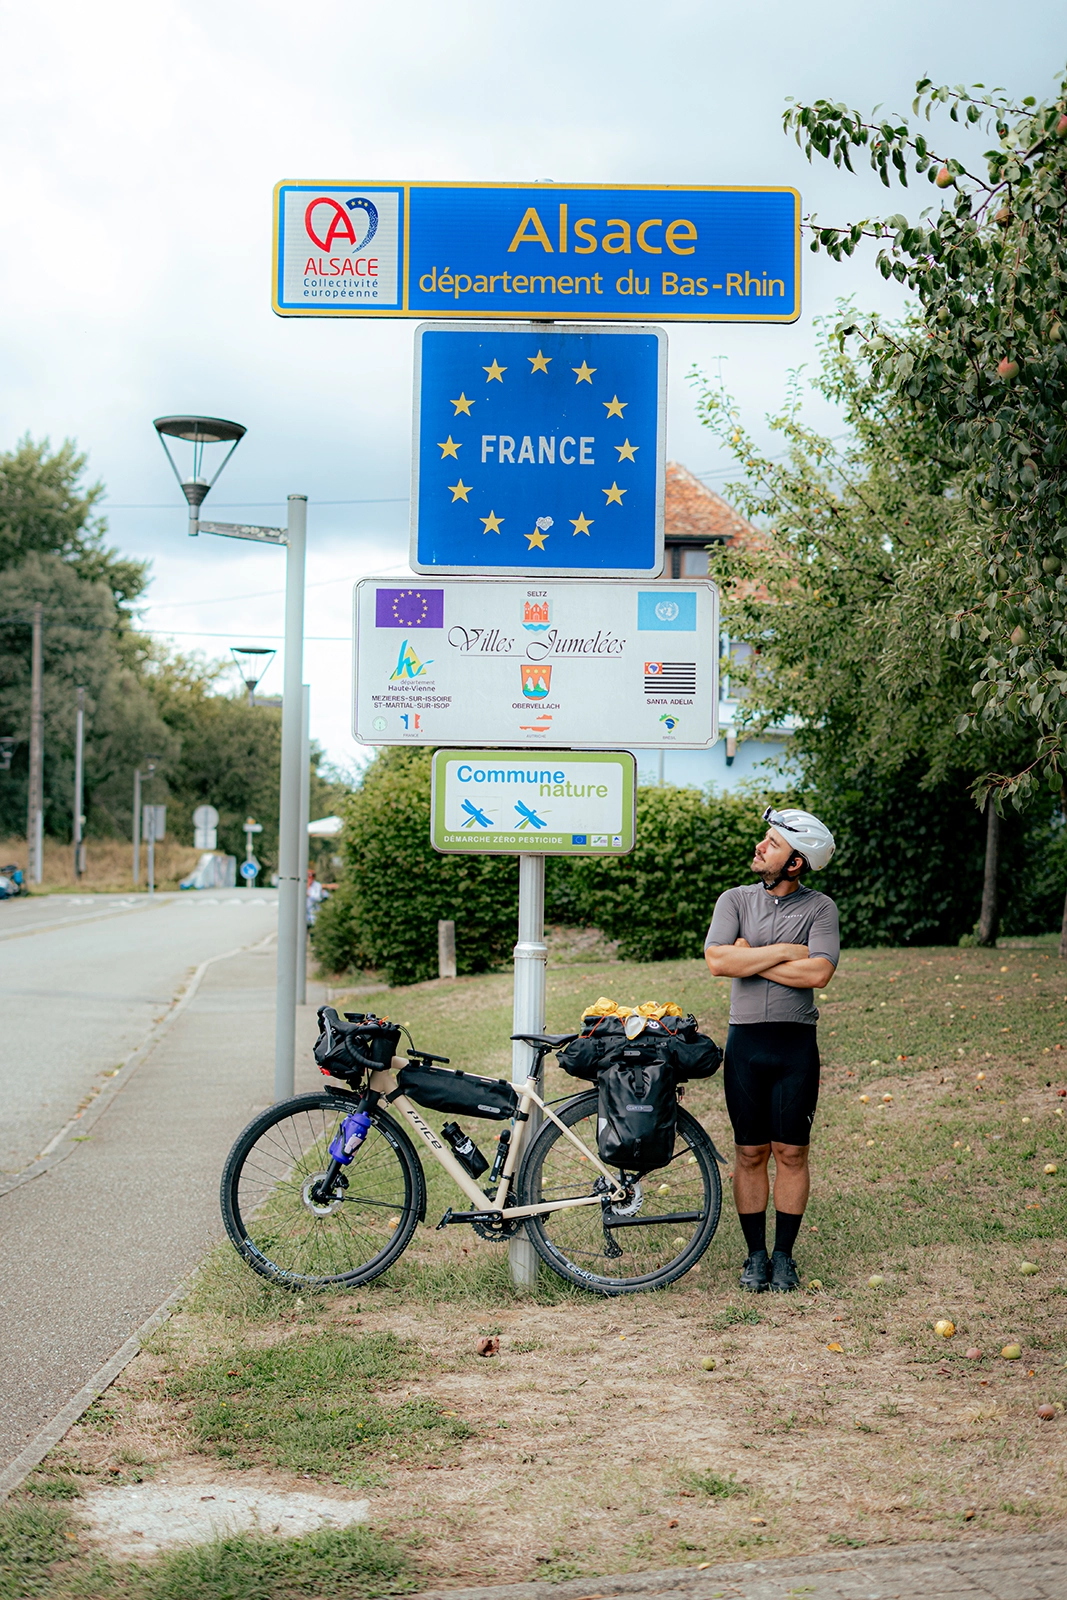
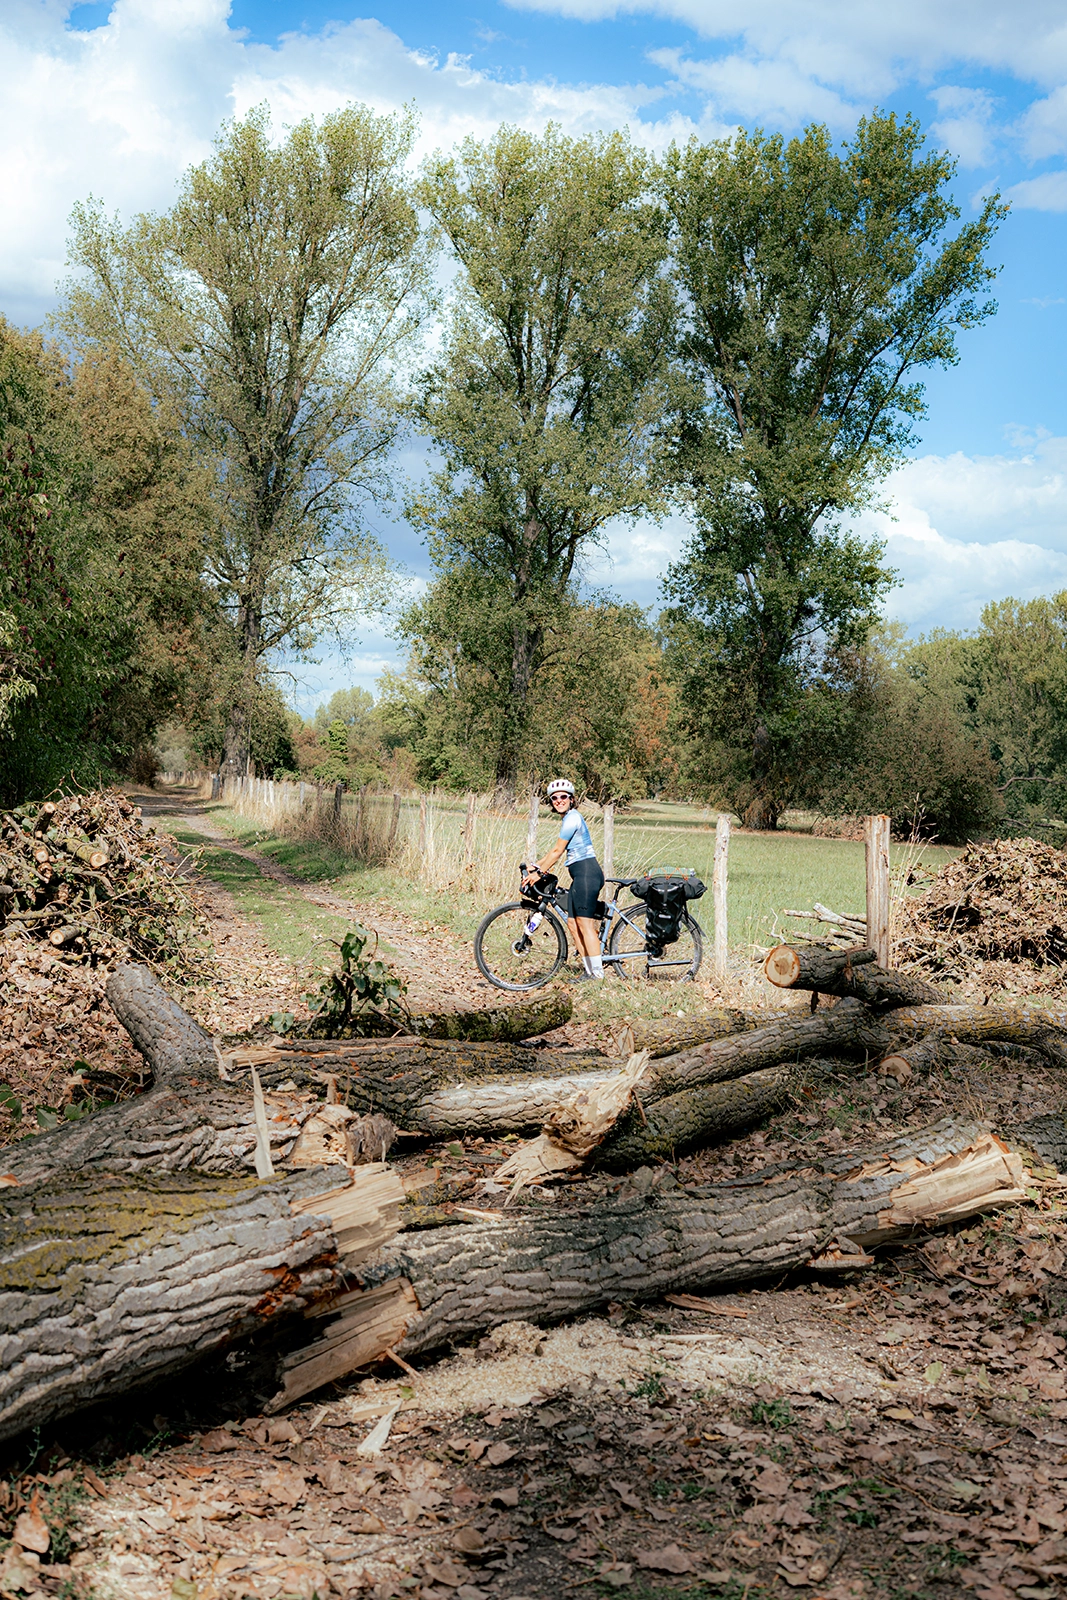
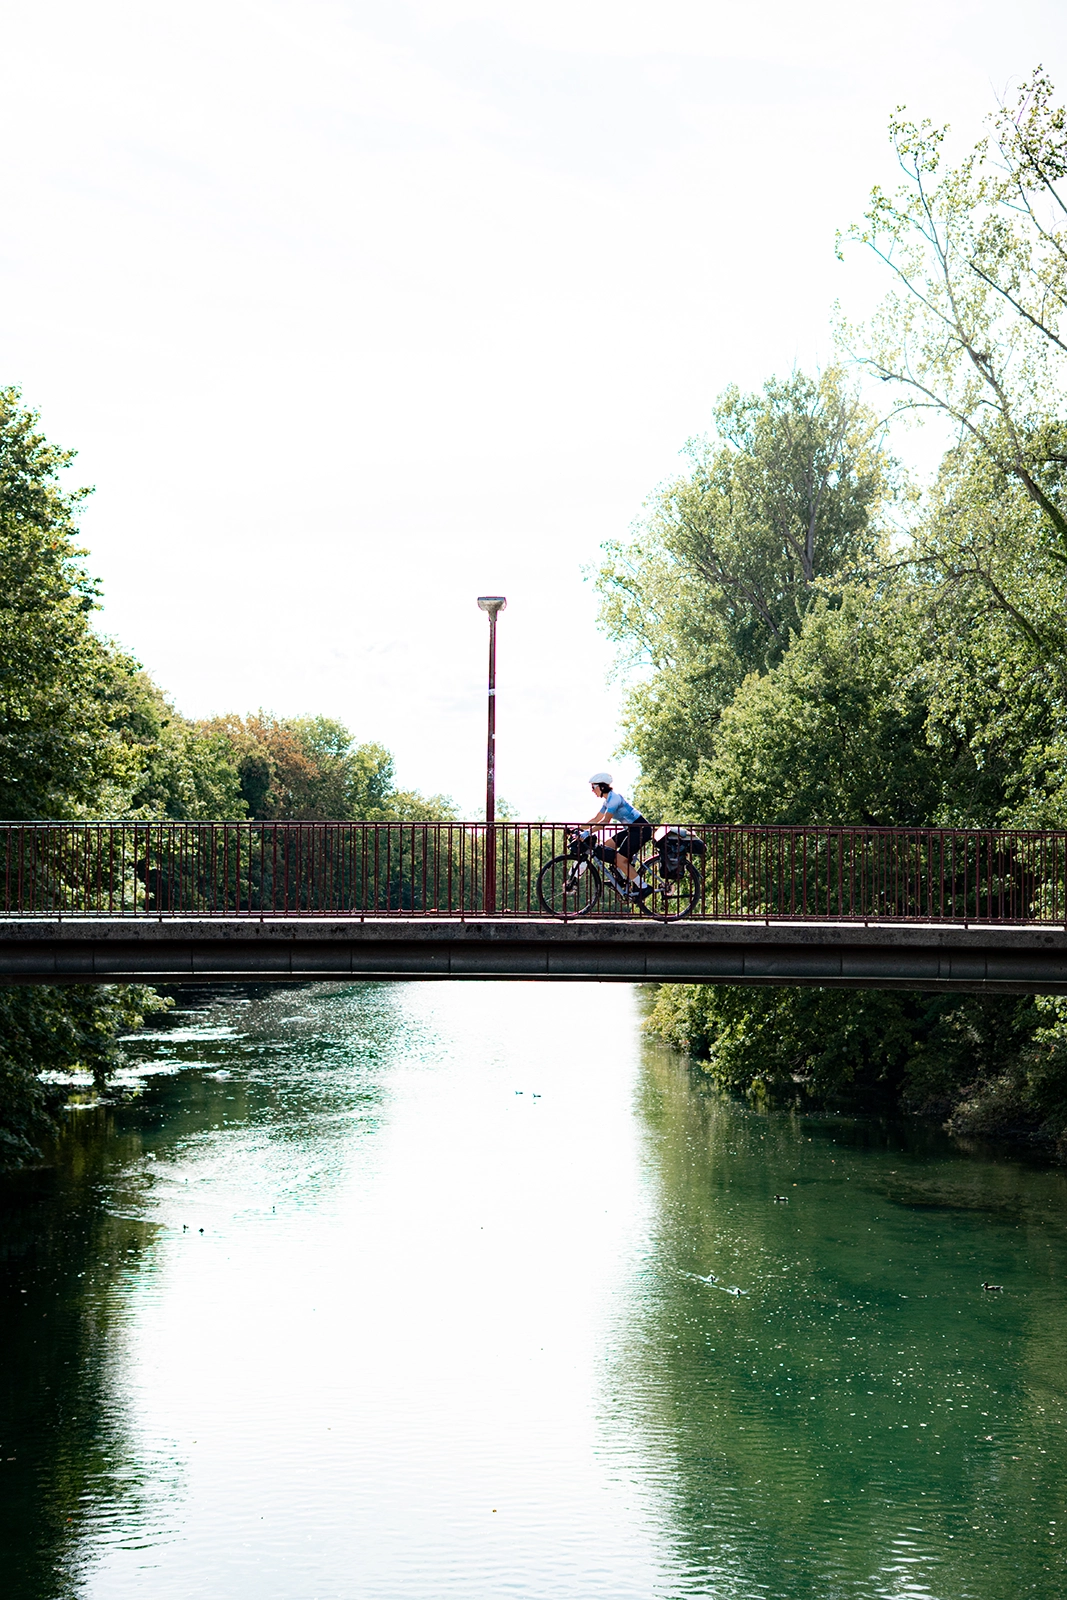
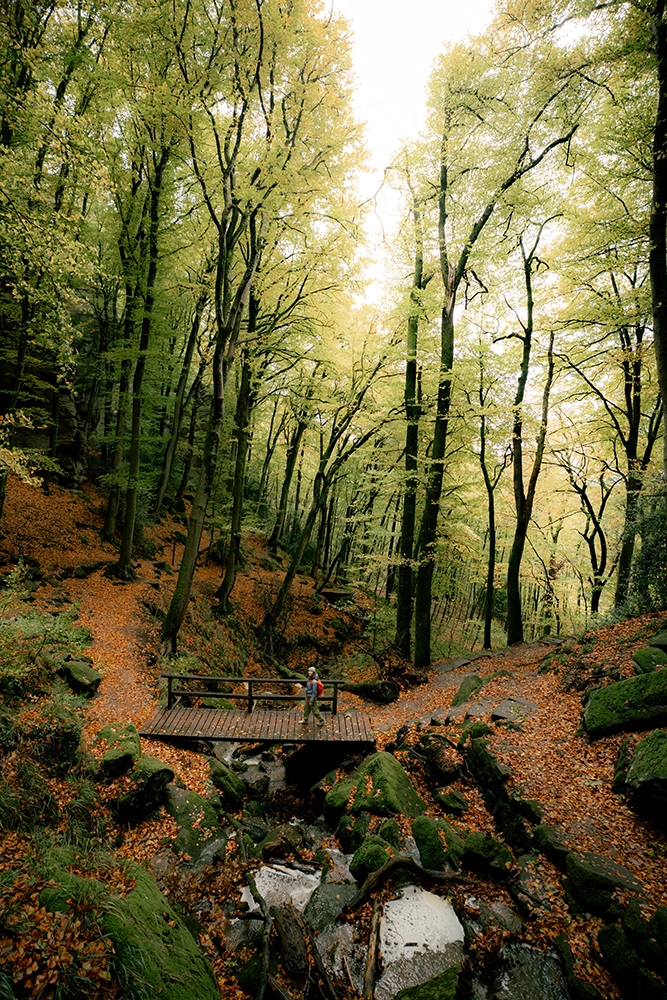
As soon as we left Basel and headed toward Alsace and Strasbourg, our route became a mix of quiet roads, dedicated bike paths, forest trails, and long stretches of gravel. At times, we were riding through the middle of the forest rather than anywhere near the Rhine itself.

This first section also had the most loose gravel and unpaved trails. Nothing particularly technical on a gravel bike, but definitely not the most comfortable terrain for a road bike with skinny tires.
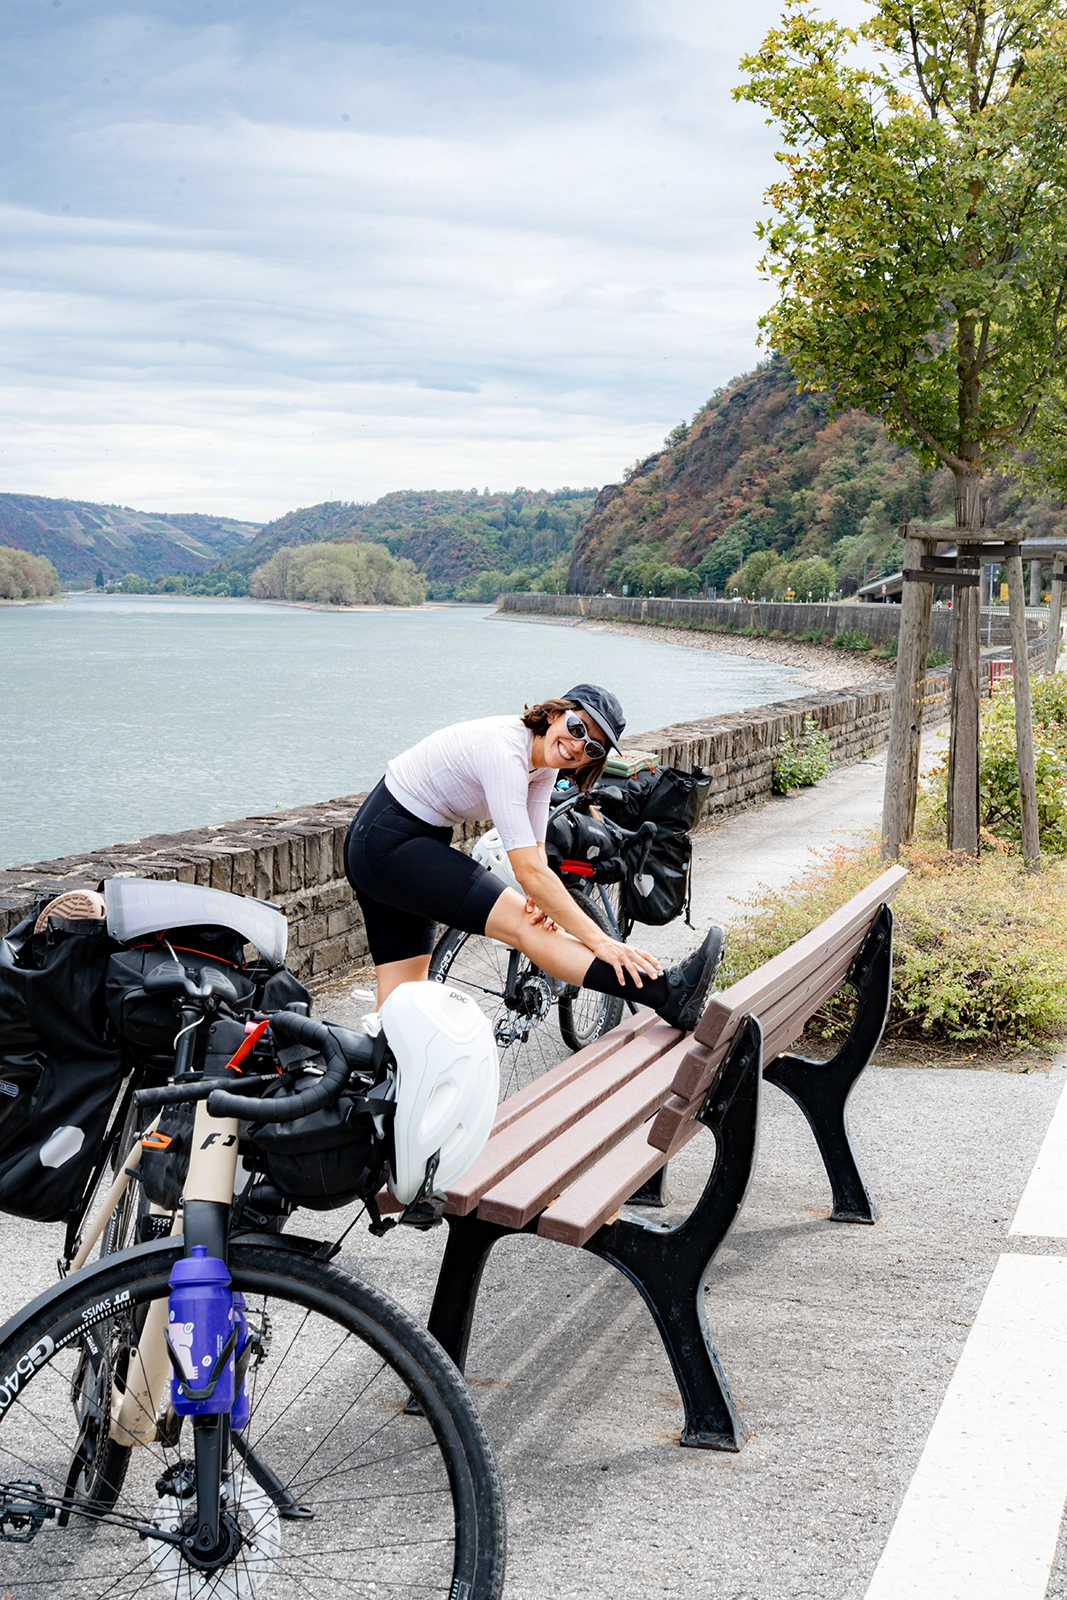
It was also the warmest part of our trip. In late August, we had several pretty hot days before temperatures gradually started cooling down as we made our way north.

From Strasbourg to Mannheim: nature meets big cities

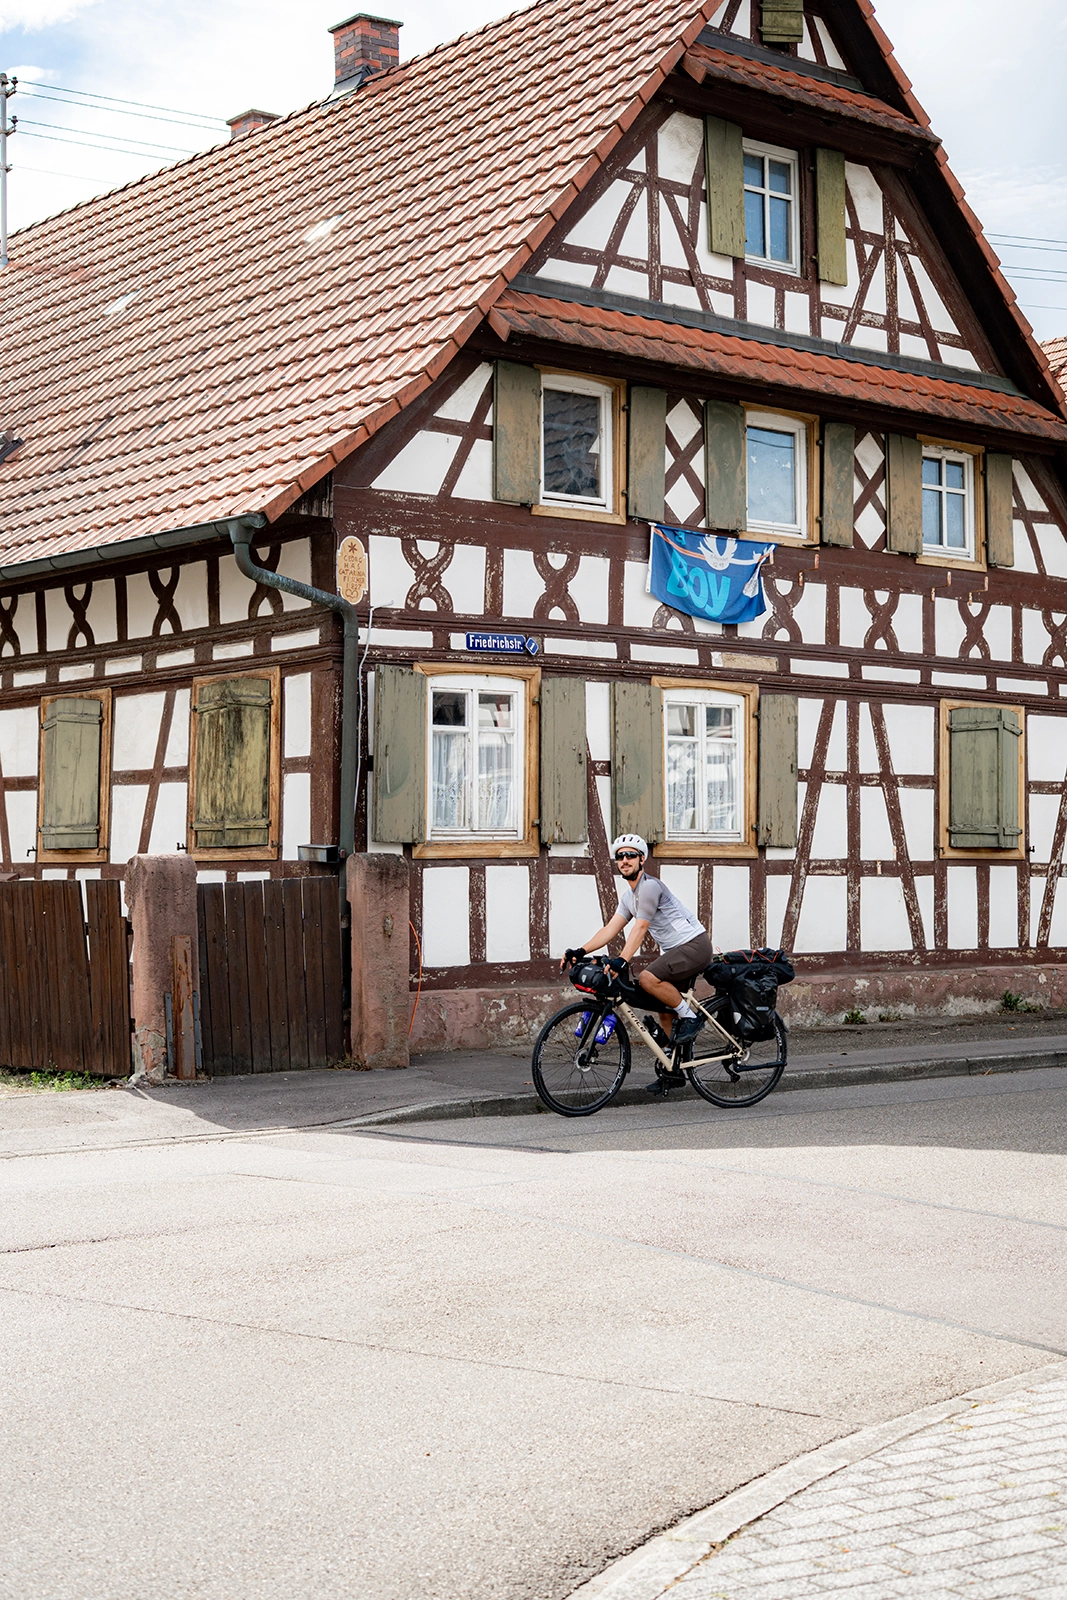
Continuing north, the route stays incredibly flat, alternating between natural areas, forests, small villages, and more urban sections.

That’s actually something we really enjoyed about this trip: the scenery keeps changing, even though you’re following the same river the entire time.

Of course, some days are more scenic than others. The area around Mannheim, for example, was one of the least memorable sections for us.

Cycling through larger cities sometimes breaks up the rhythm of the trip. You have to pay much more attention to your GPS, navigate intersections, and figure out which bike lanes to follow.

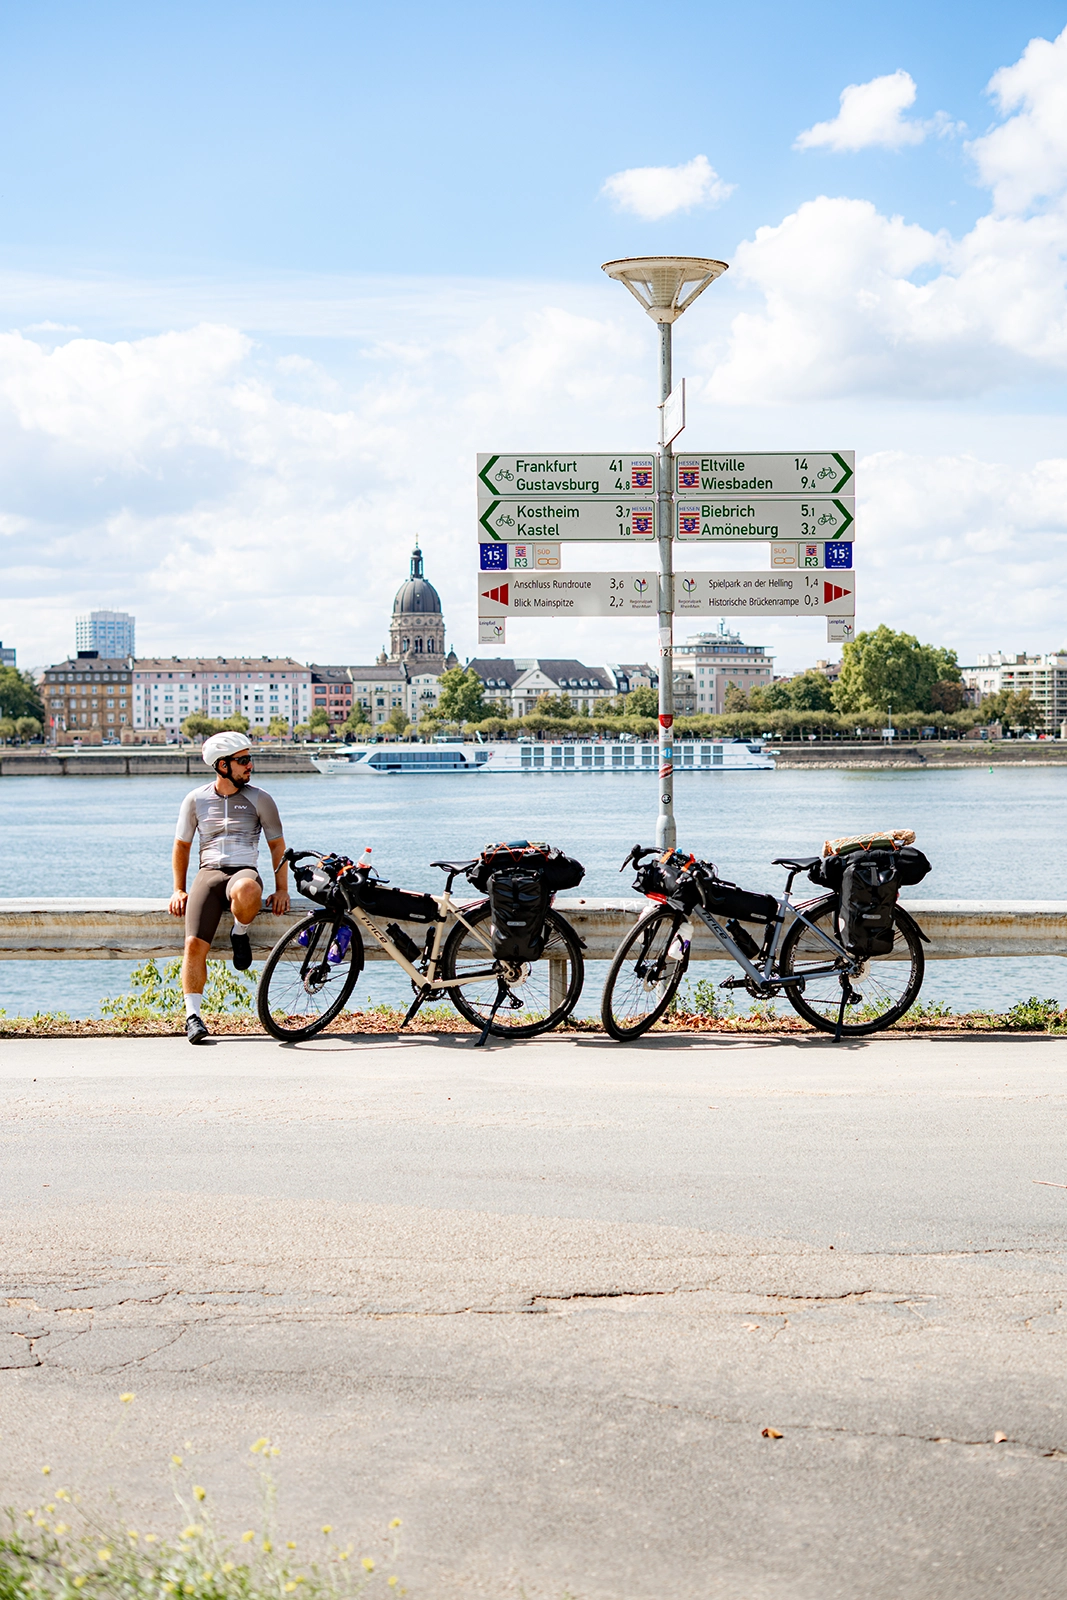
This is also where we realized how difficult it would be to complete the entire route using only bike route signs.

Out in the countryside, following the cycling routes is usually pretty straightforward. But in bigger cities, having a GPS or offline map makes life so much easier.

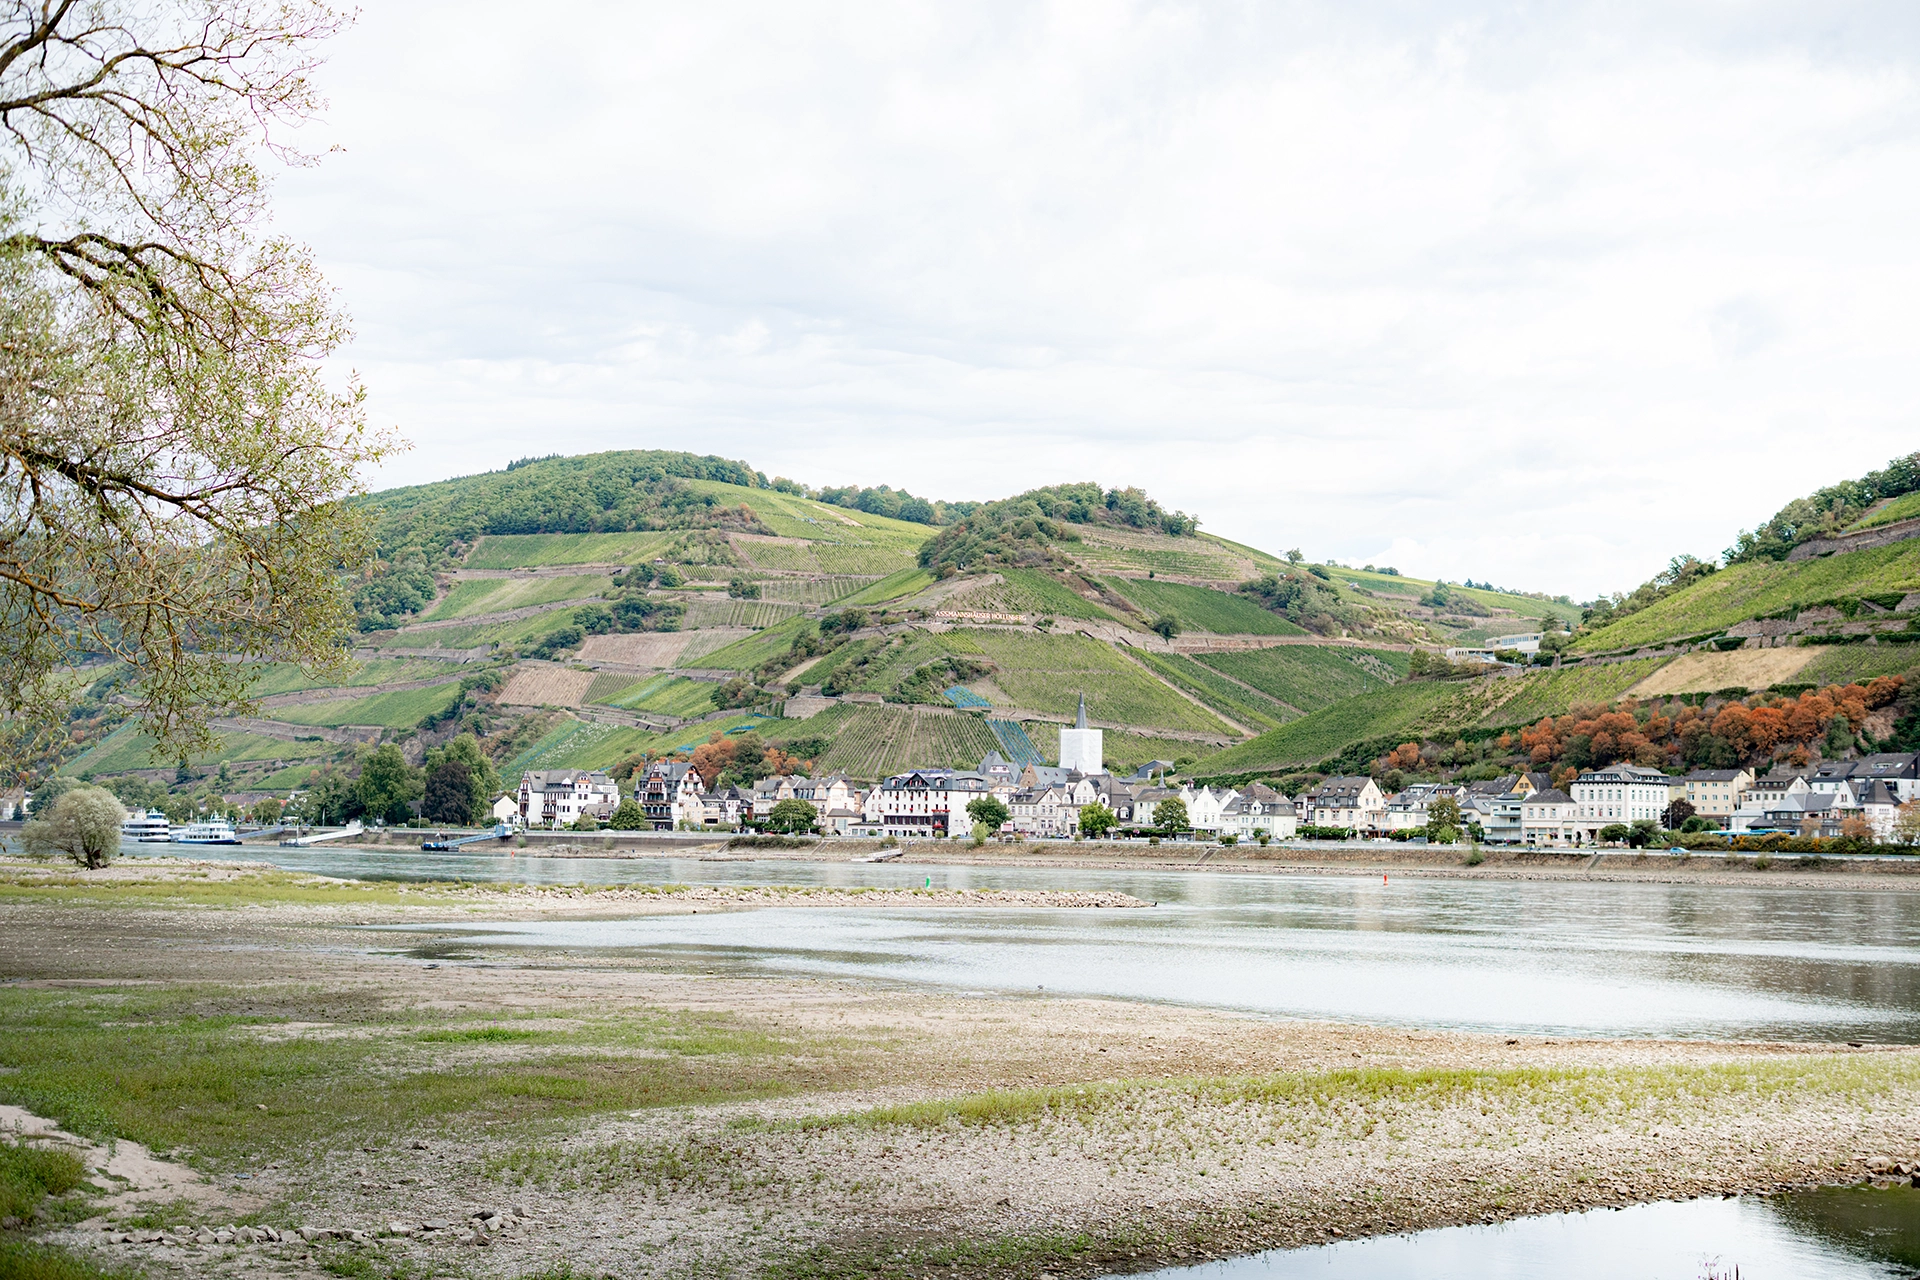
The Rhine Valley: Rüdesheim and Koblenz

As we approached Rüdesheim am Rhein and then Koblenz, the trip started to feel completely different.

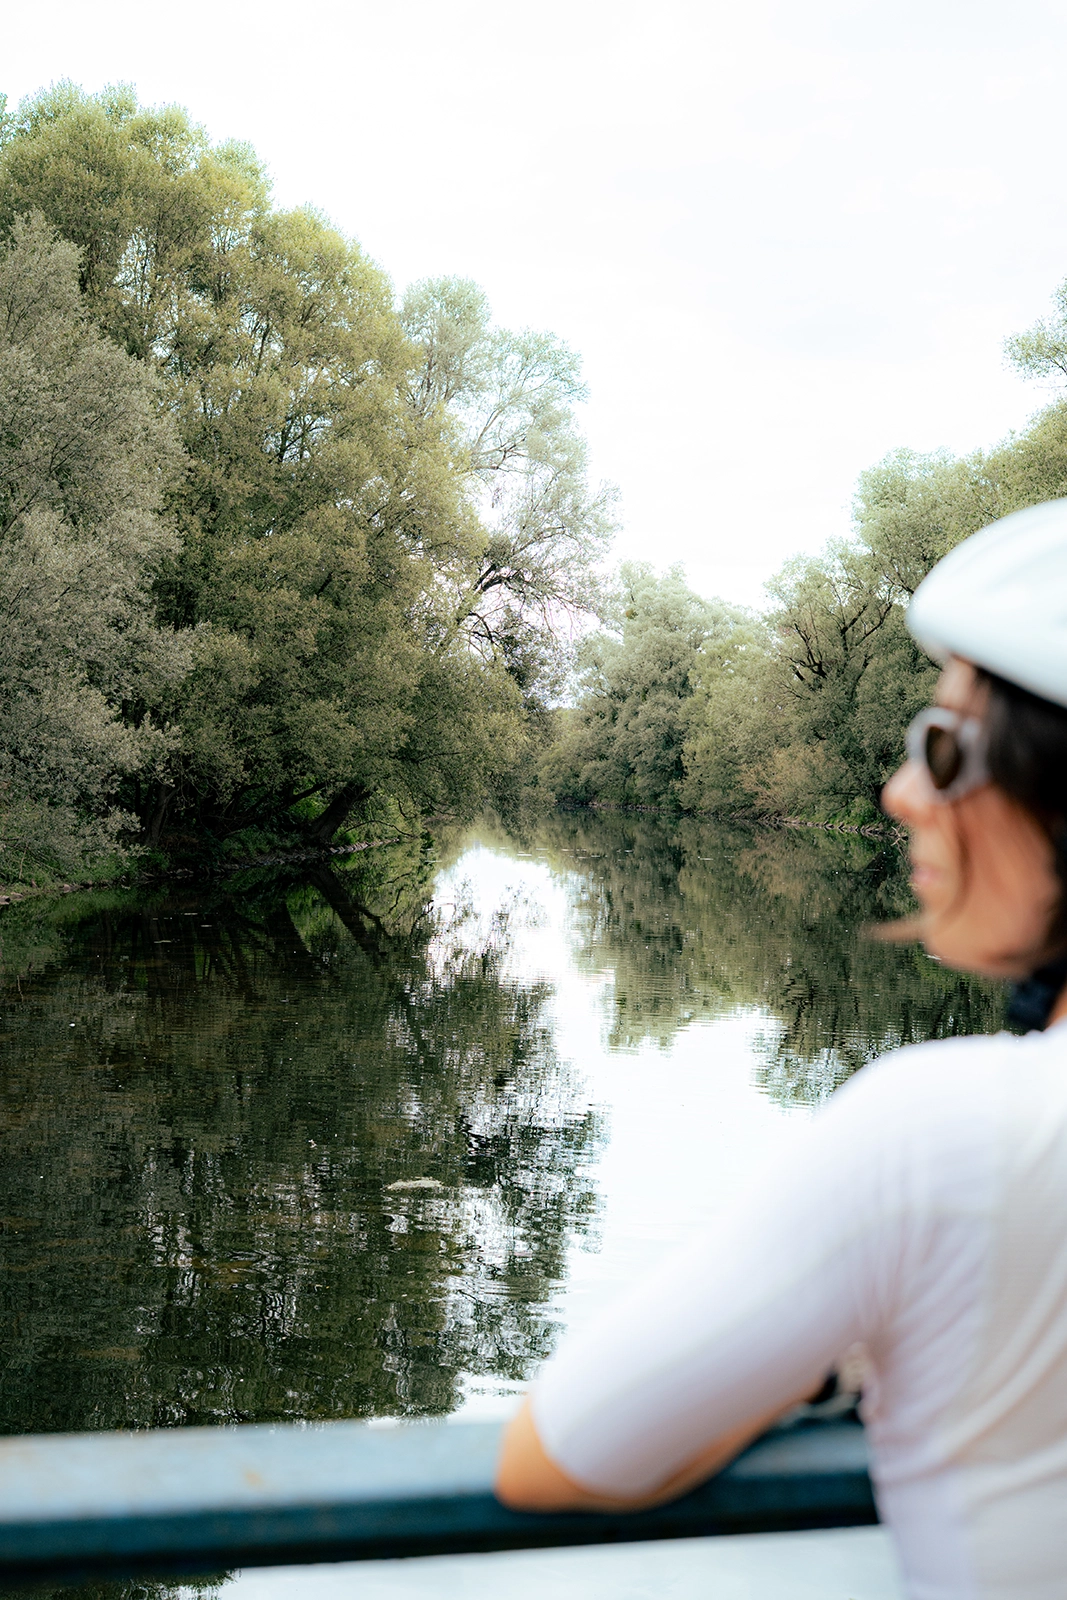
The Rhine became a much bigger part of the scenery, and this section was easily one of our favorites. We cycled between the river, charming villages, and hills rising on either side of the valley.

Rüdesheim was actually one of the places we knew we wanted to include in our itinerary before we even left home.

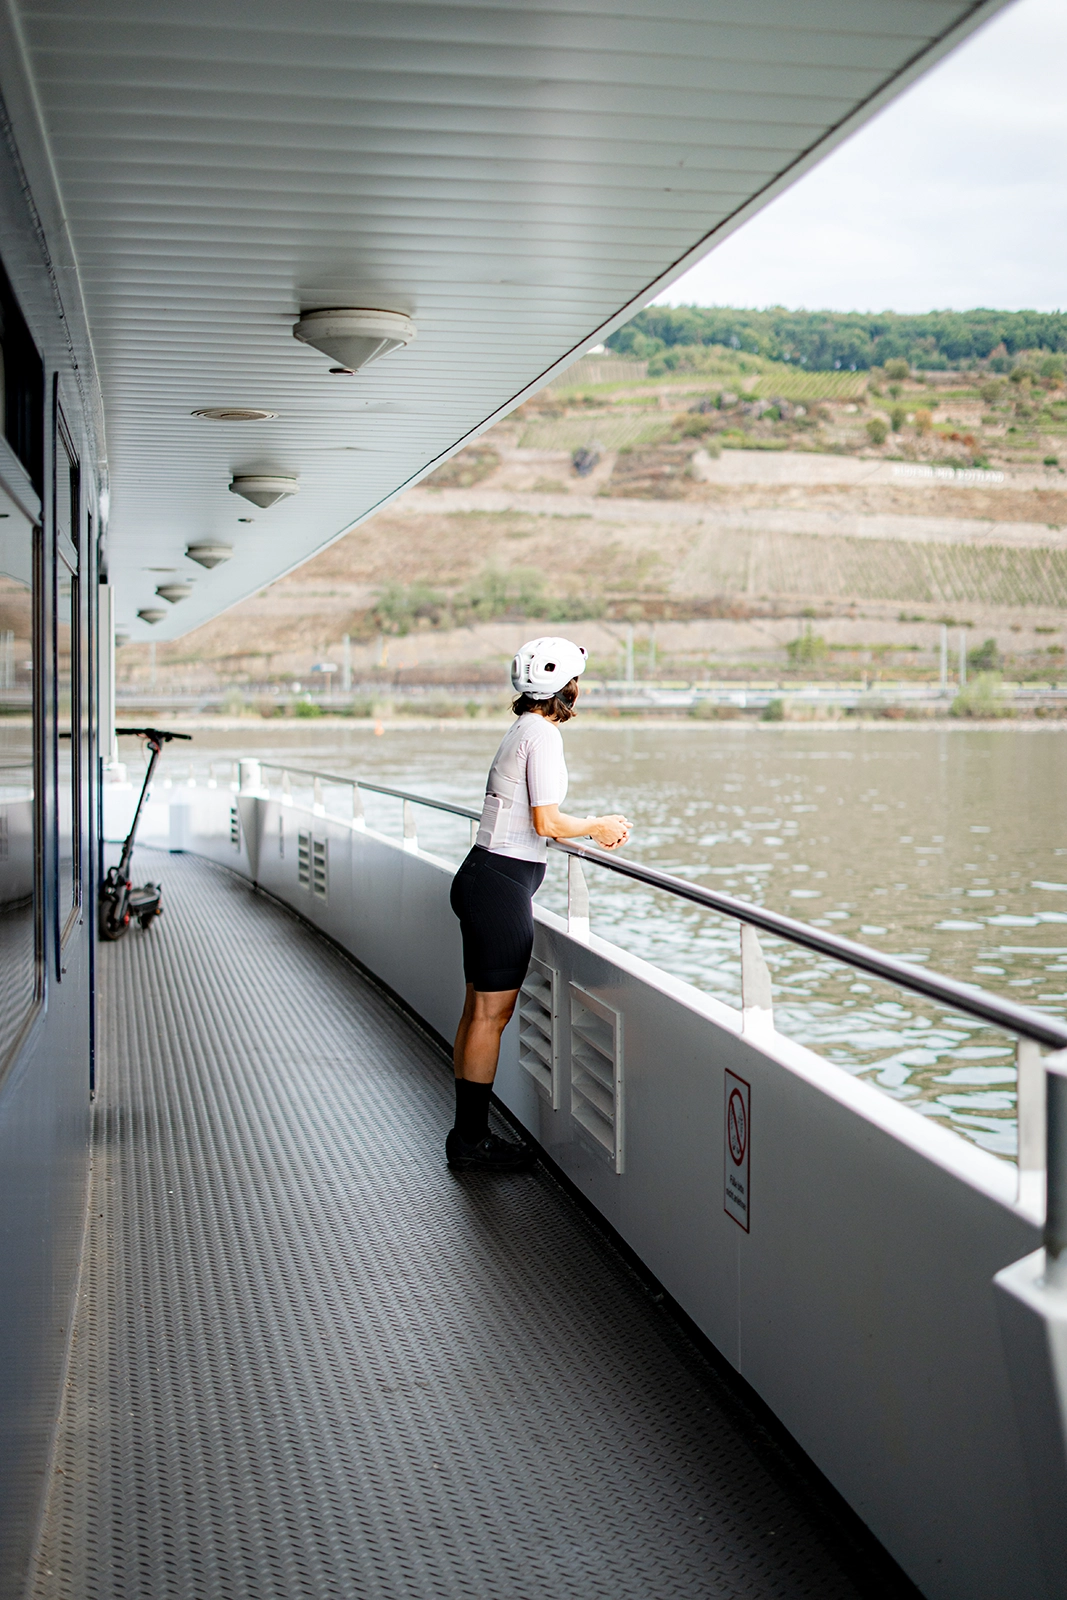
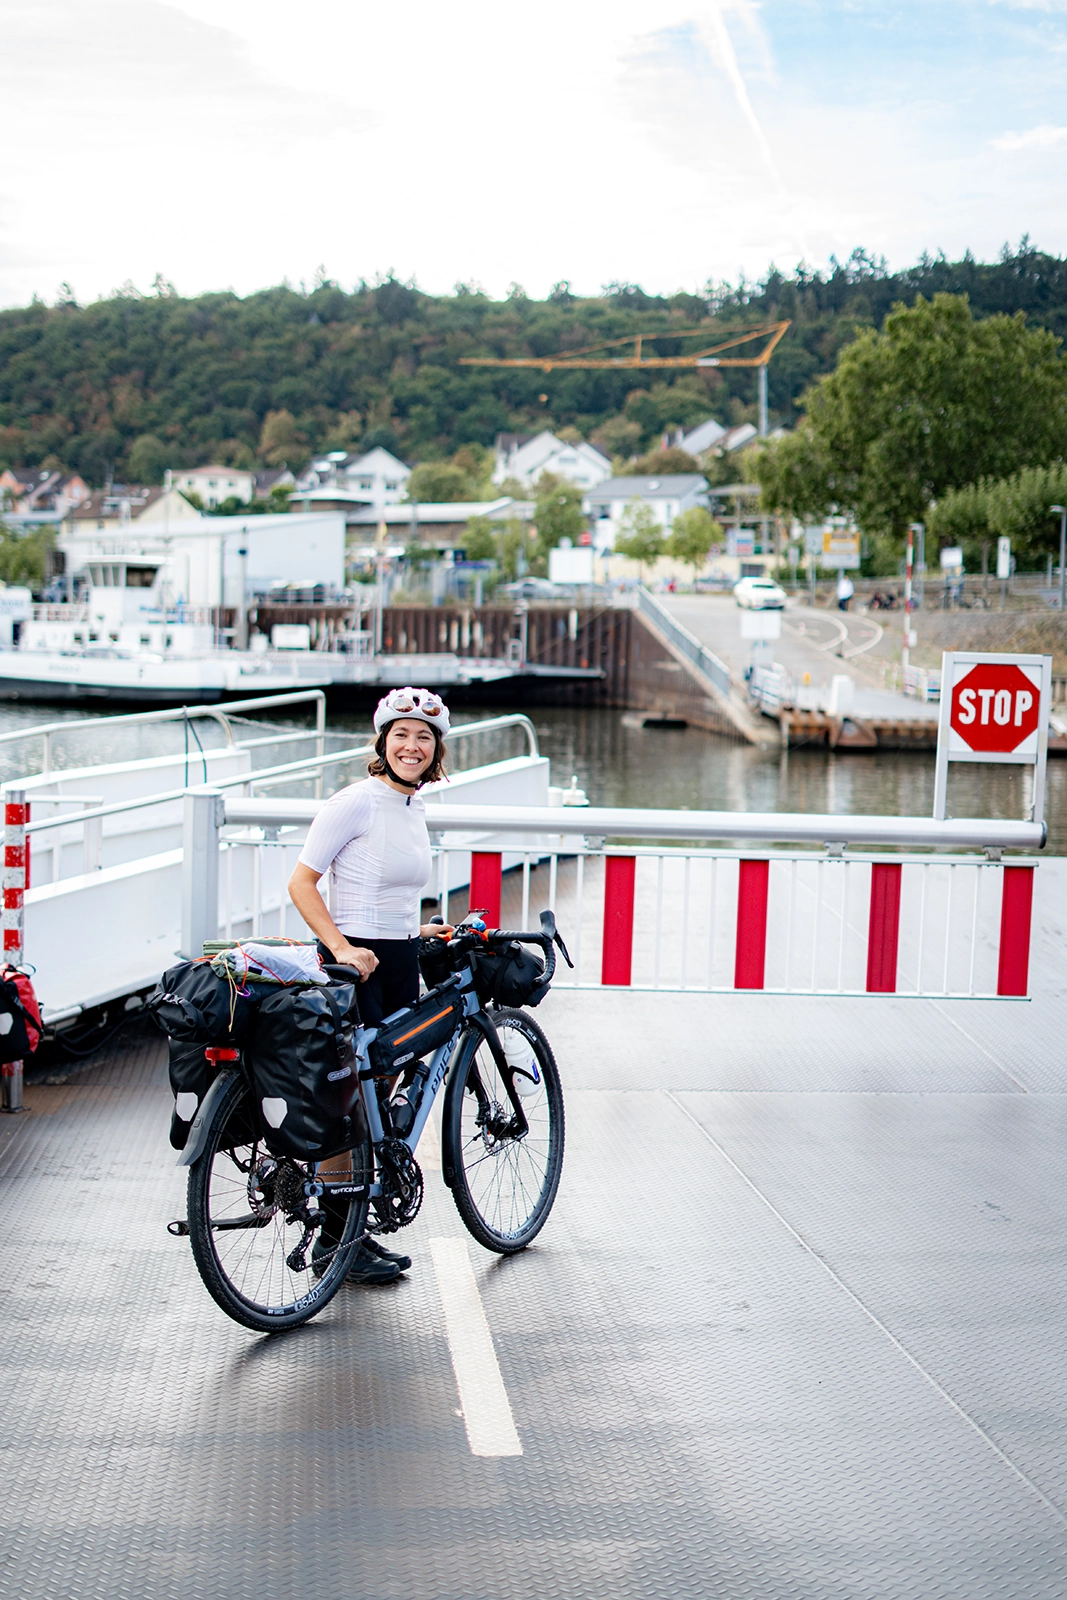
One thing worth keeping in mind is crossing the Rhine. Depending on where you are, you can sometimes take a small ferry to the opposite bank, but these crossings aren’t free.

If you’d rather avoid taking a ferry, make sure to check where the next bridge is located. Otherwise, you could end up adding quite a few extra kilometers to your day.

That’s why we usually spent a little time each evening looking at the following day’s route, deciding which side of the Rhine to follow and where to cross.

From Koblenz to Cologne

From Koblenz, the route continues toward Cologne with very little elevation gain.

That’s one of the biggest advantages of cycling along the Rhine: even when you’re covering 60 to 80 km (37–50 miles) a day, the riding remains relatively manageable.

We rarely climbed more than 200 m (650 ft) in a day, and most of the time we barely even noticed the elevation gain.

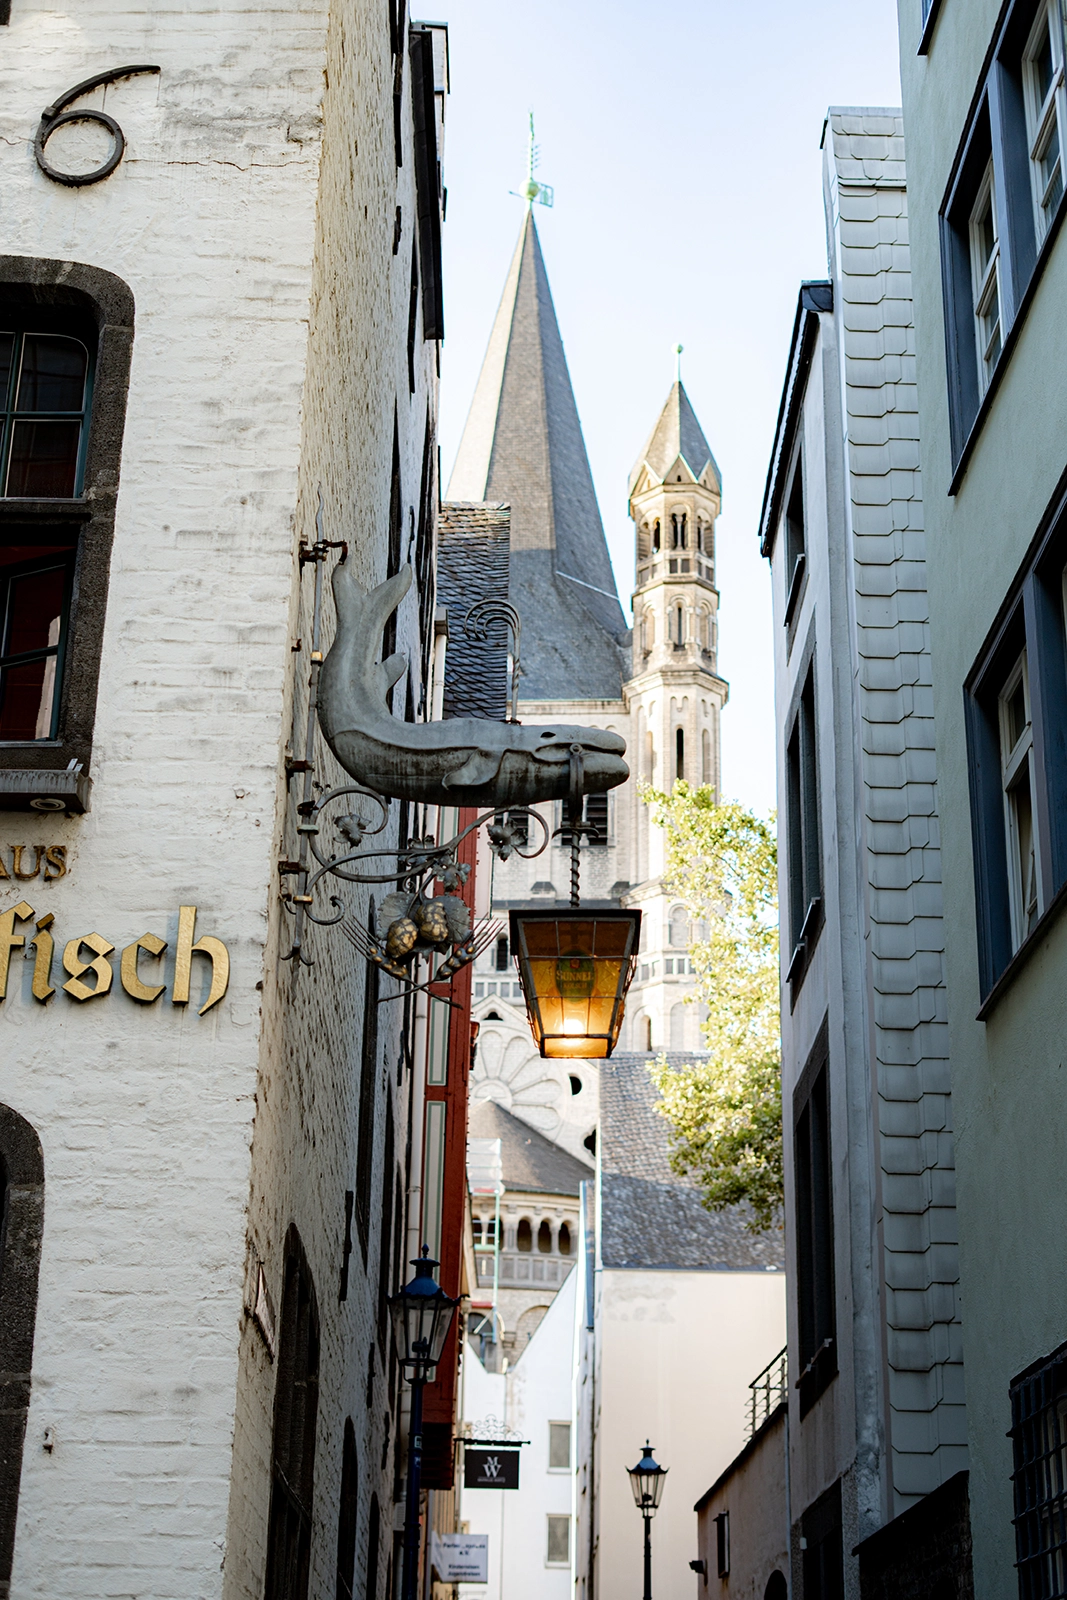
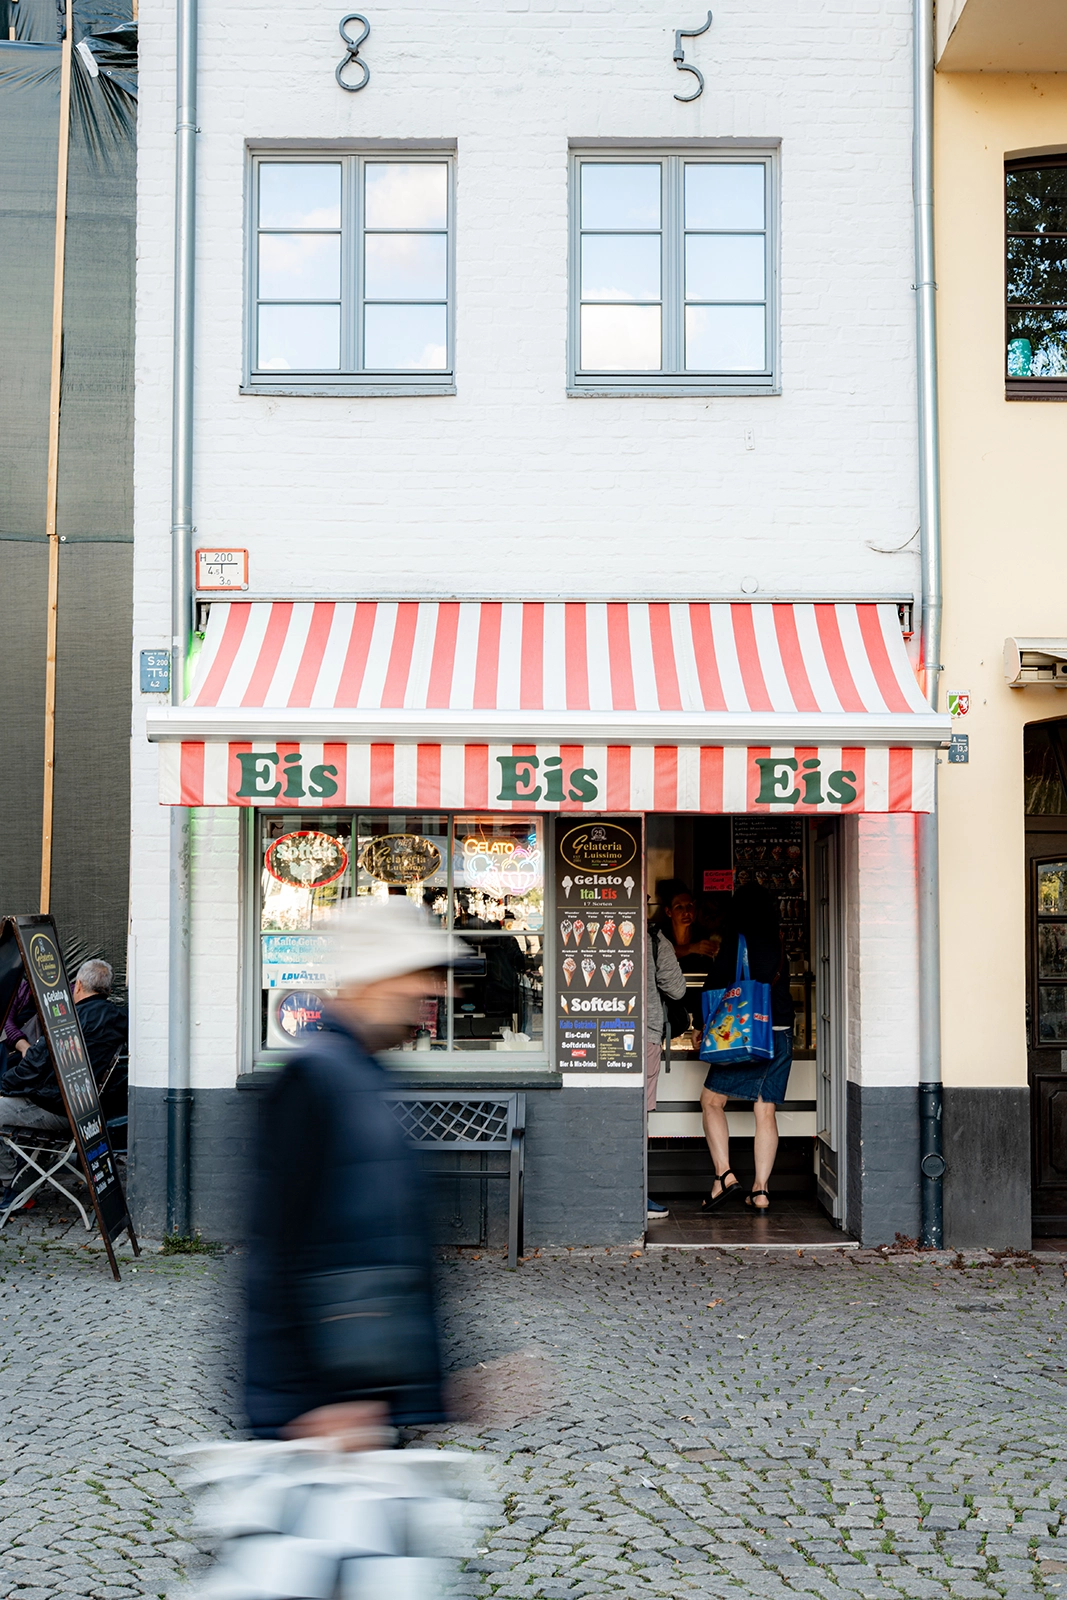
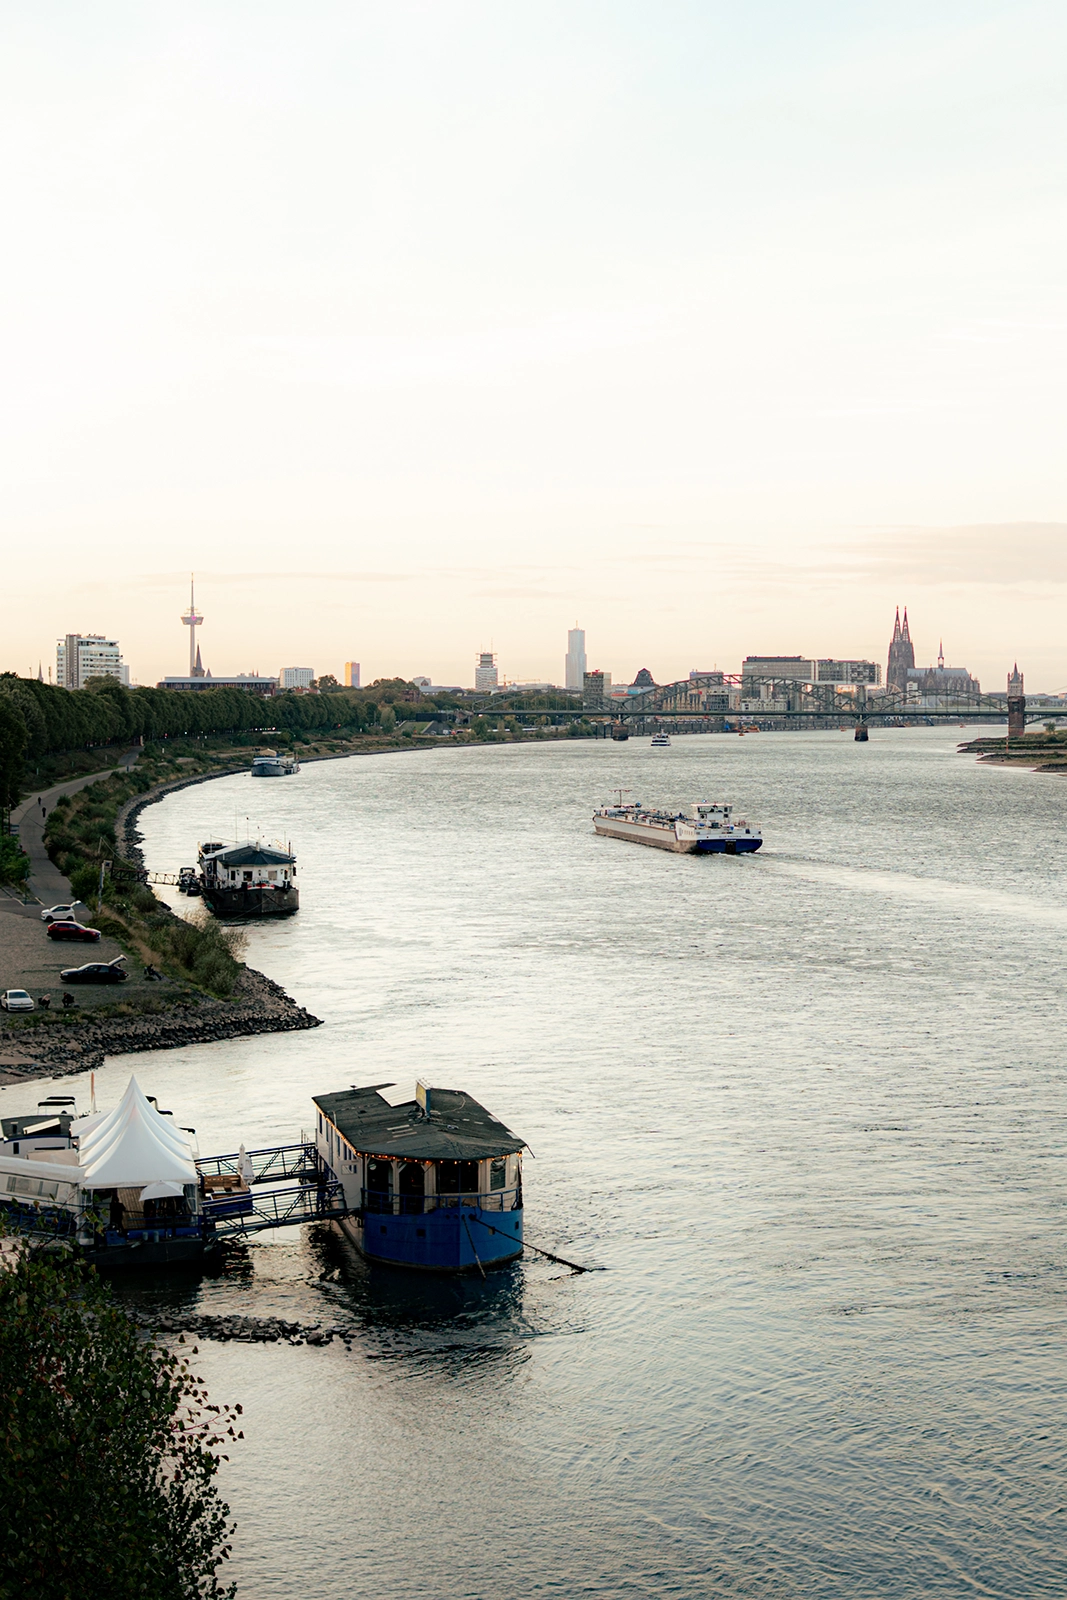
Cologne is also a great stop if you’re ready for a little big-city atmosphere after several days on the bike.

The following stretch between Cologne and Düsseldorf, however, was another section we didn’t particularly love. Parts of the route become more urban and industrial, and the scenery didn’t leave quite the same impression as the previous days.

That said, it’s still very easy to cycle through, and it’s all part of the experience. After all, seeing the different sides of the Rhine is what makes this journey interesting.

From Düsseldorf to the Netherlands

The farther north we went, the more the atmosphere started to change.

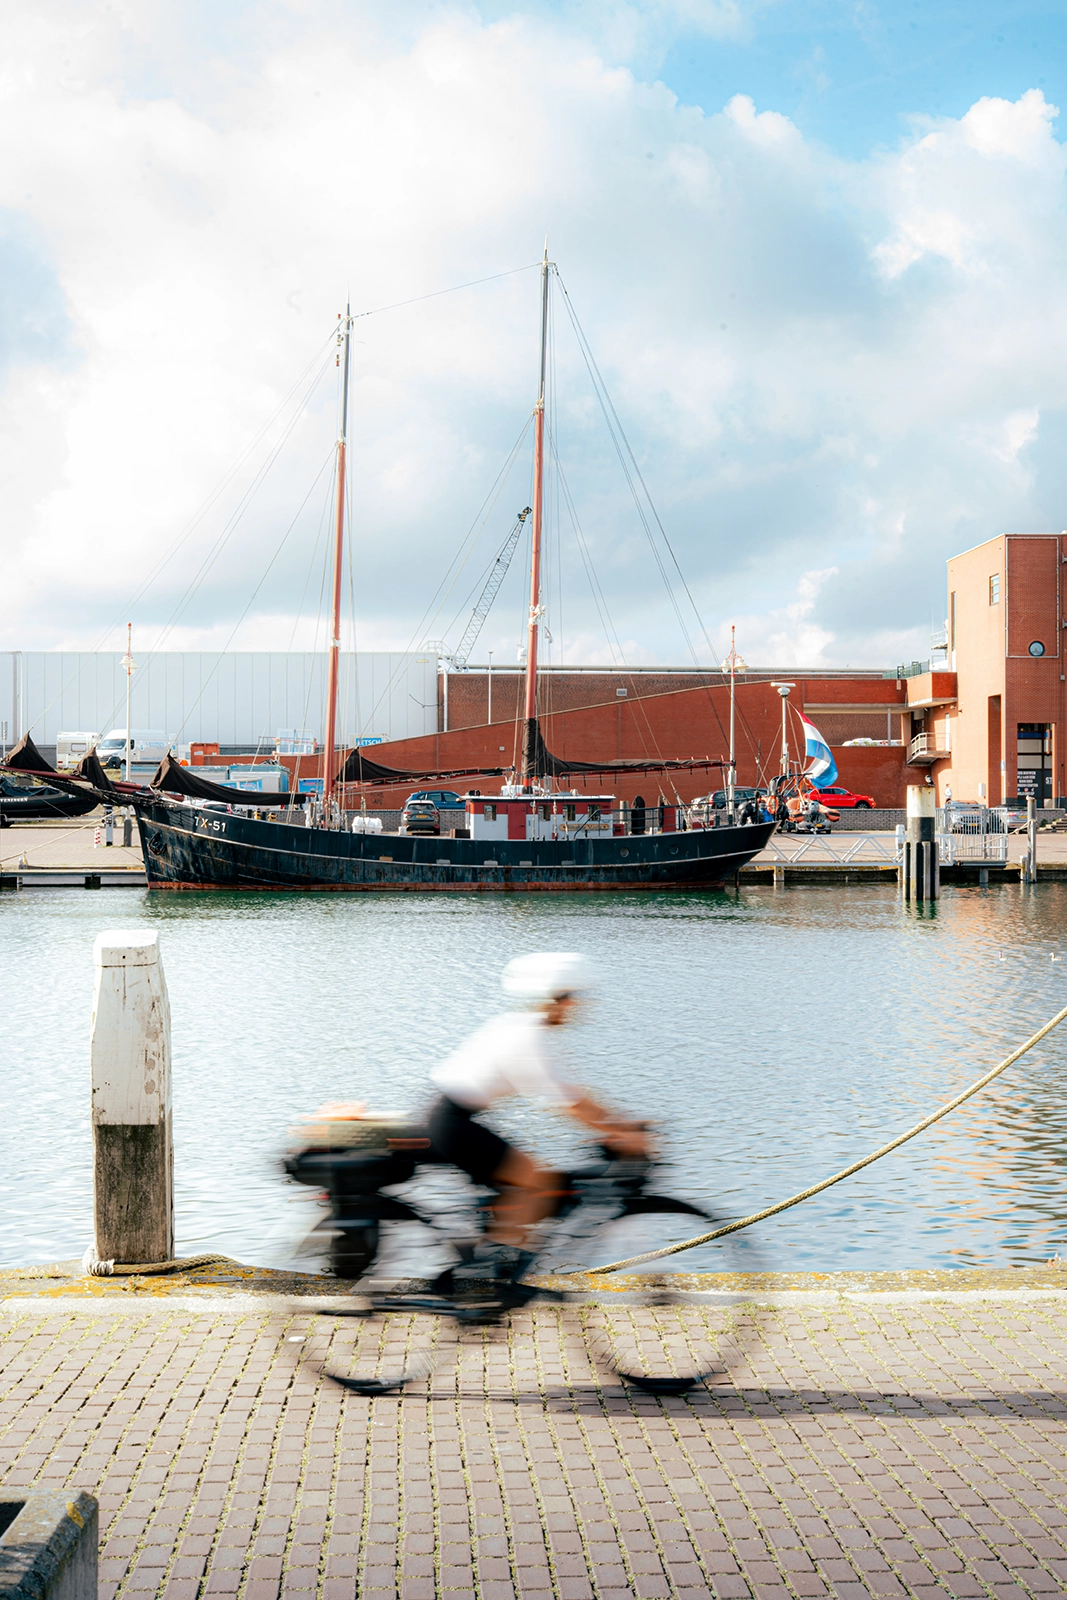
And honestly, arriving in the Netherlands felt like the biggest change of scenery of the entire trip.

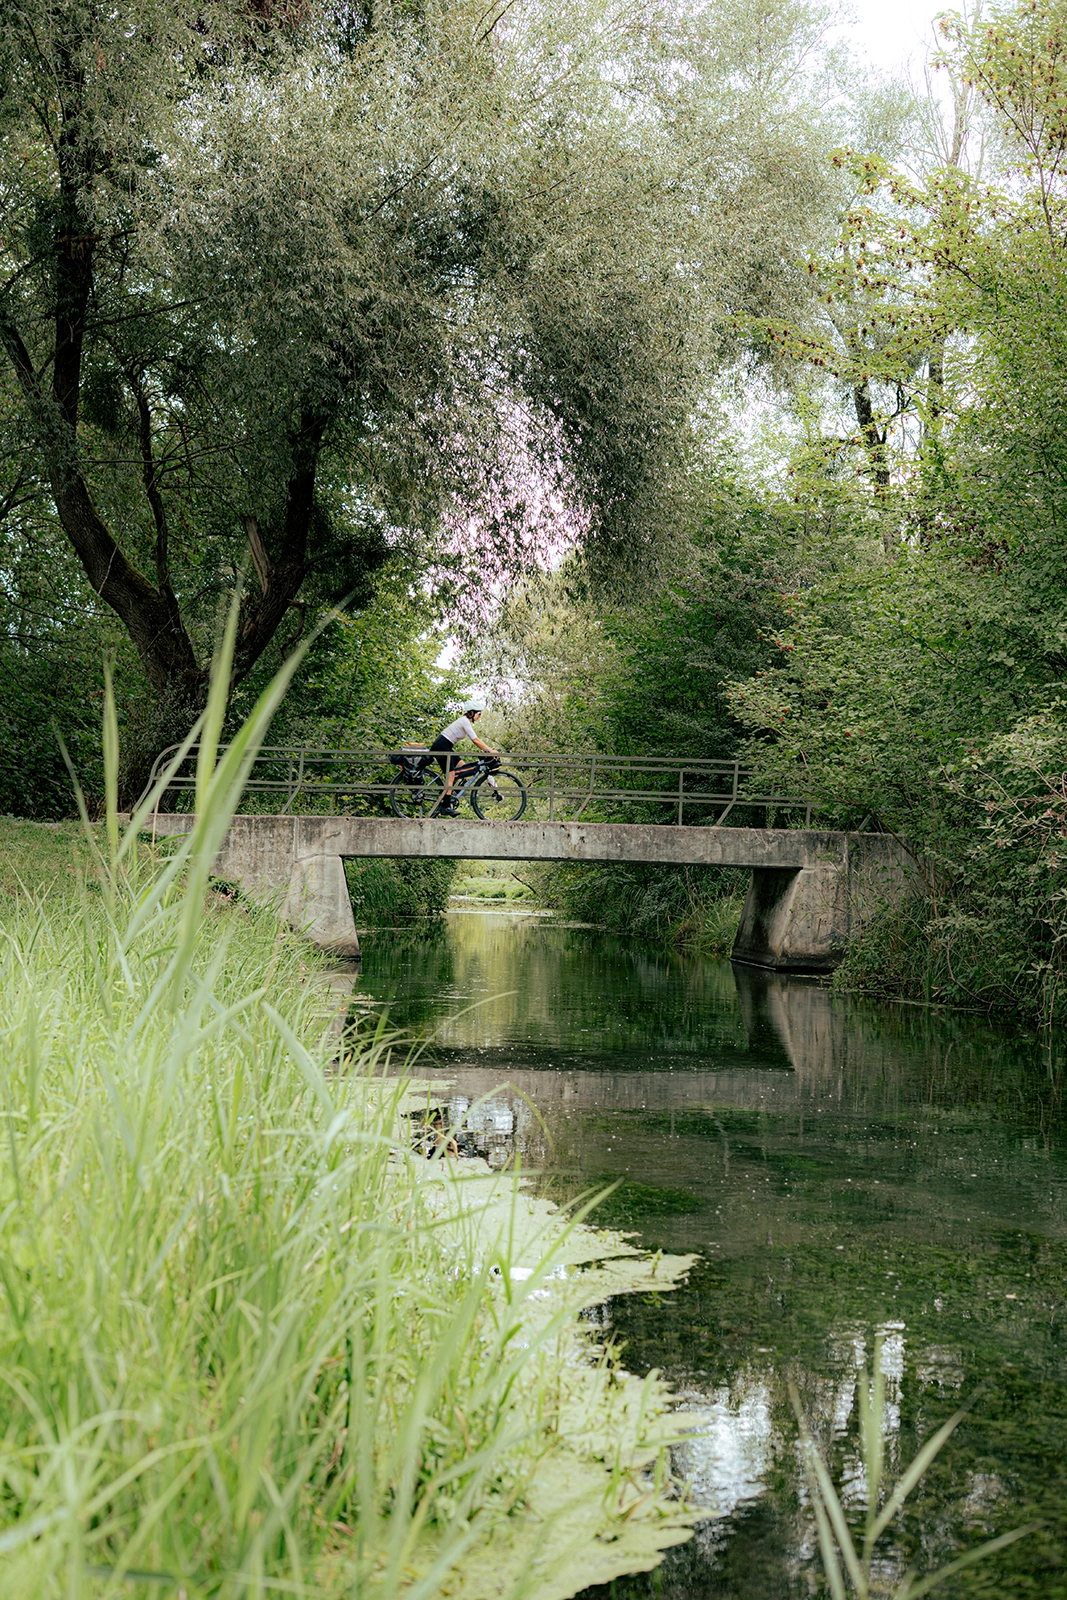
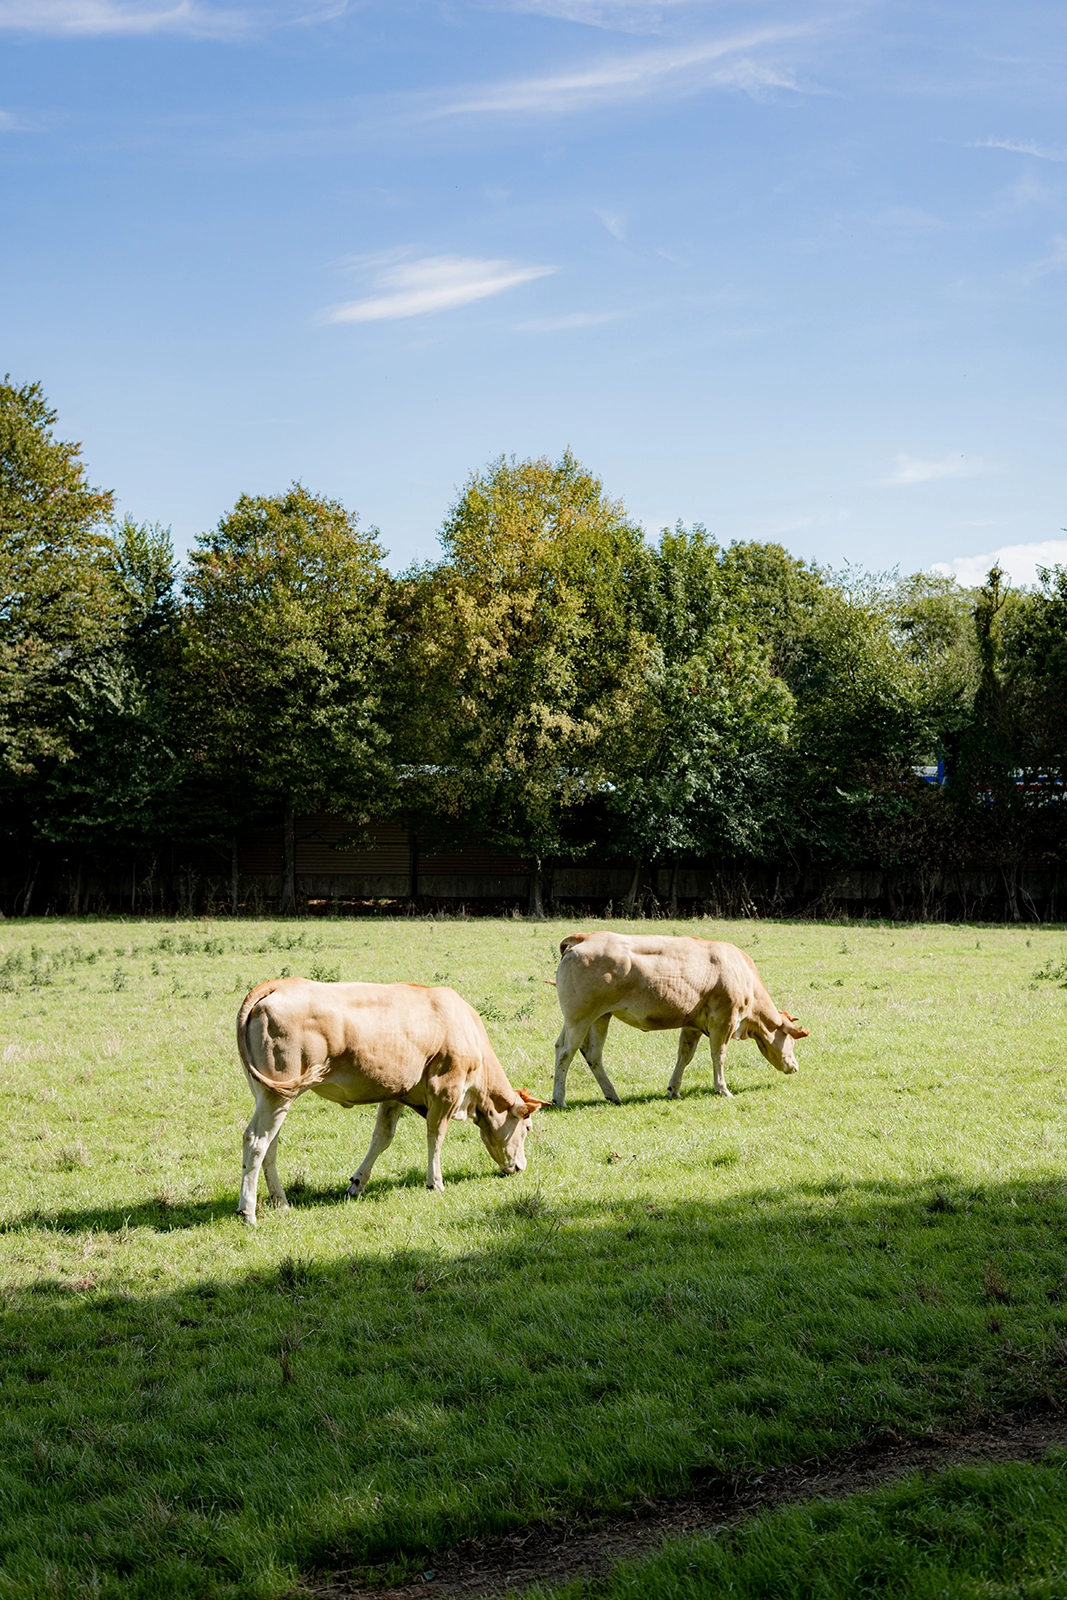
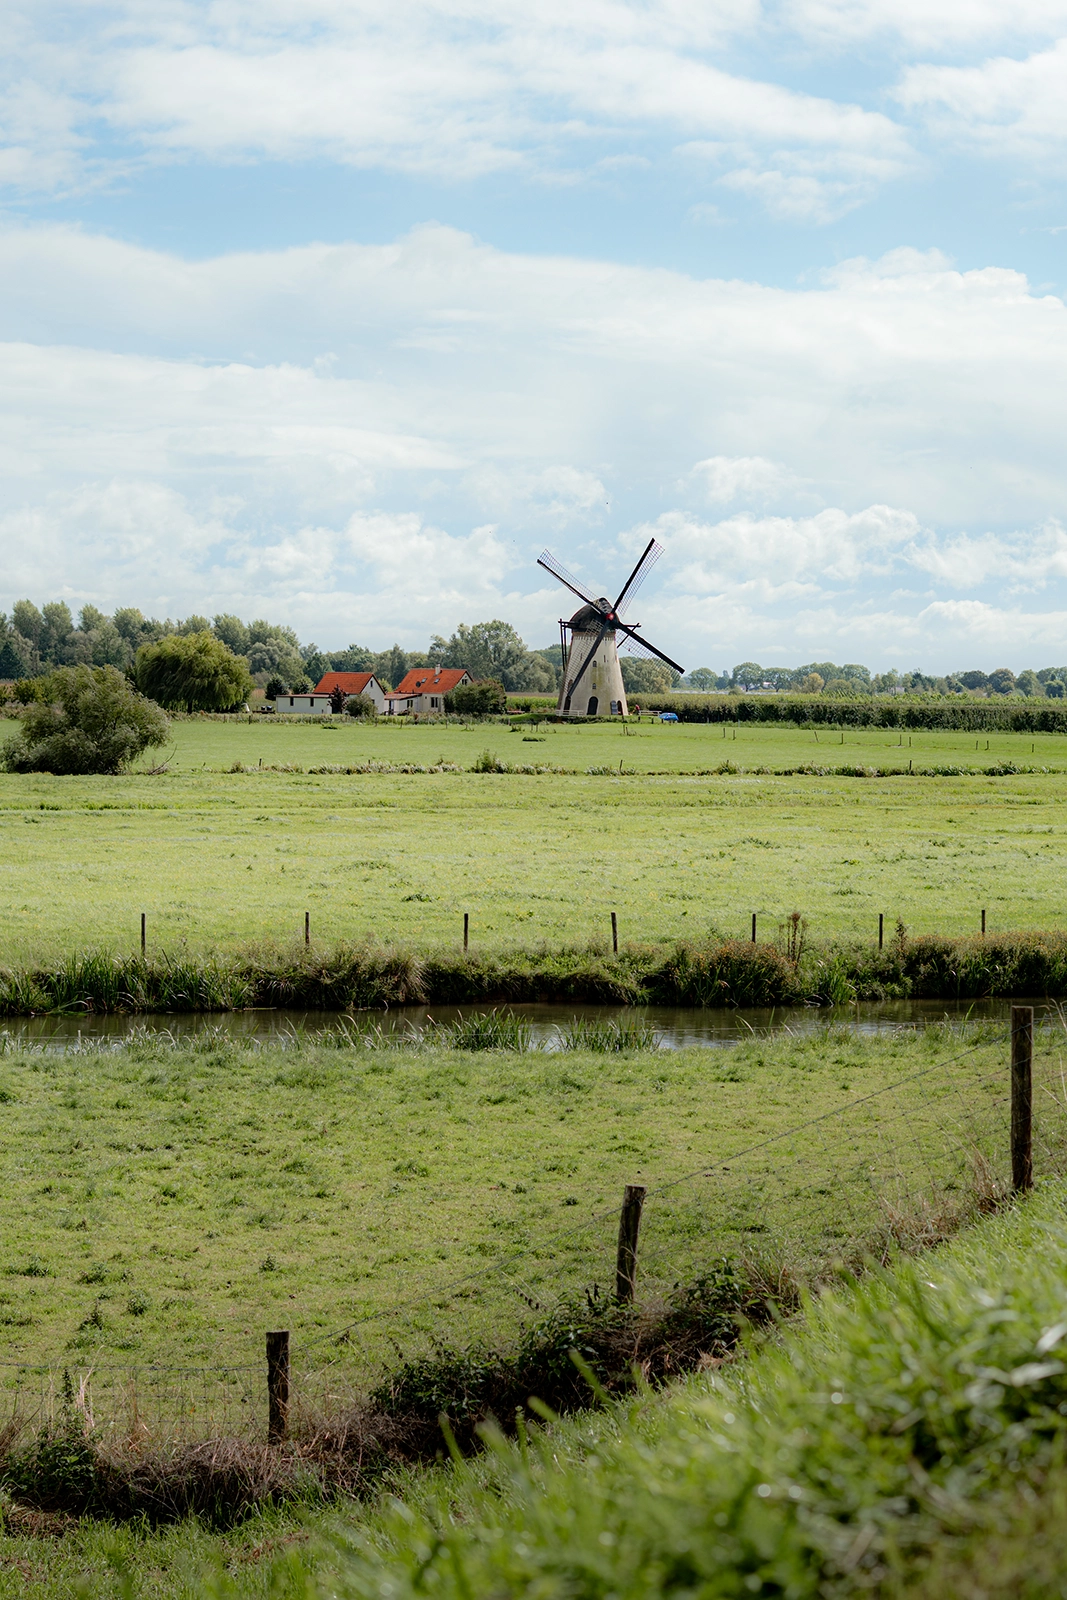
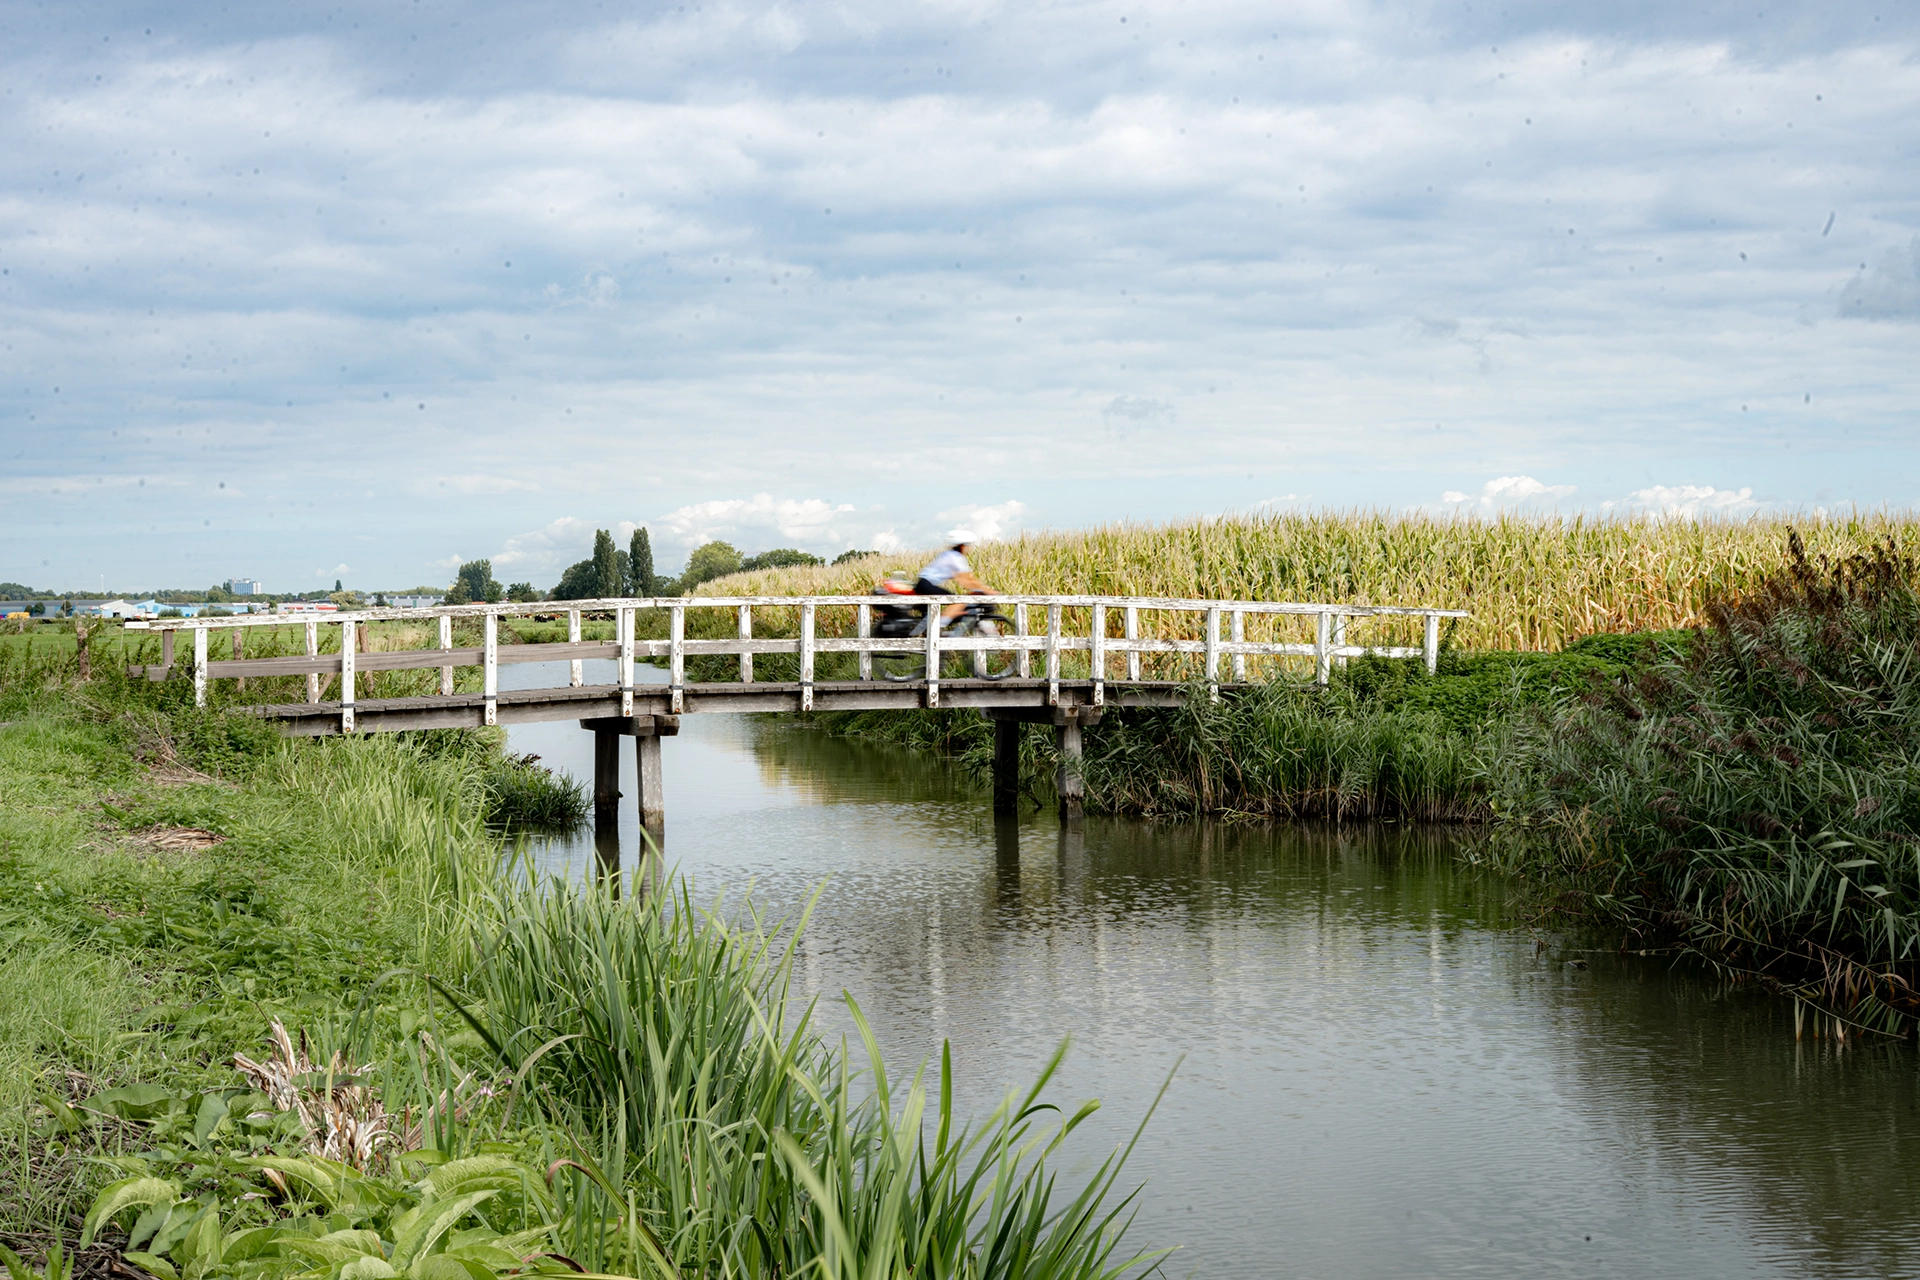
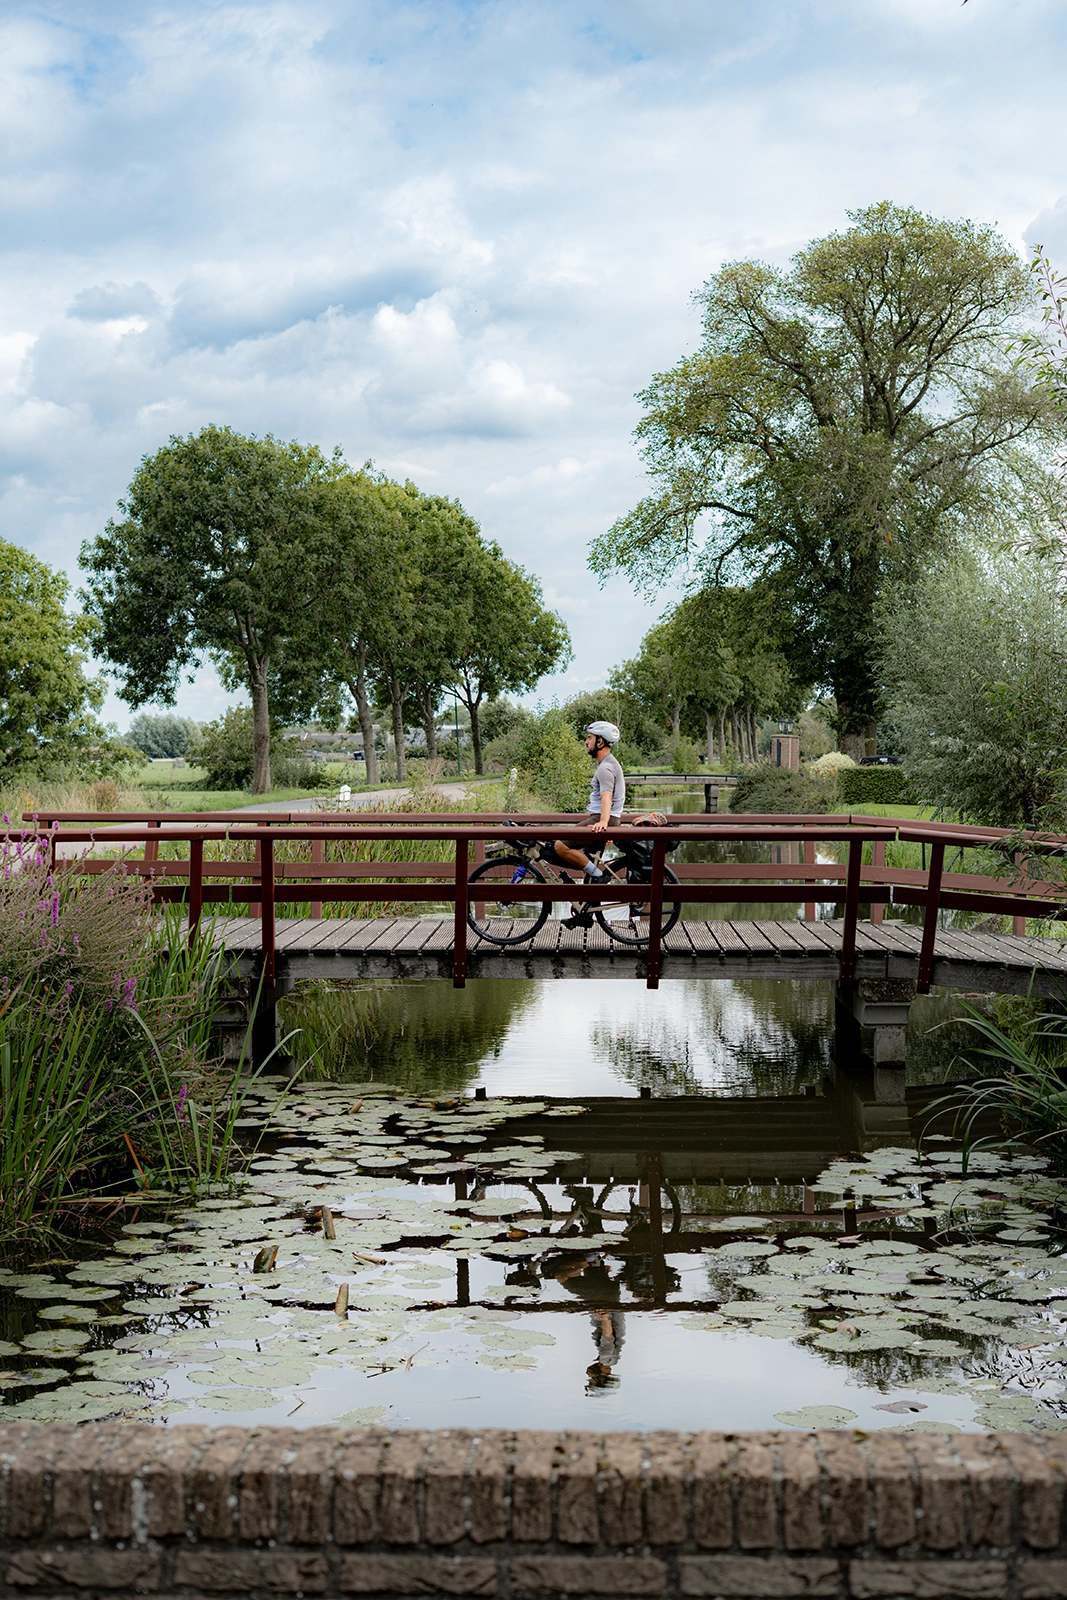
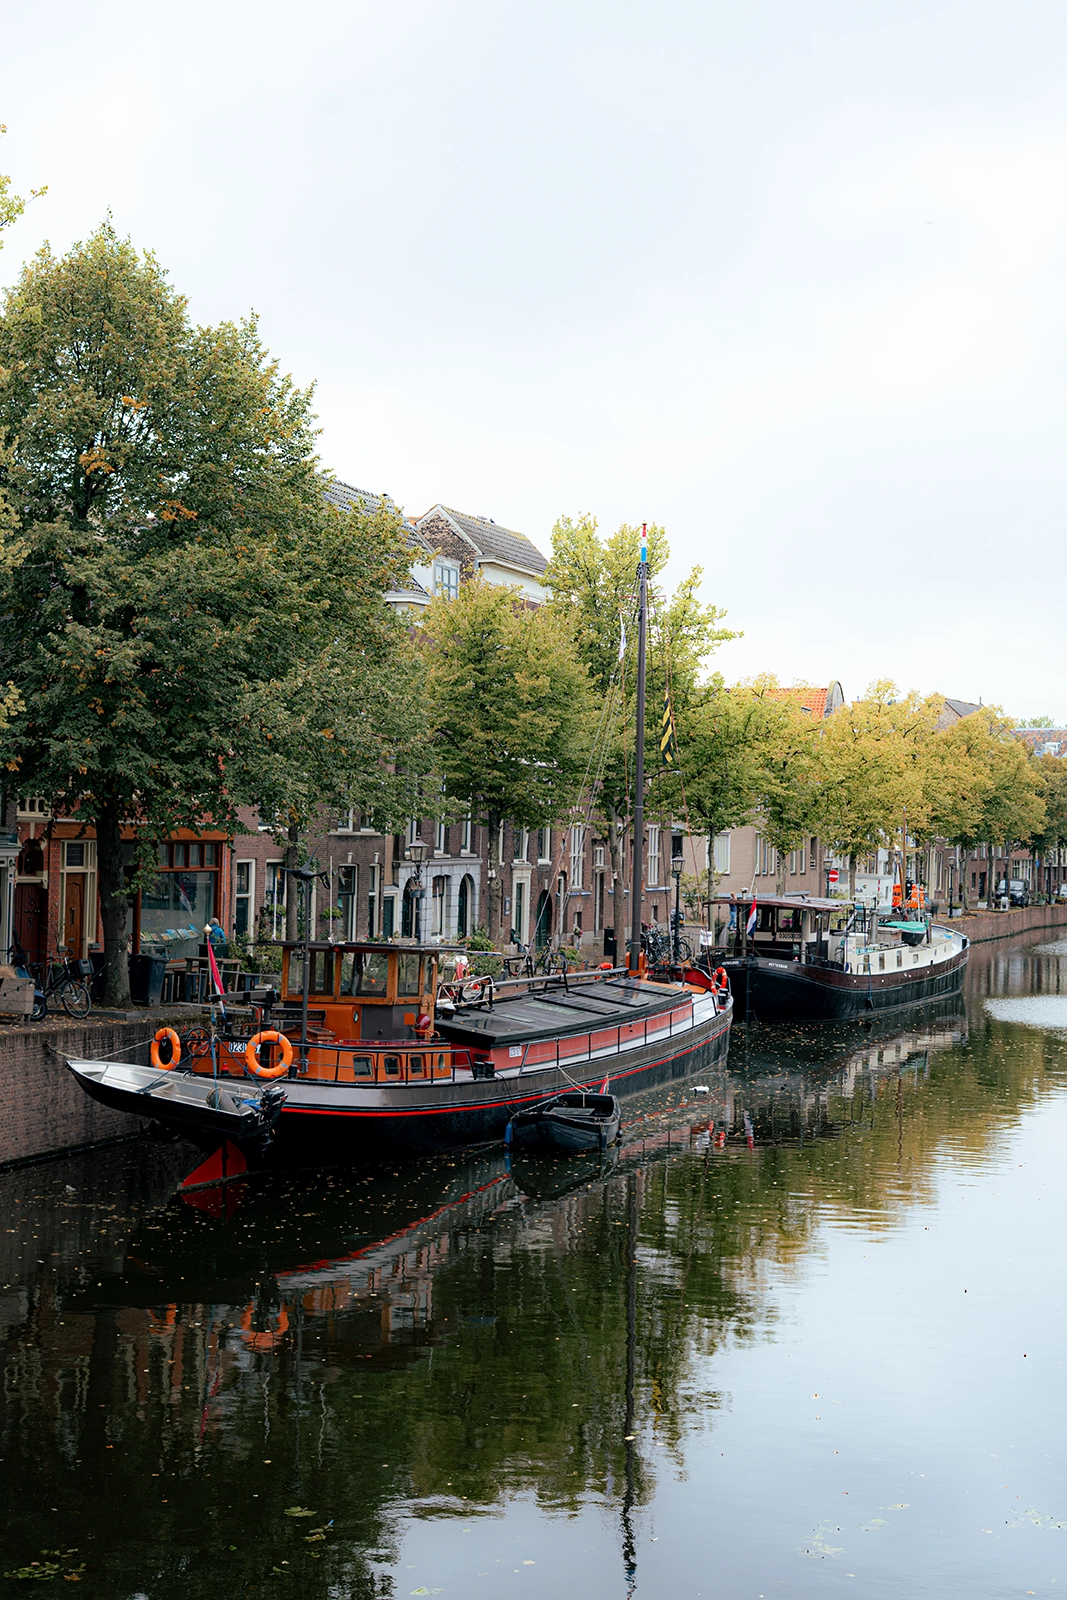
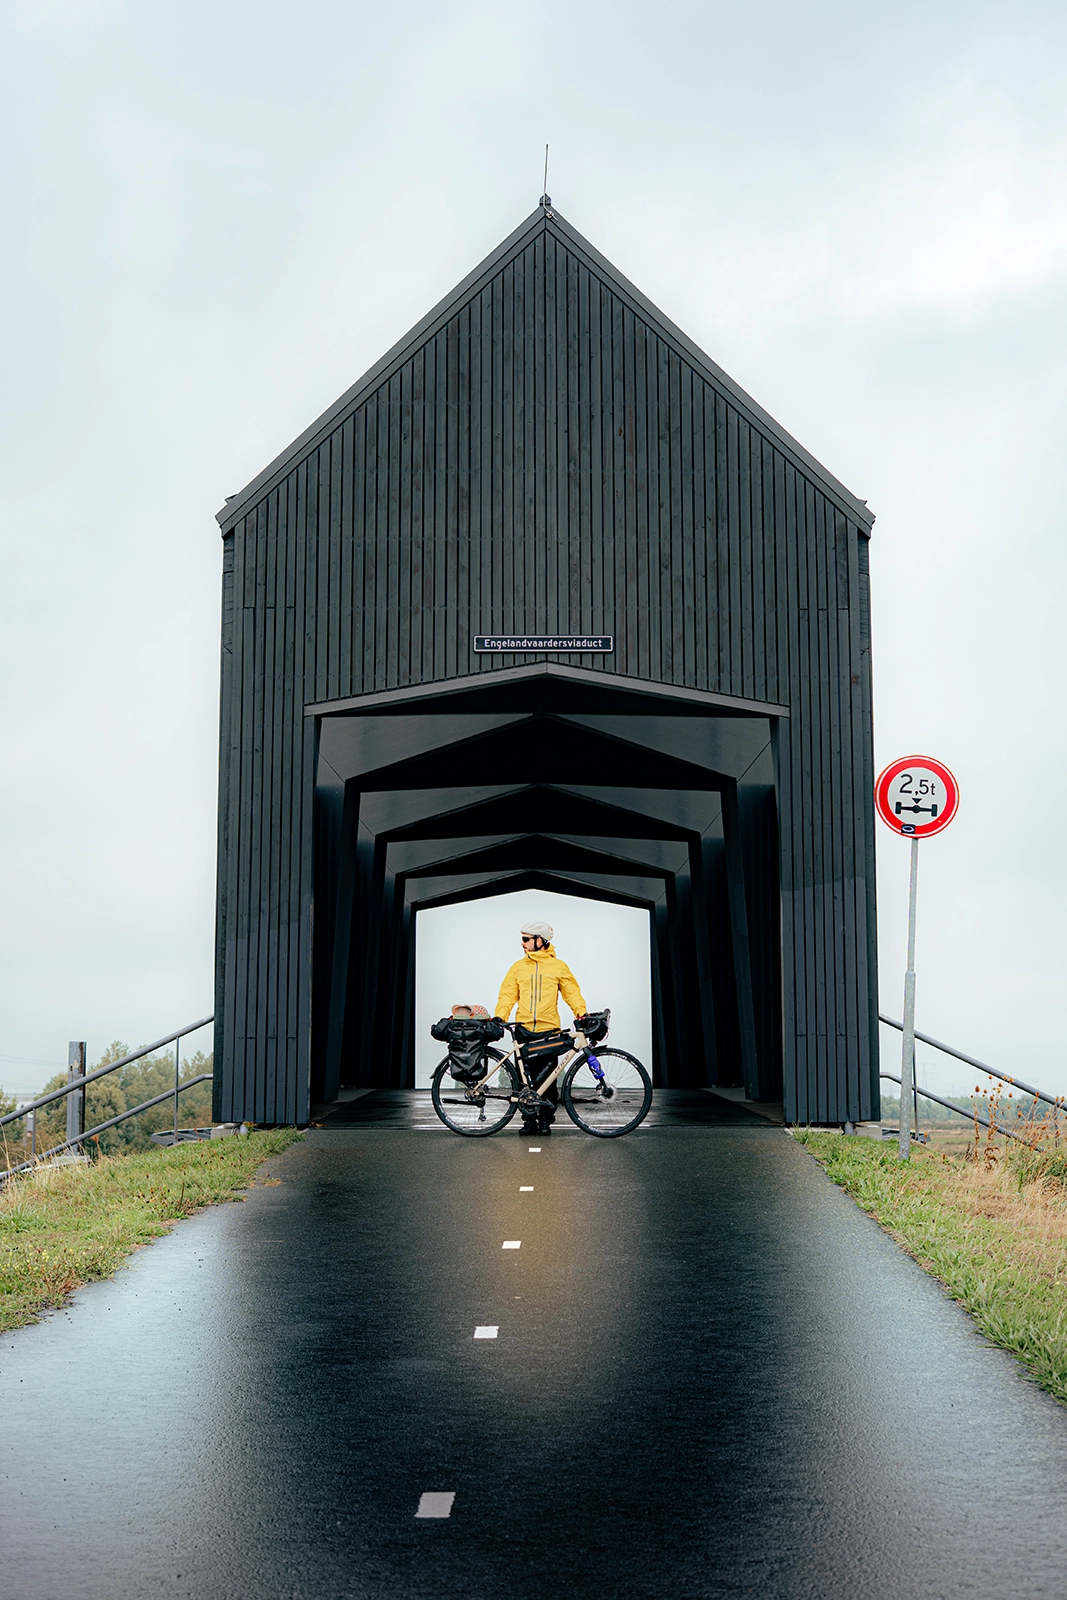
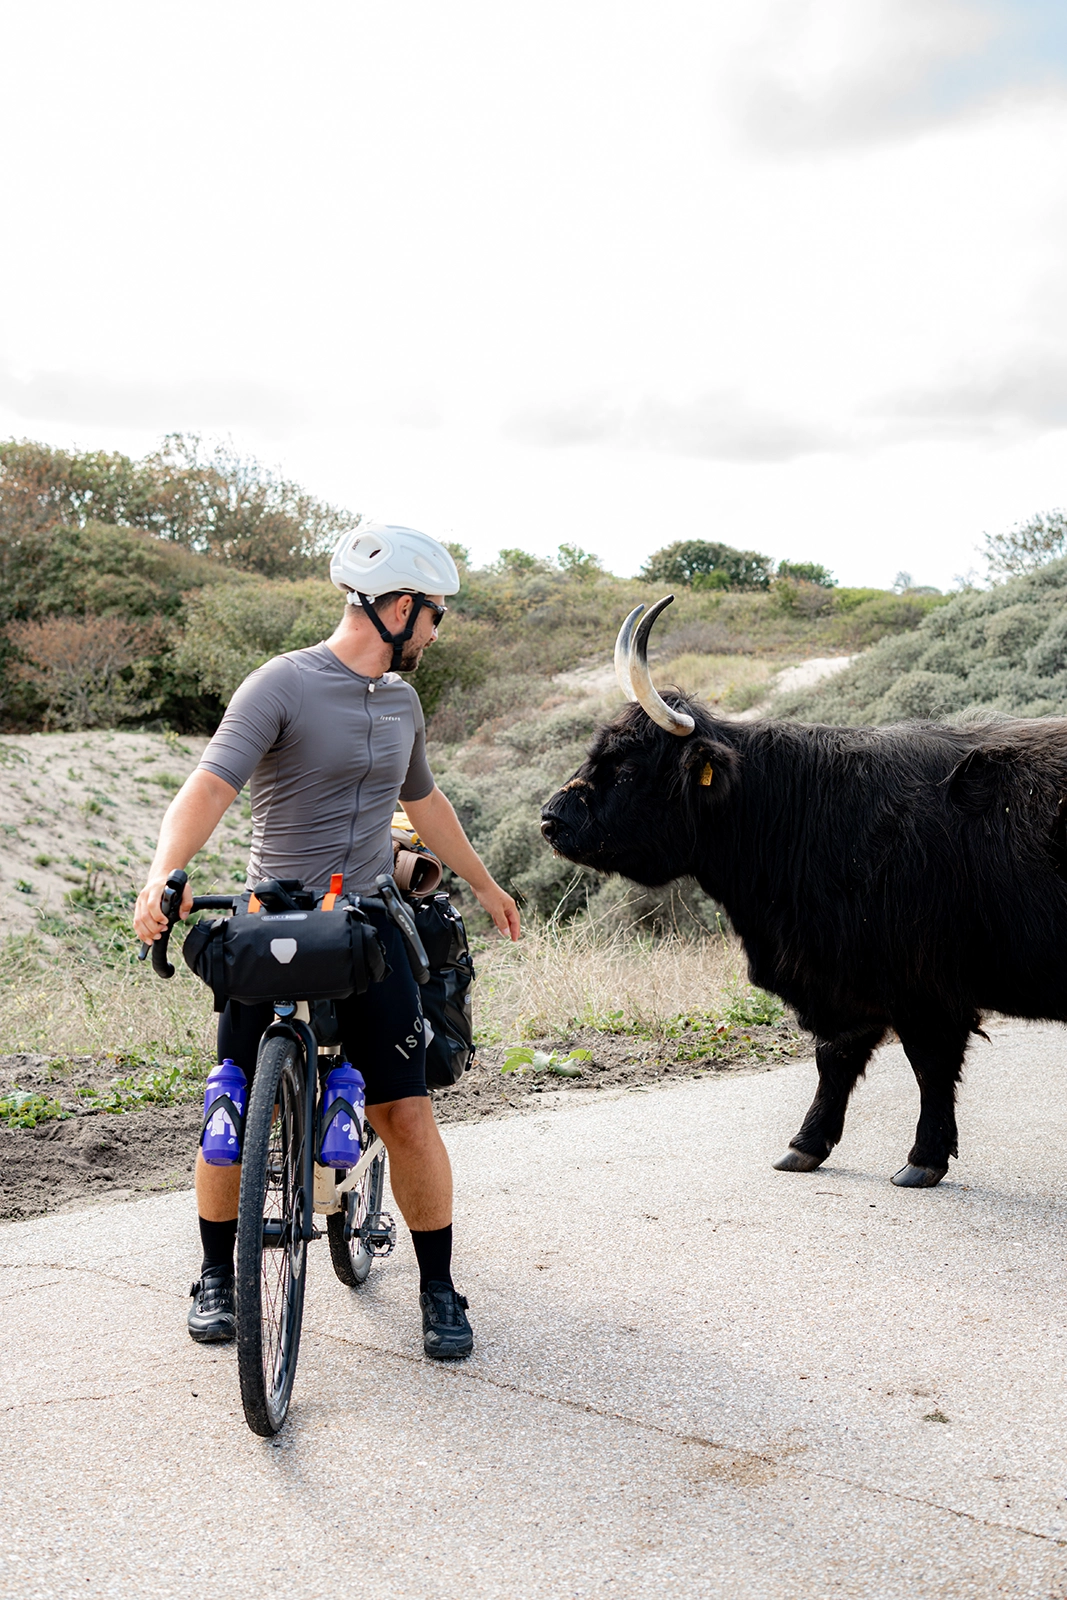
Everything suddenly became incredibly green, with wide-open landscapes, beautiful farmhouses, horses, sheep, cows, and little canals winding between the houses.

After spending several days cycling through Germany, the contrast was pretty amazing.

We absolutely loved this part of the trip.

Of course, the Netherlands is famous for cycling, and the infrastructure is excellent, especially in cities.

But there was one thing that surprised us.

In the countryside, some roads are shared with cars, and drivers seem so used to cyclists that they sometimes drive and pass a little too fast for comfort.

And cycling in Dutch cities? That’s a whole different experience!

People ride fast, often without helmets, overtake you from every direction, and scooters also use some of the bike lanes.

It all seems to work because everyone knows the unwritten rules. But when you’re arriving for the first time with fully loaded bikes, it can feel a little chaotic!

Rotterdam and Hoek van Holland: finally reaching the North Sea

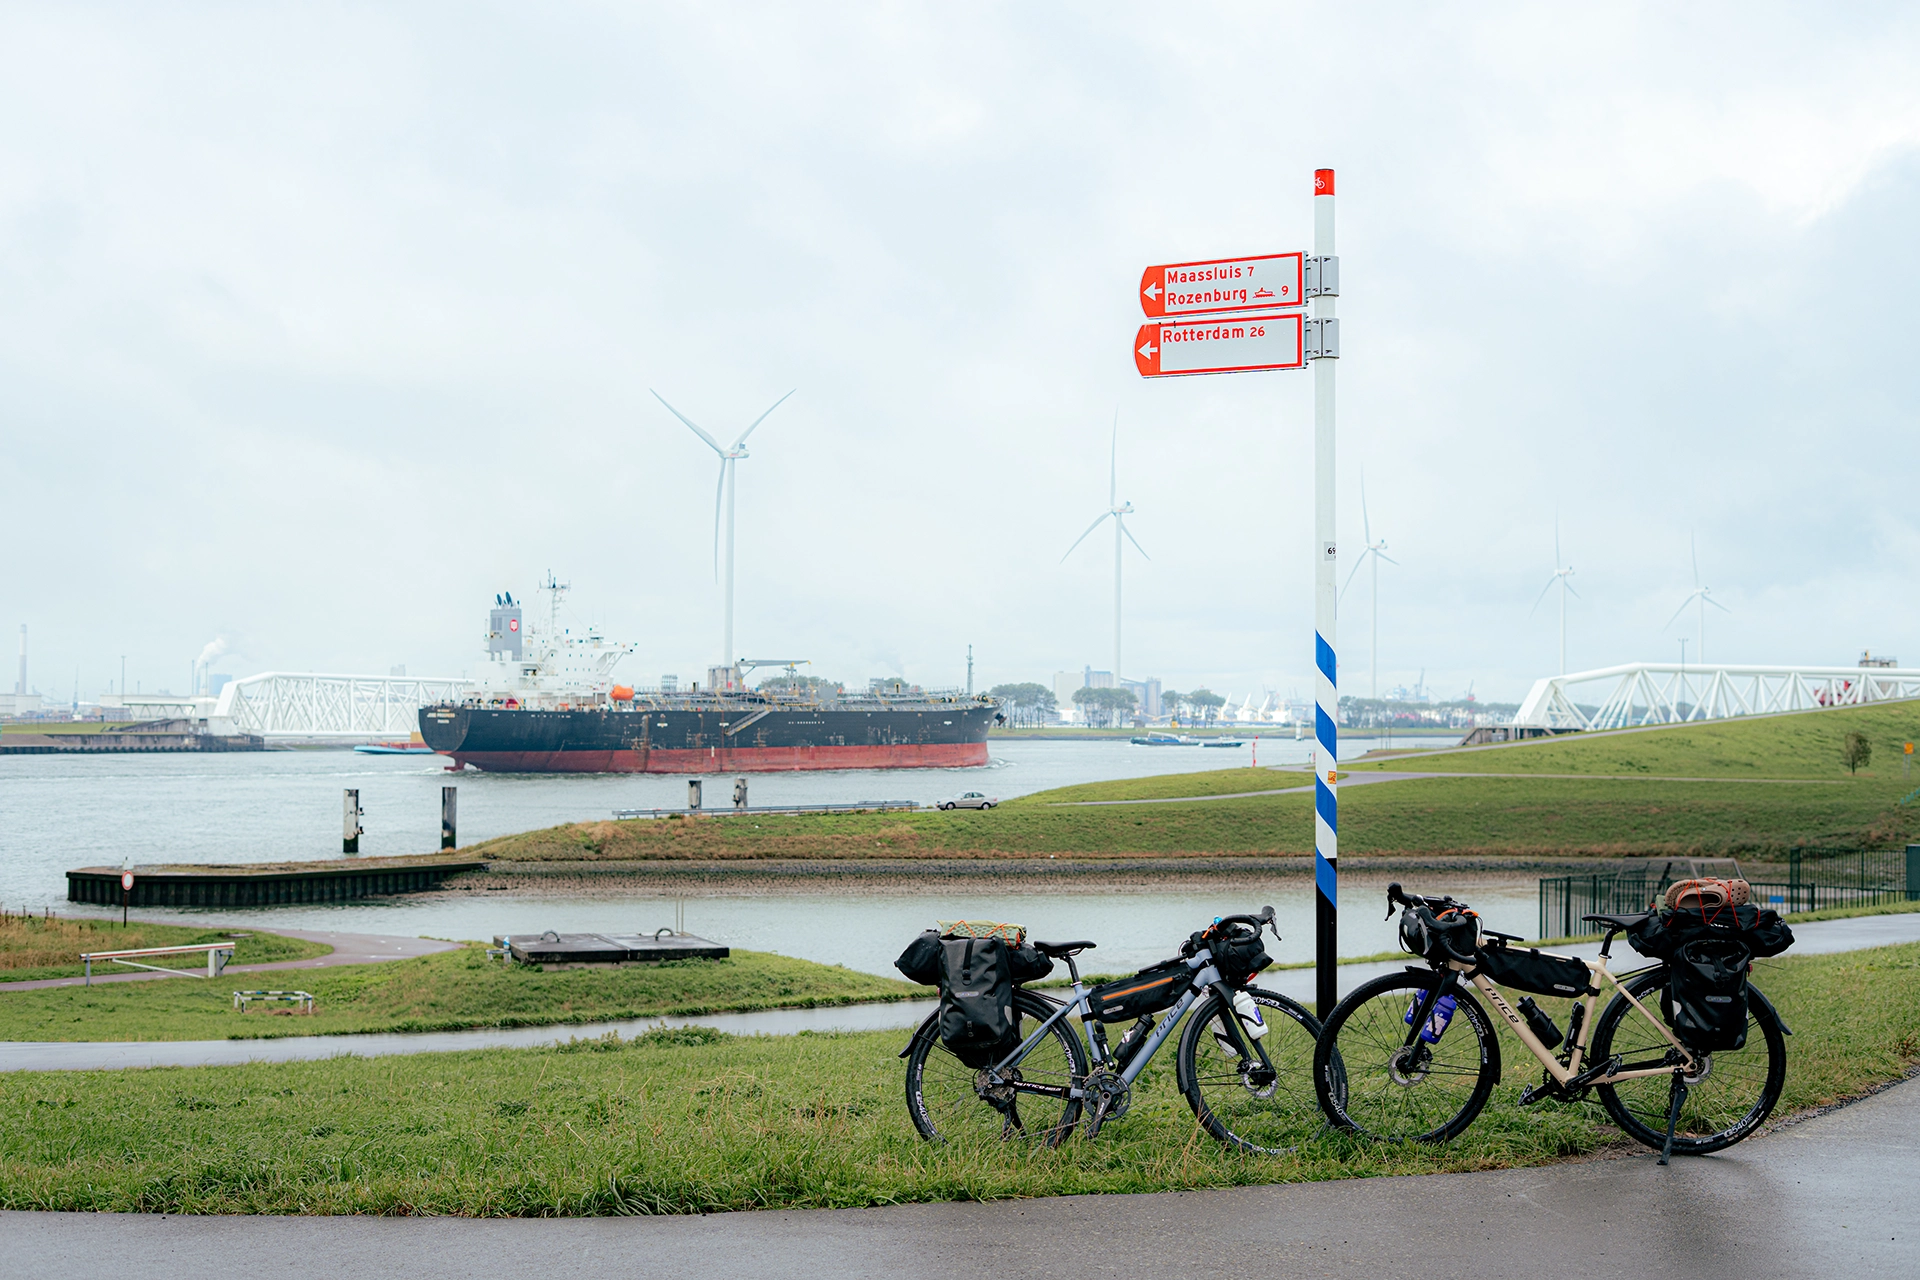
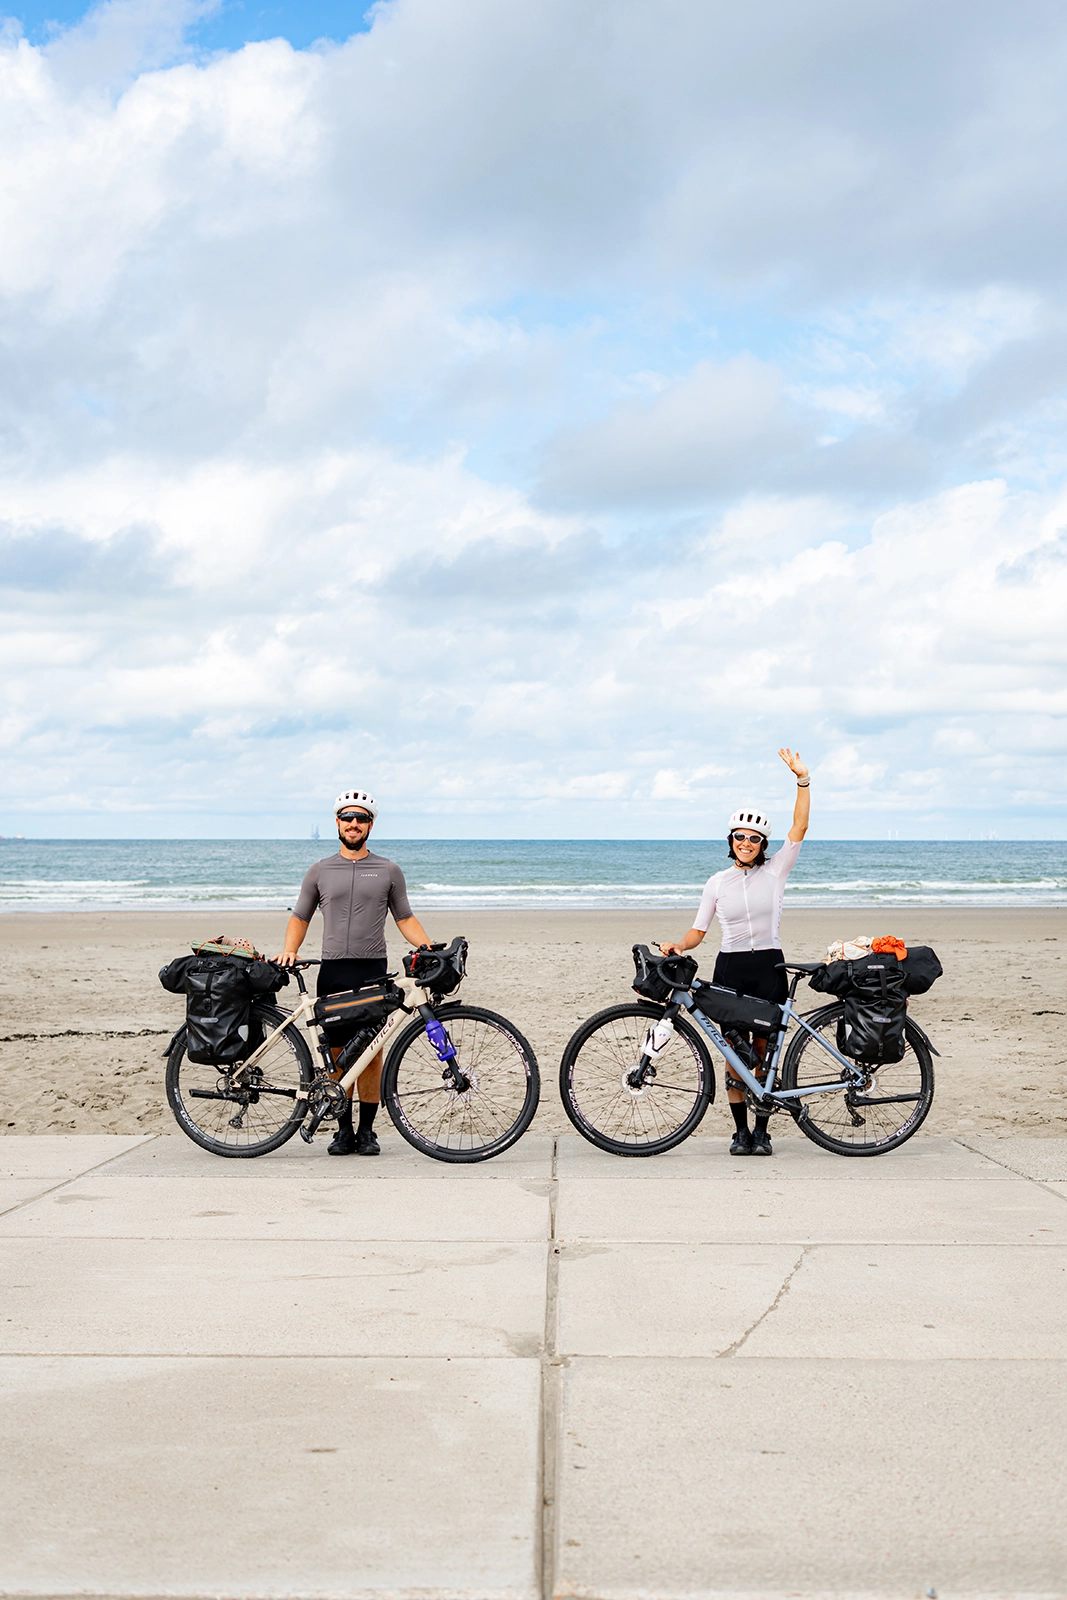
Our real goal wasn’t just to reach Rotterdam. We wanted to follow the Rhine all the way to the coast and finally reach the North Sea.

After cycling approximately 933 km (580 miles) from Basel, we made it to Hoek van Holland.

And obviously, after following the Rhine for almost two weeks, there was no way we were just going to stand on the beach and look at the water.

We had to go for a swim!

If you’re planning a similar trip, we’d definitely recommend continuing all the way to Hoek van Holland rather than finishing in Rotterdam.

There’s something really special about finally reaching the sea after following a river for so long. It genuinely feels like you’ve completed the journey.

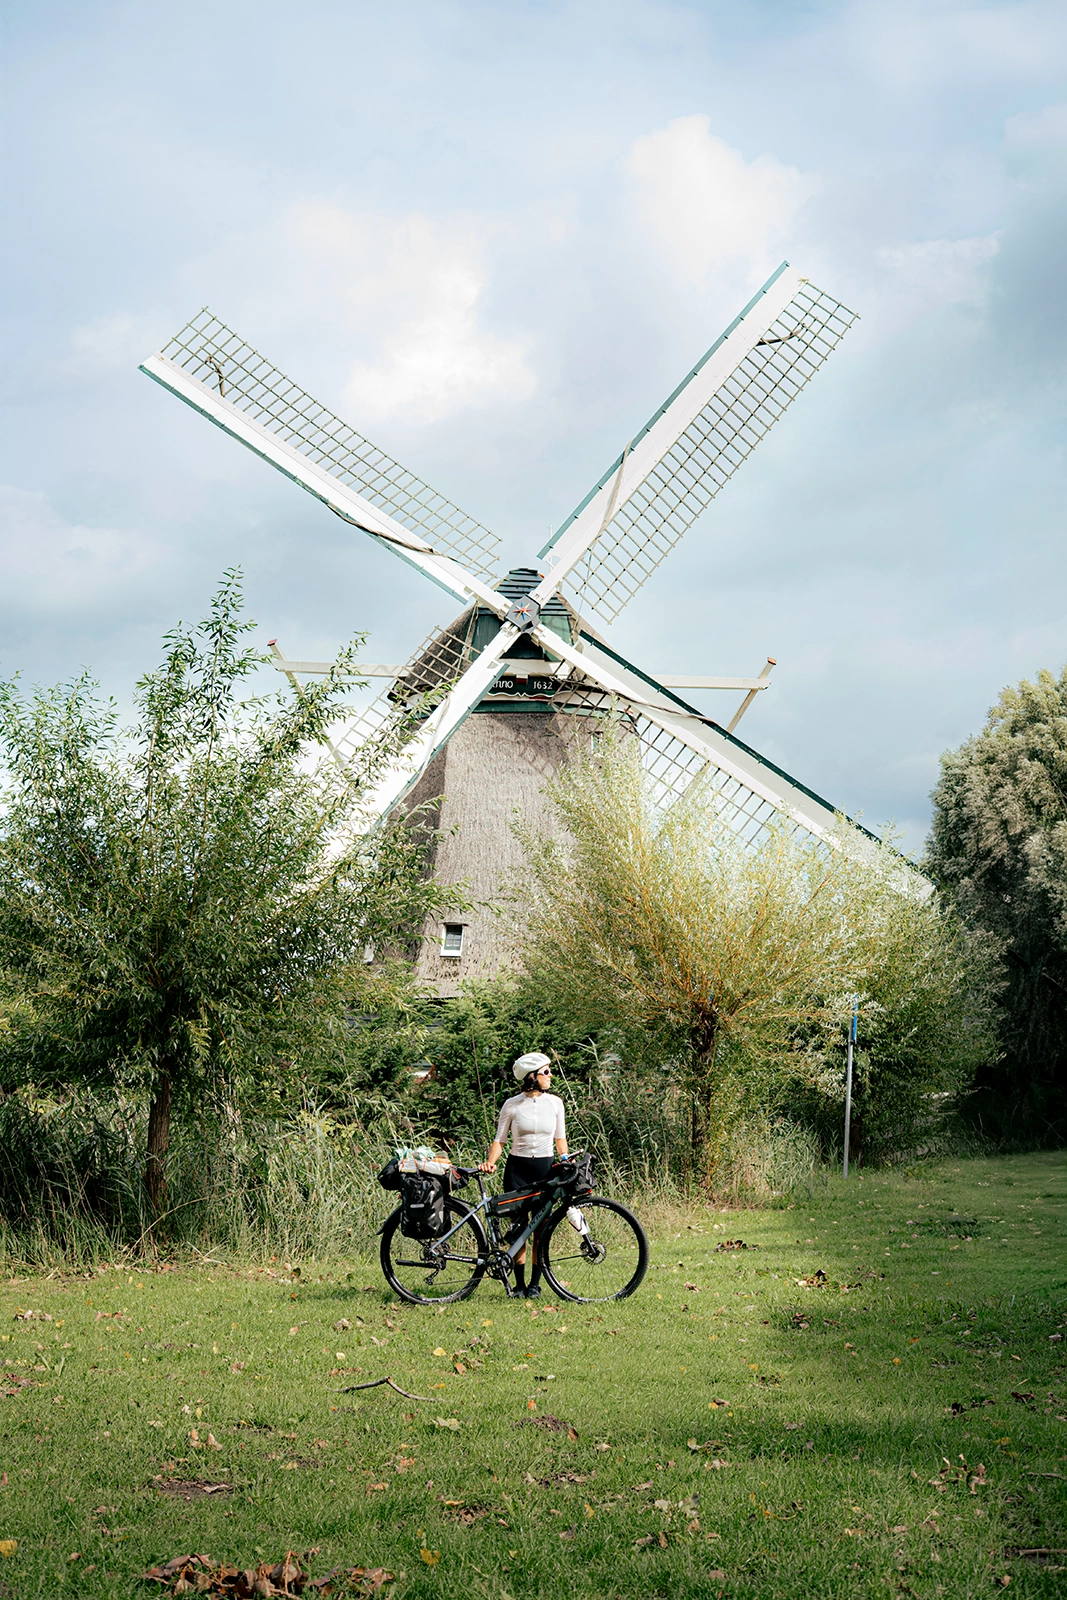
If you have some extra time around Rotterdam, you can also take a detour to see the famous Dutch windmills.

We didn’t manage to fit them into our itinerary, and that’s one thing we slightly regret.

From Hoek van Holland to Amsterdam

Once we reached the North Sea, we could have called it a day.

But we still had a little time before our overnight train home, and we were getting dangerously close to the 1,000 km mark…

So naturally, continuing to Amsterdam started sounding like a pretty good idea 👀

And we’re so glad we did.

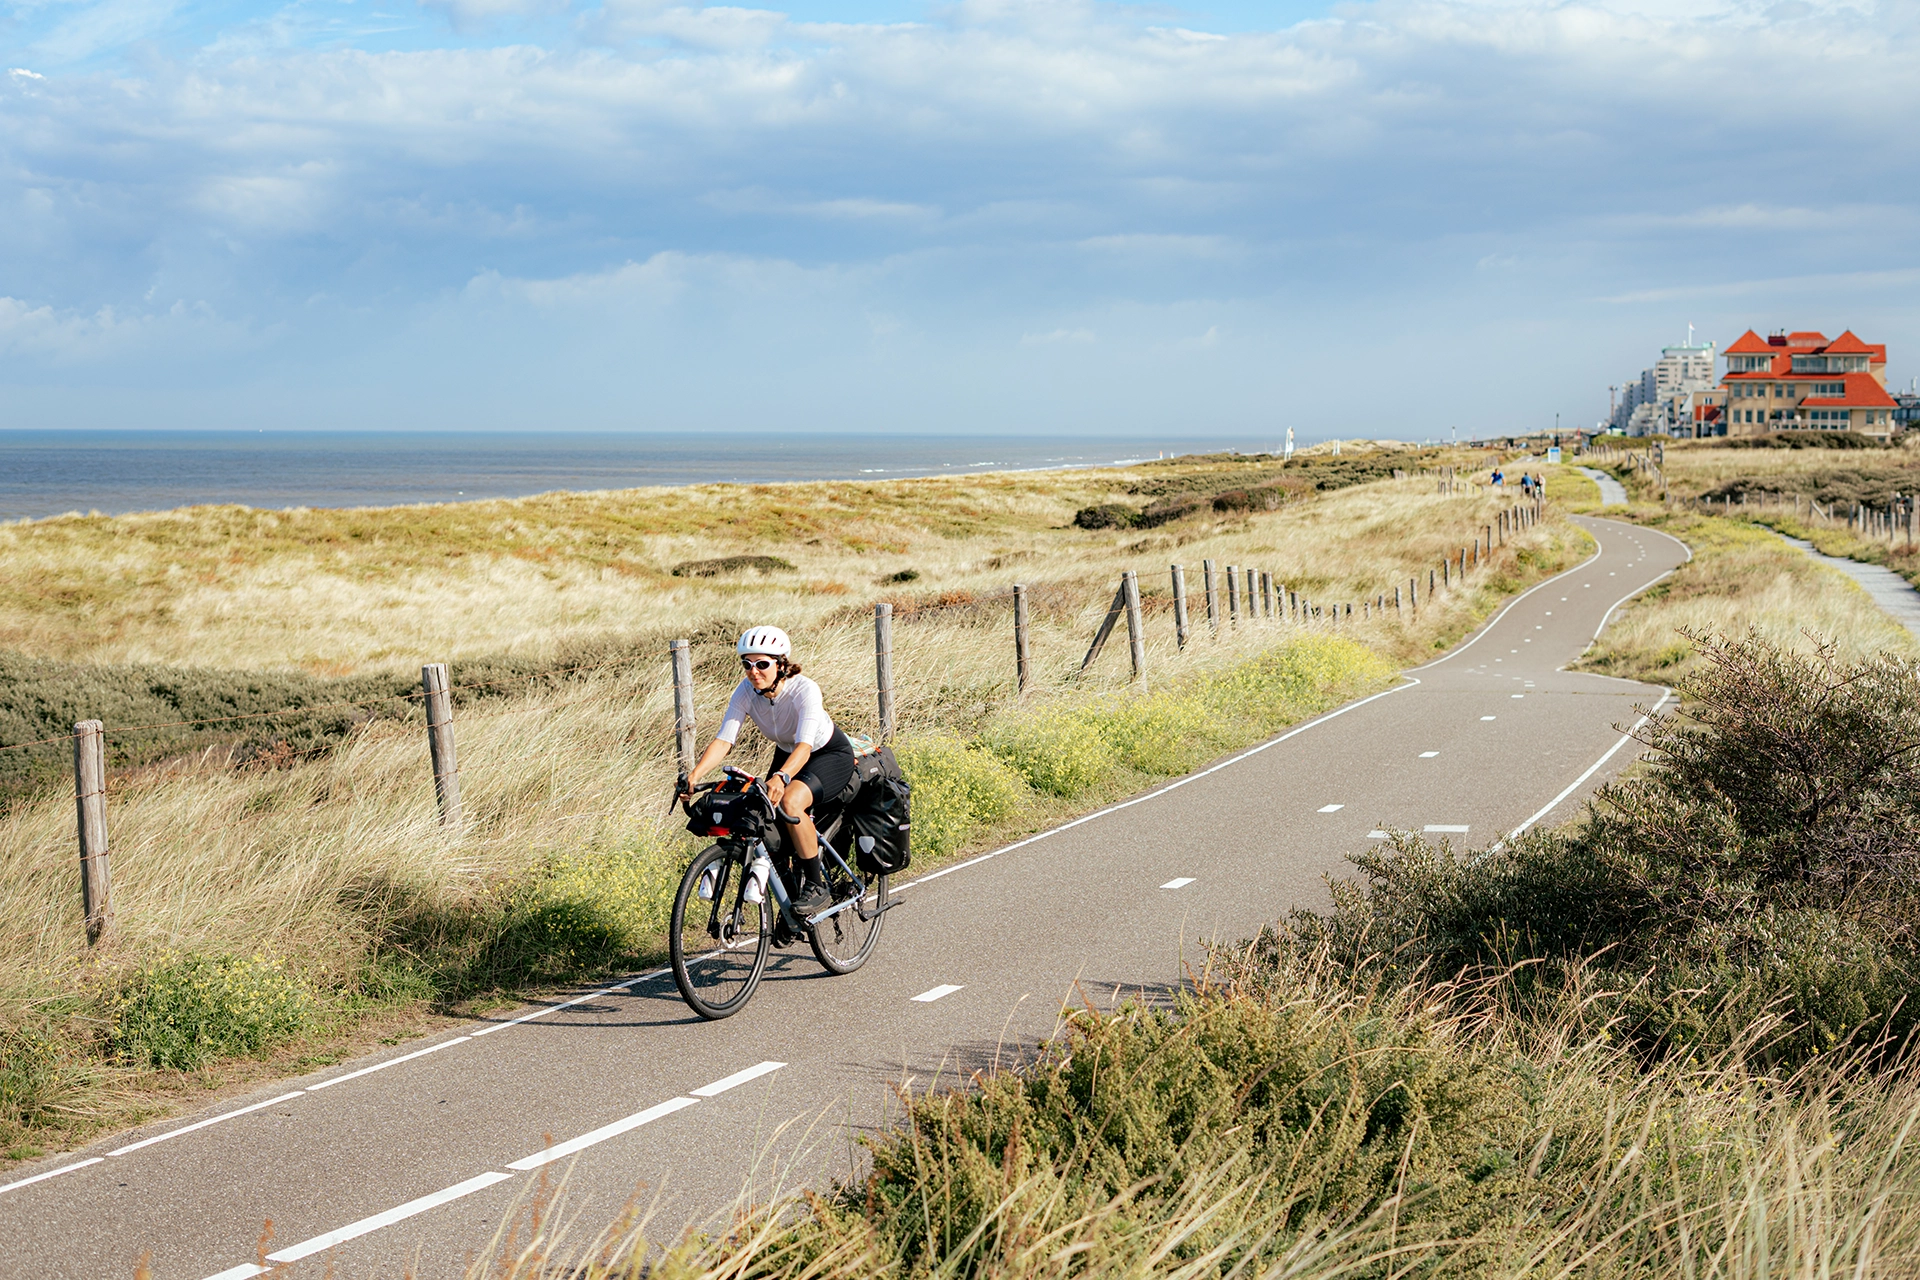
From Hoek van Holland, we continued north along the coast, passing through Katwijk before eventually heading toward Amsterdam.

This final stretch felt completely different from the rest of the trip and ended up being one of our favorite sections.

Cycling along the coast after spending nearly 1,000 km following the Rhine was such a great way to wrap up the adventure.

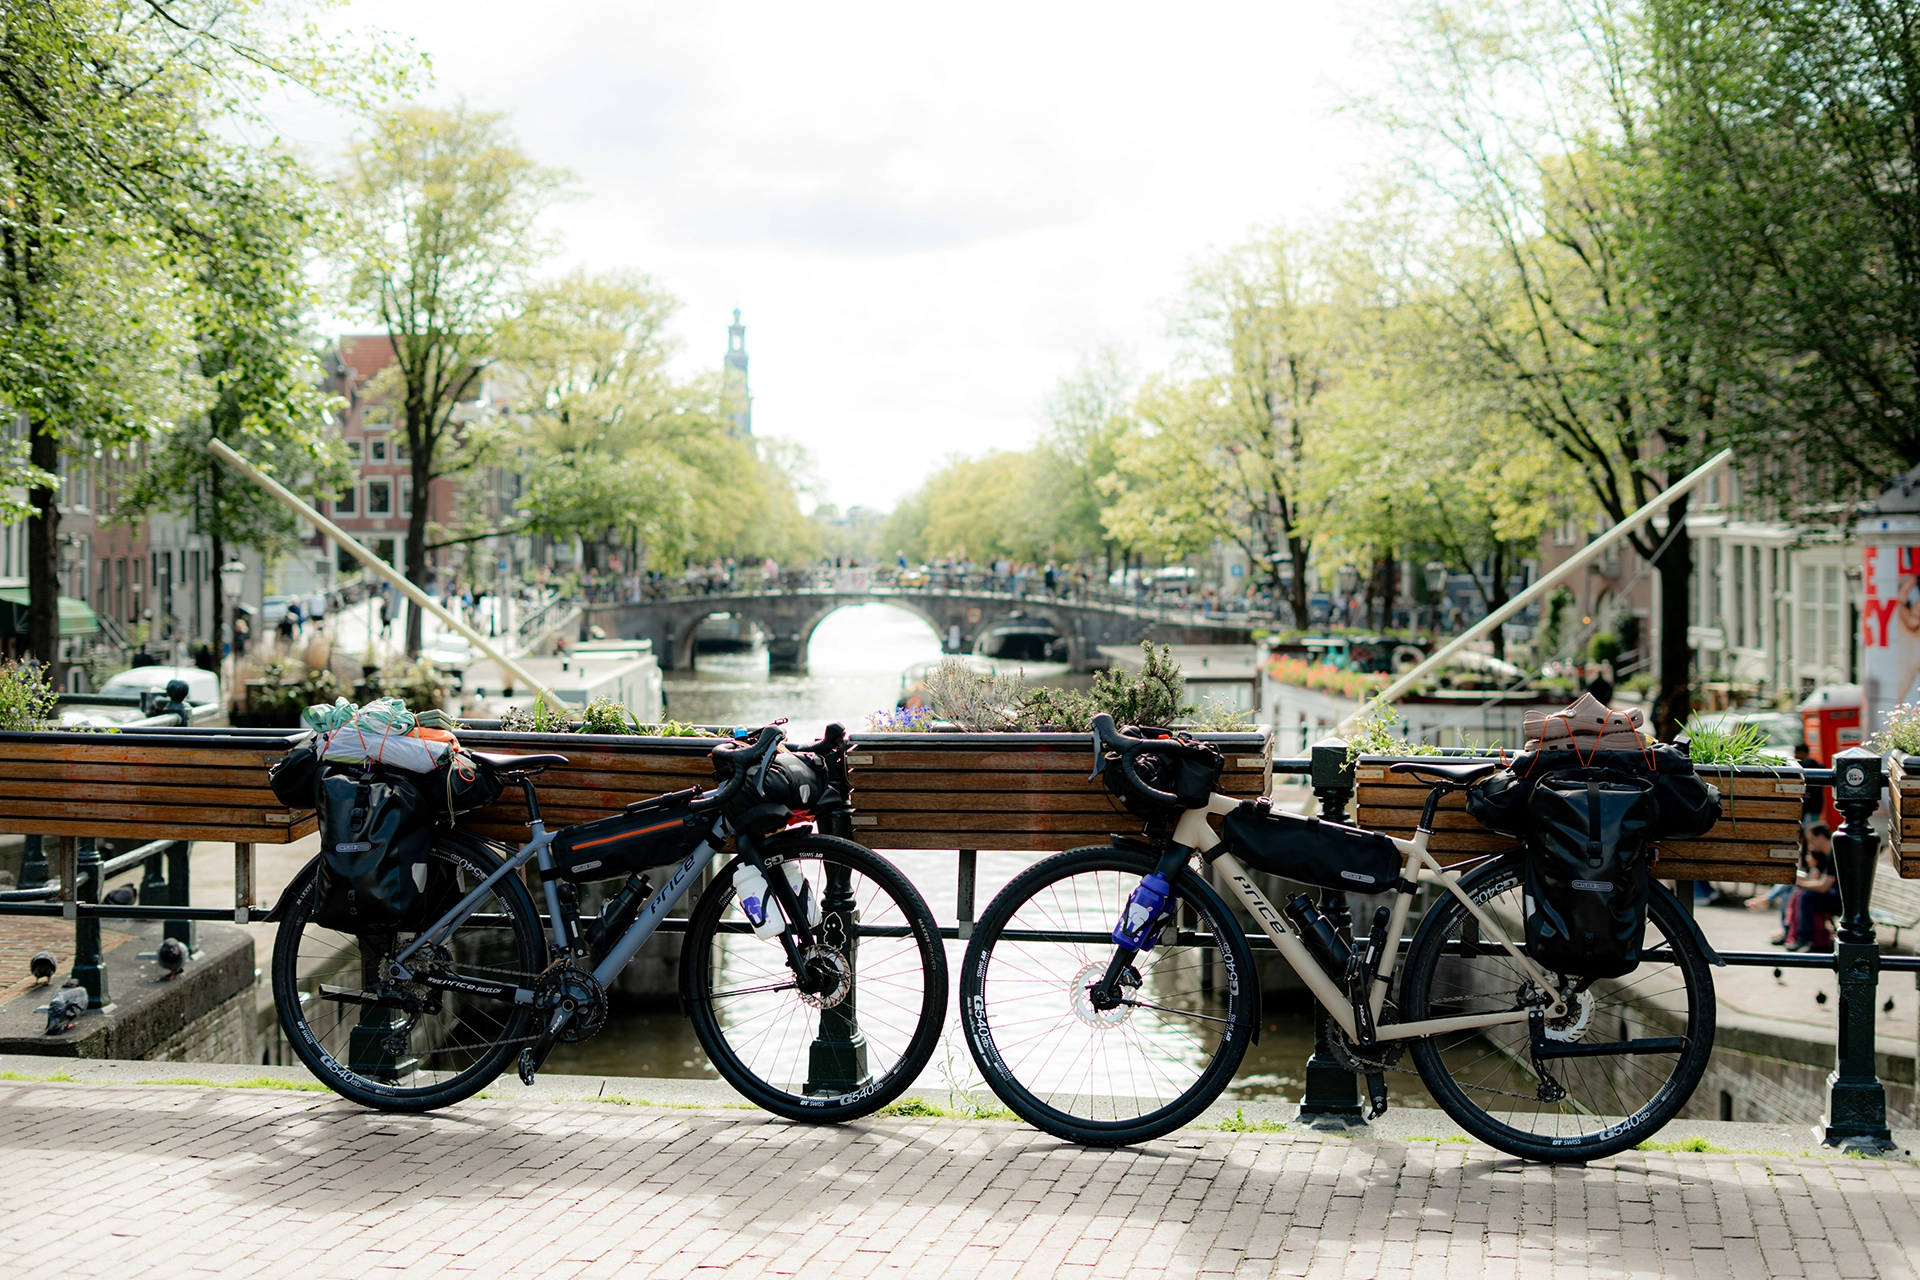
We finally arrived in Amsterdam on September 12, with 1,032 km (641 miles) on our bike computers.

Do you have to follow EuroVelo 15 exactly?

Not at all.

EuroVelo 15, also known as the Rhine Cycle Route, is an excellent starting point for planning a bike trip along the Rhine. But we personally preferred creating our own itinerary.

Before leaving, we looked at several routes on Komoot, then adapted our plans along the way depending on campsites, daily distances, bike paths, and the places we wanted to explore.

Some evenings, we even completely changed the following day’s route.

This helped us avoid unnecessary detours and, more importantly, gave us the freedom to travel at our own pace.

Our advice? Treat established cycling routes as a guide rather than something you absolutely have to follow.

The most important thing is making sure your GPS takes you along bike-friendly roads and checking river crossings in advance.

What's the best bike for cycling along the Rhine?

If you’re planning to follow a route similar to ours, we’d definitely recommend a gravel bike.

Over the entire trip, we estimate that approximately 60% of our route was paved and 40% consisted of gravel roads and unpaved trails.

Of course, this varied quite a bit from day to day.

The first few days were especially gravel-heavy, with lots of forest trails, loose stones, and unpaved paths.

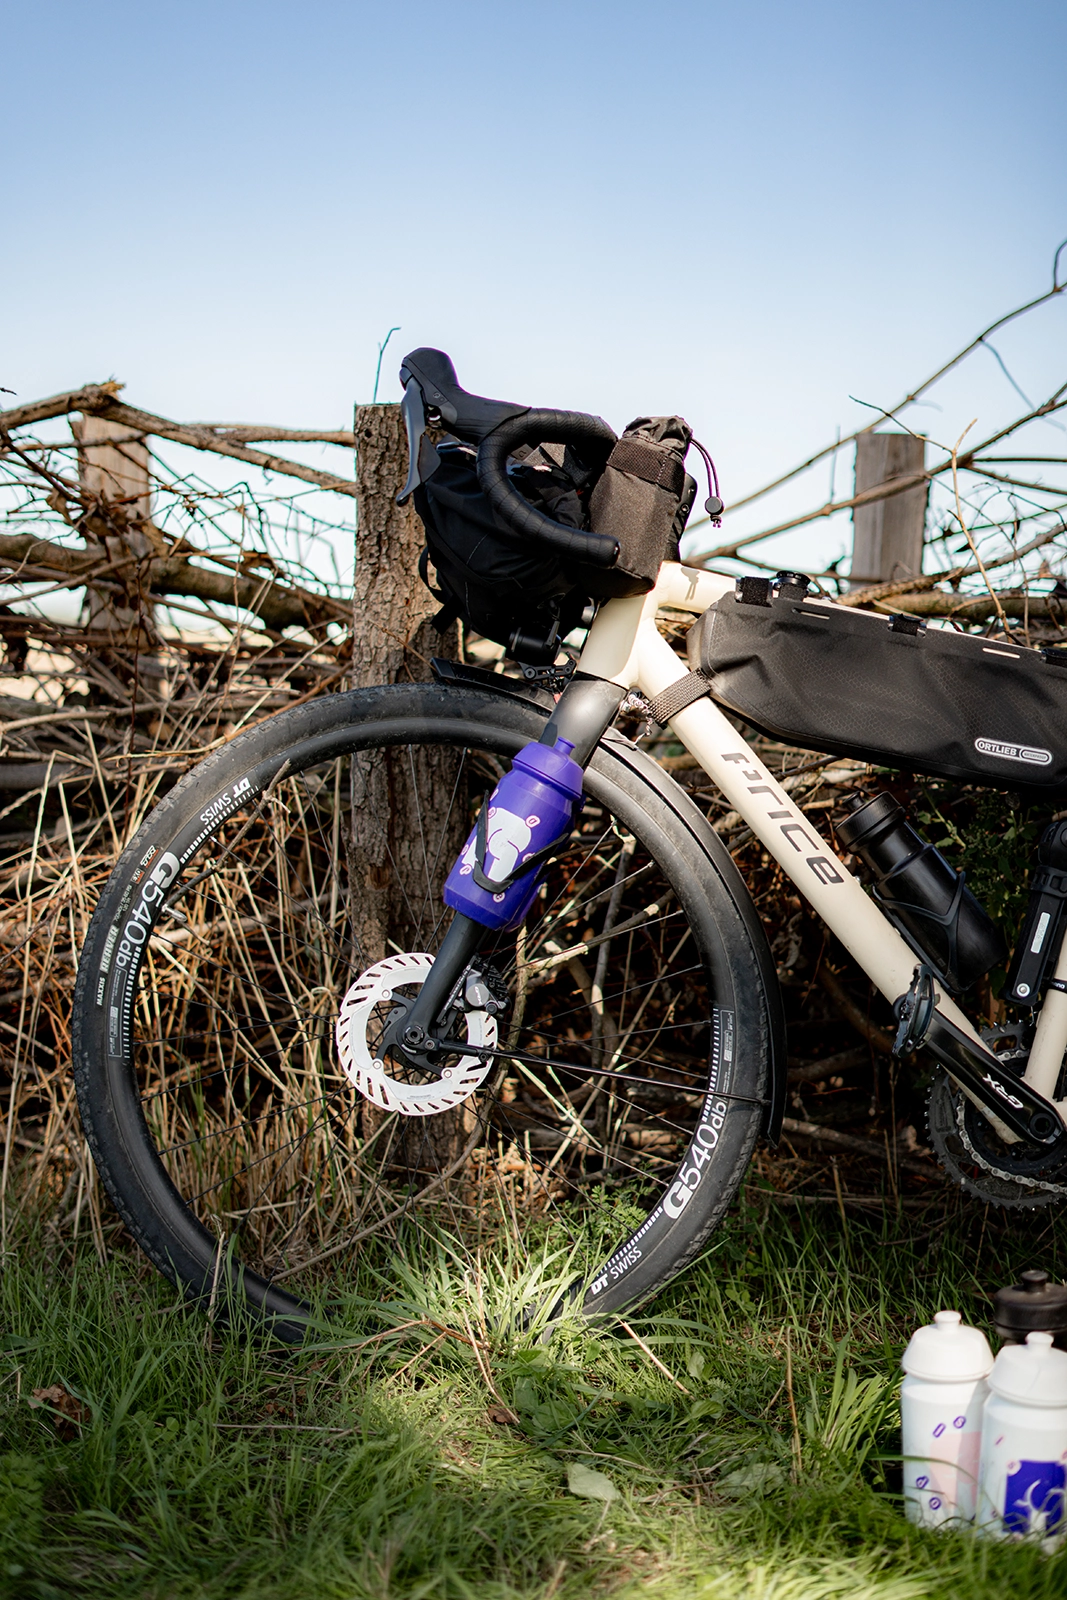
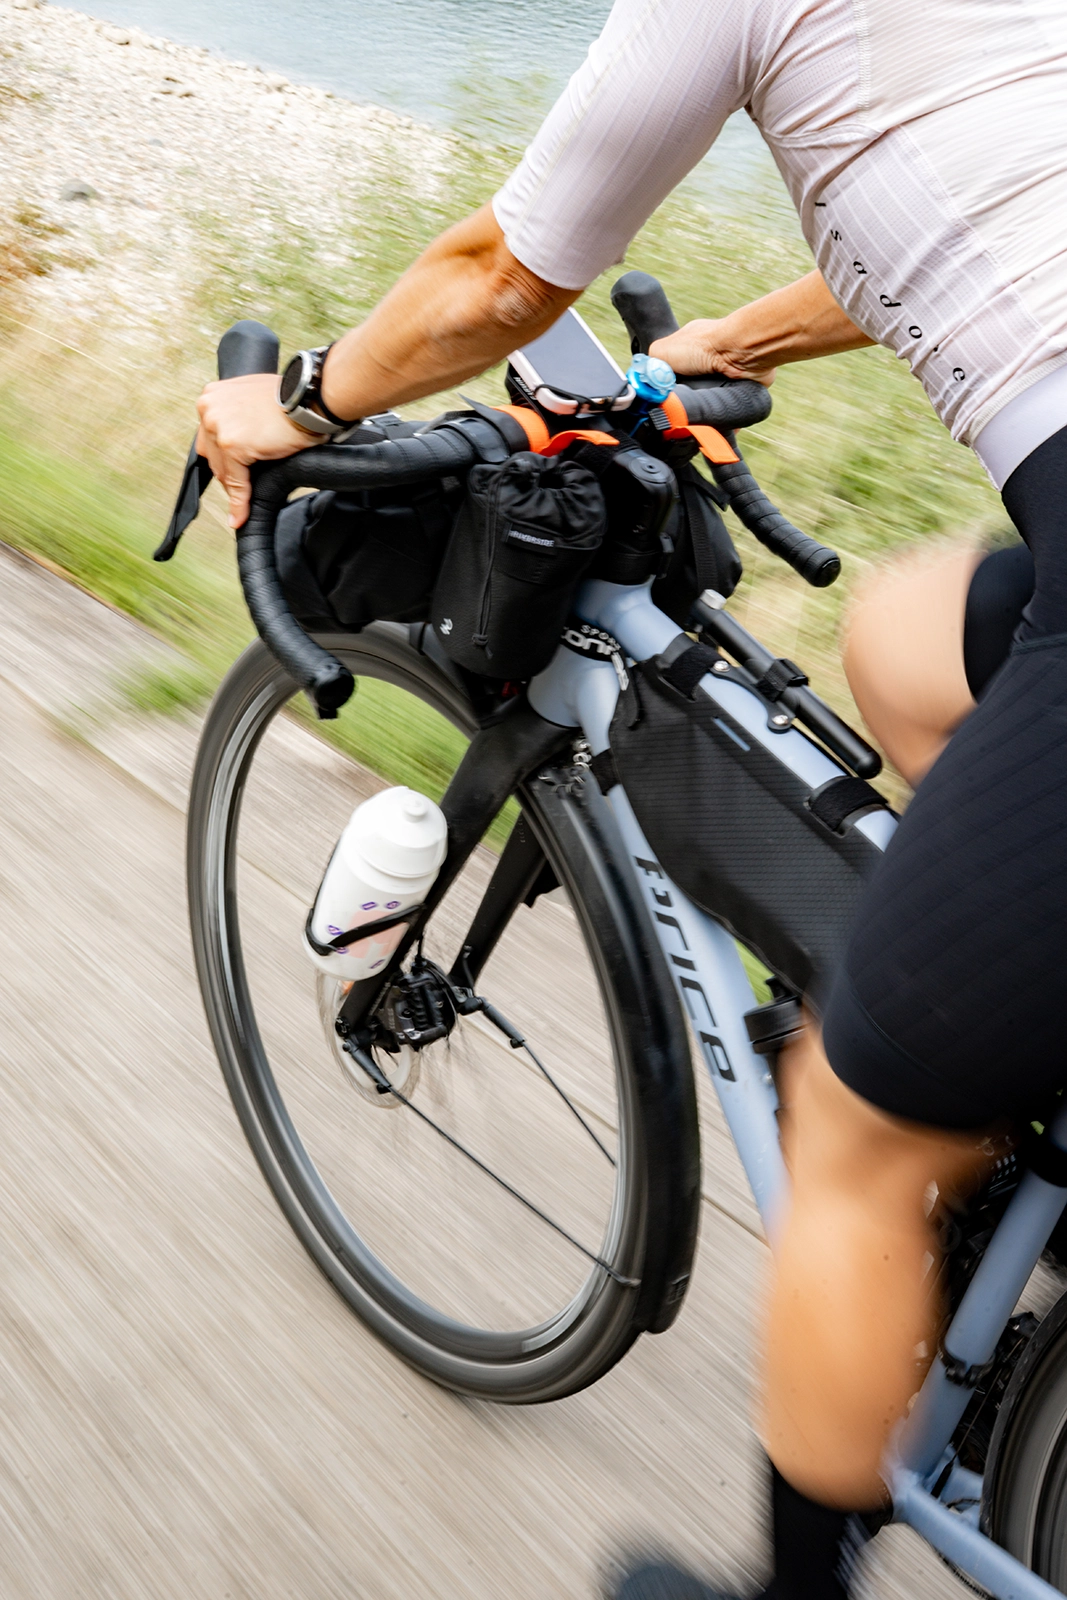
We were both riding 2026 Price Allroad bikes, equipped with Maxxis Reaver 700x40C tires.
For us, this setup was the perfect balance: fast enough on paved bike paths and roads, but comfortable and stable when the terrain got rougher.

You can absolutely complete this trip on a road bike, but you’ll need to be more careful when planning your route and stick to paved alternatives whenever possible.

That might mean adding a few extra kilometers here and there.

A touring or trekking bike would also be a great choice.

How many kilometers can you cycle per day?

Before leaving, one of our biggest questions was how our bodies would handle cycling for more than two weeks straight.

As it turned out, we adapted much faster than expected.

The biggest advantage of this route is that it’s almost entirely flat, generally with less than 300 m (985 ft) of elevation gain per day.

We cycled between 45 and 80 km (28–50 miles) daily, averaging around 70 km (43 miles).

Most mornings, we left the campsite between 8:30 and 9:30 a.m. and arrived at the next one around 4:30 or 5:30 p.m.

That gave us plenty of time to stop for lunch, buy groceries, take photos, or grab a coffee along the way.

Our average speed was around 15 km/h (9 mph).

Looking back, we think 60 to 80 km (37–50 miles) per day is a really good pace if you want to enjoy the journey rather than spend the entire day pushing to reach your destination.

More experienced cyclists could easily plan stages of 100 km (62 miles) or more.

Sore muscles and saddle pain: what we wish we'd known

During the first few days, we mainly experienced soreness in our upper bodies, hands, and, of course, our butts.

Thankfully, once we’d warmed up in the morning, things usually felt much better.

One thing became very clear: a good pair of padded cycling shorts and a comfortable, properly fitted saddle make a huge difference.

To help with muscle soreness, we found that stretching in the evening, taking magnesium, drinking plenty of water, eating enough, and getting a good night’s sleep all helped us recover.

When you’re spending several hours on the bike every single day, recovery really matters.

Another very important tip: don’t wear underwear underneath your padded cycling shorts, and use chamois cream every morning to prevent chafing.

And a little tip from the female perspective: during my period, what worked best for me was using a tampon and a sanitary pad directly inside my cycling shorts, without underwear.

That way, I avoided adding another layer of fabric and reduced friction as much as possible.

Staying hydrated on the bike

One thing that surprised us was how few public drinking water fountains we came across along the route.

Every morning, we each carried two 500 ml bottles and one 650 ml bottle, giving us a total of 1.65 liters (56 fl oz) of water per person.

That was generally enough for us, and on hotter days, we’d refill our bottles whenever we stopped at a café.

We also used electrolytes once or twice during the day and sometimes in the evening to help with recovery.

We brought a water filter just in case, but we never ended up needing it.

Where to stay when cycling along the Rhine

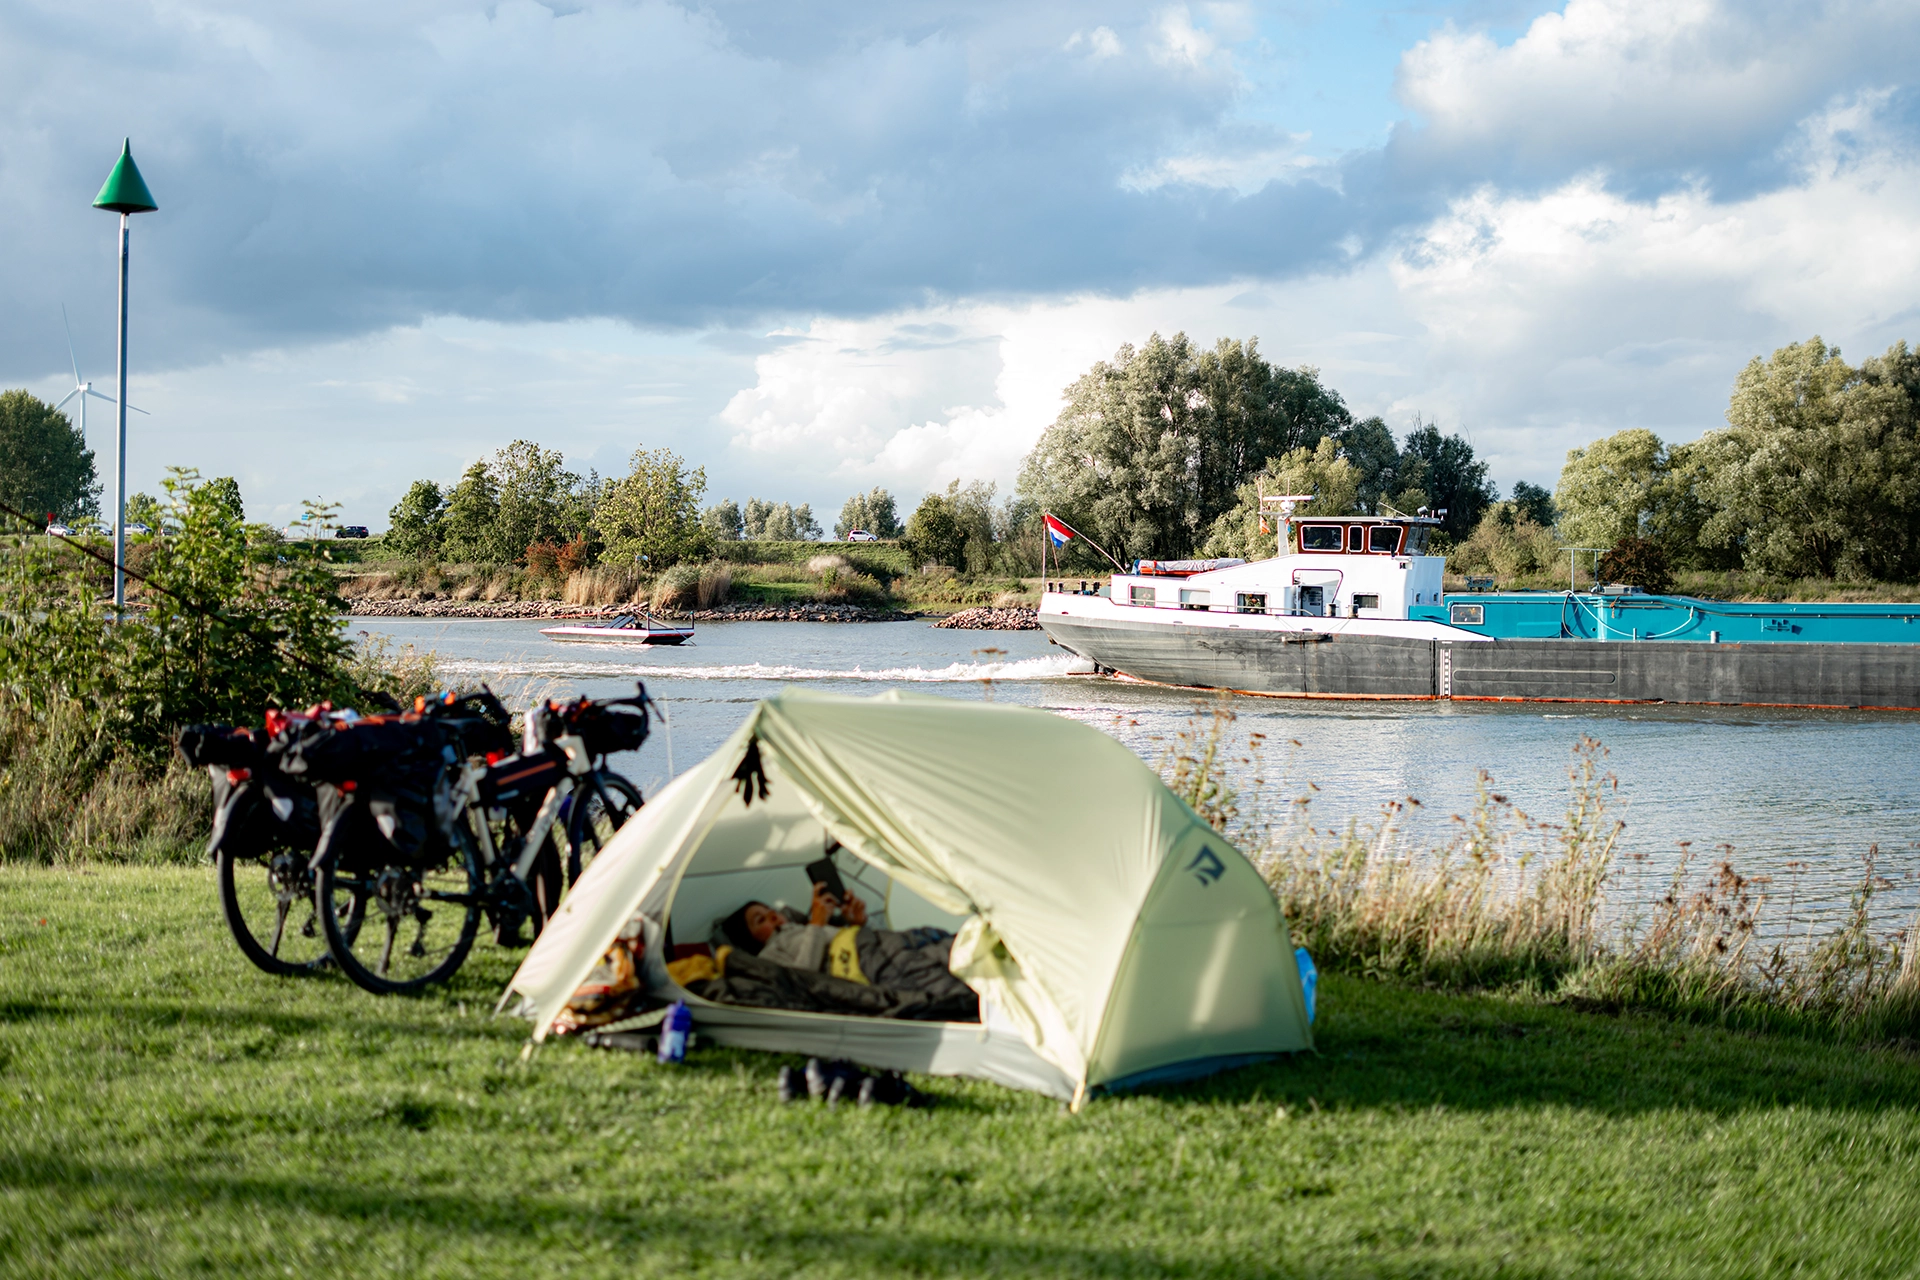
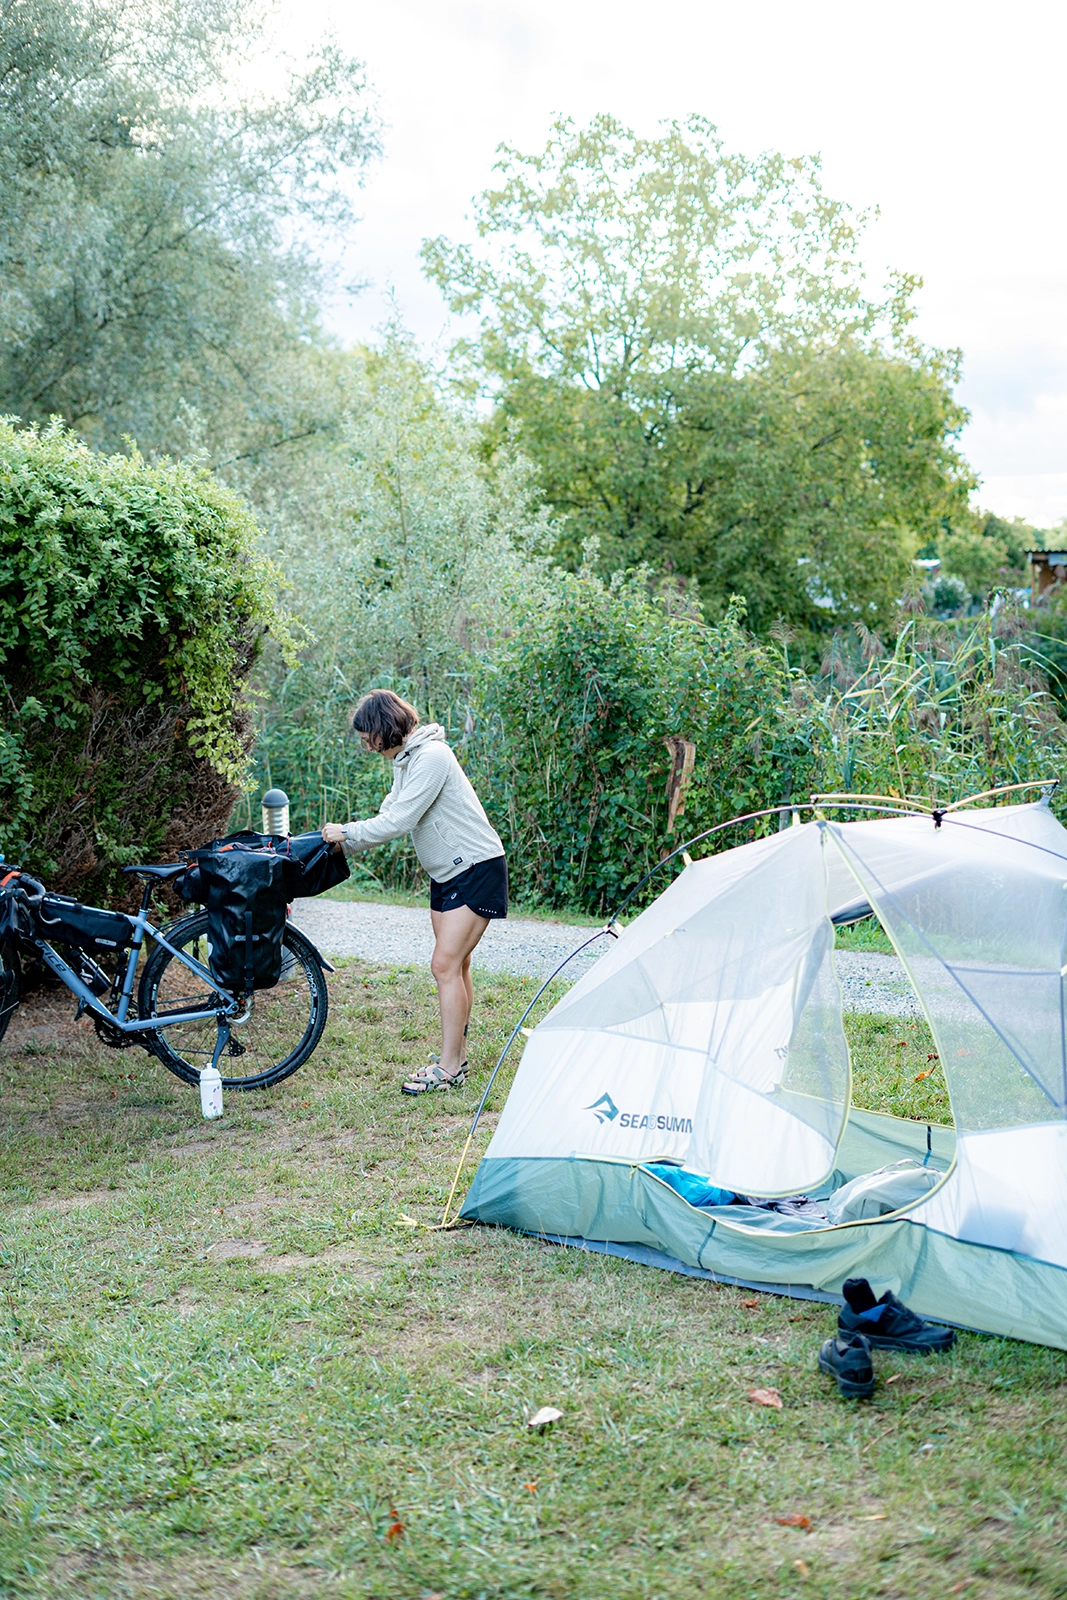
We decided to camp for the entire trip: 16 nights in a tent and not a single night in a hotel.

Not only was it a budget-friendly option, but it also felt like the perfect way to experience this kind of adventure.

We didn’t book any campsites in advance. Instead, every evening, we’d look for somewhere to stay the following night.

In fact, the location of the campsite often determined how far we’d cycle the next day.

We mainly searched on Google Maps, then checked each campground’s website to make sure they actually accepted tents.

Some campgrounds are designed exclusively for campervans and RVs, so it’s worth double-checking.

We never had any real trouble finding places to camp along the Rhine.

Just keep in mind that if you’re traveling toward the end of the season, many campgrounds close around late September.


How much does camping along the Rhine cost?

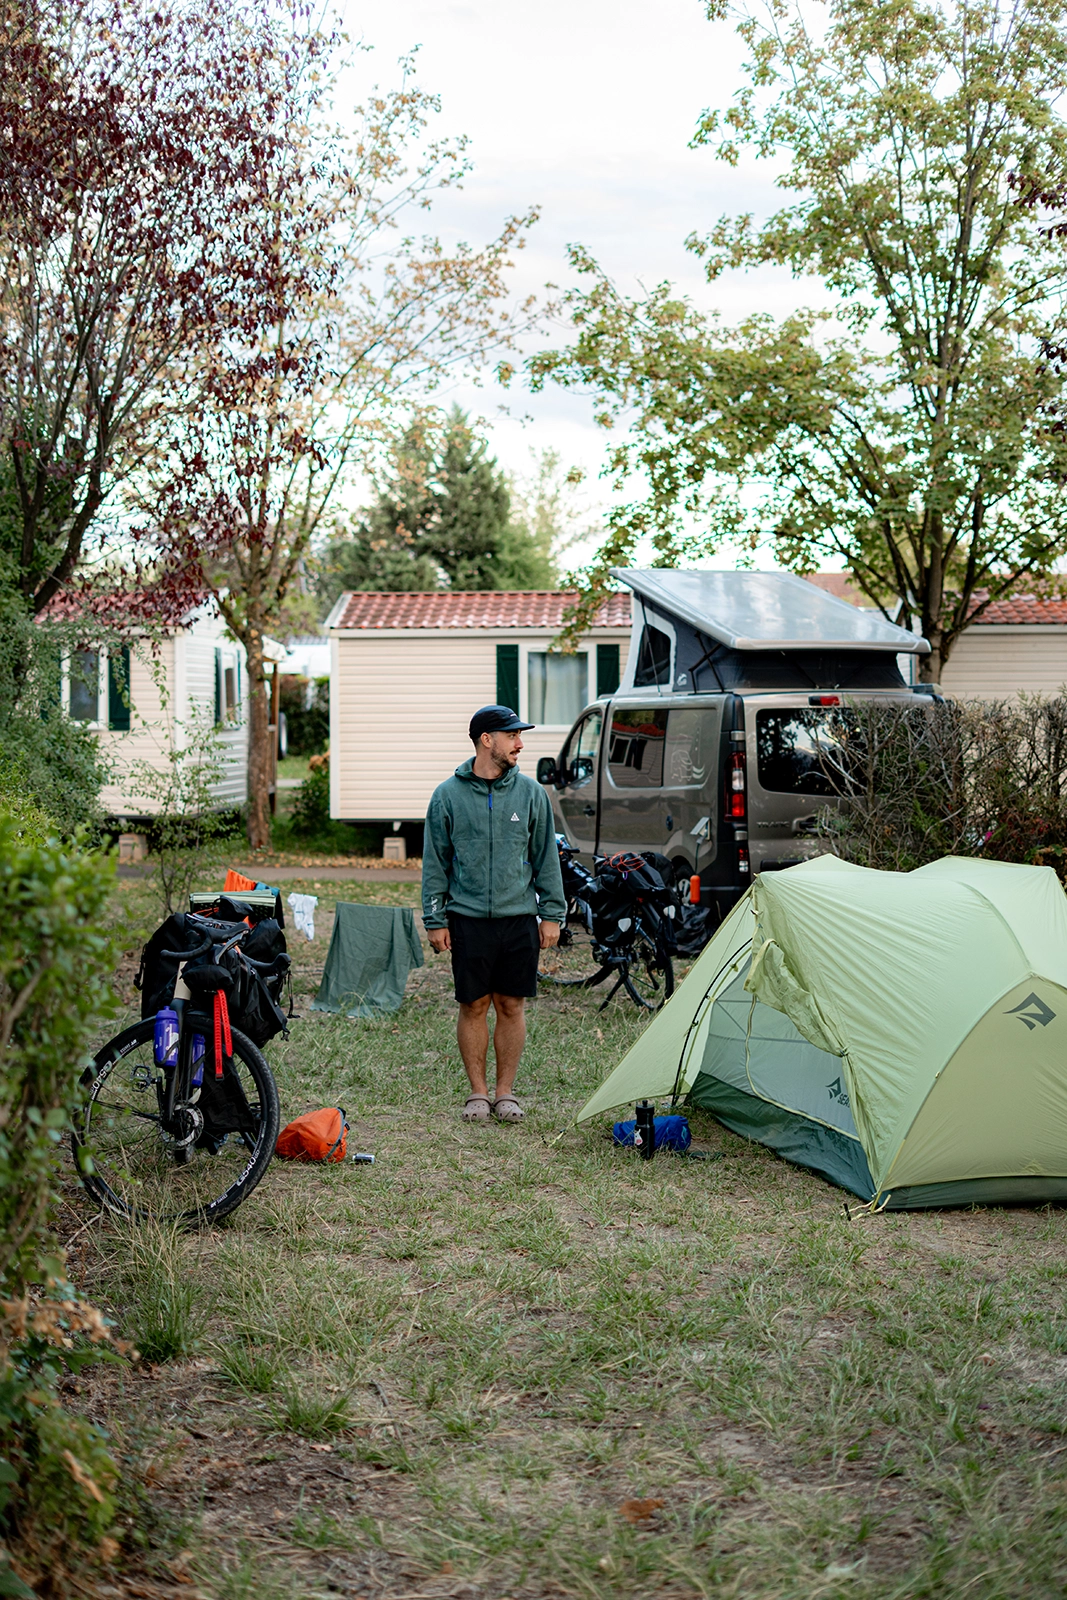
For two people, two bikes, and one tent, we generally paid between €15 and €35 per night.

In France and the Netherlands, campsites were usually around €15–25, while Germany tended to be a little more expensive, often around €30 per night.

We also noticed that many German campgrounds were more geared toward RVs than cyclists traveling with tents.

We often ended up in a small designated tent area without necessarily having access to a picnic table or shelter.

Showers were usually included in the price, although some campgrounds charged around €1 for five minutes.
And one very practical tip: always carry some cash!

A few of the campgrounds we stayed at only accepted cash payments.
 

Charging electronics while camping

This is probably one of those things that’s easy to underestimate before your first bikepacking trip.
Between our phones, Garmin, camera batteries, and other electronics, we had quite a few things to charge every evening.

But at roughly 80% of the campgrounds, there wasn’t an electrical outlet anywhere near our tent.

We’d brought a camping electrical hookup adapter, which turned out to be really useful whenever hookup points were available.

Otherwise, campgrounds sometimes offered to charge our devices at reception or suggested plugging them in inside the shared bathrooms.

It works, but leaving expensive camera gear unattended isn’t exactly ideal…

That’s why we’d definitely recommend bringing one or two power banks and charging them overnight at reception whenever possible.

What to eat on a bikepacking trip

We bought groceries pretty much every day.

Supermarkets were easy to find along the entire route, so we never needed to carry several days’ worth of food.

One important thing to remember, though: most supermarkets and grocery stores in Germany are closed on Sundays.

Make sure to stock up the day before so you have enough food for the day.

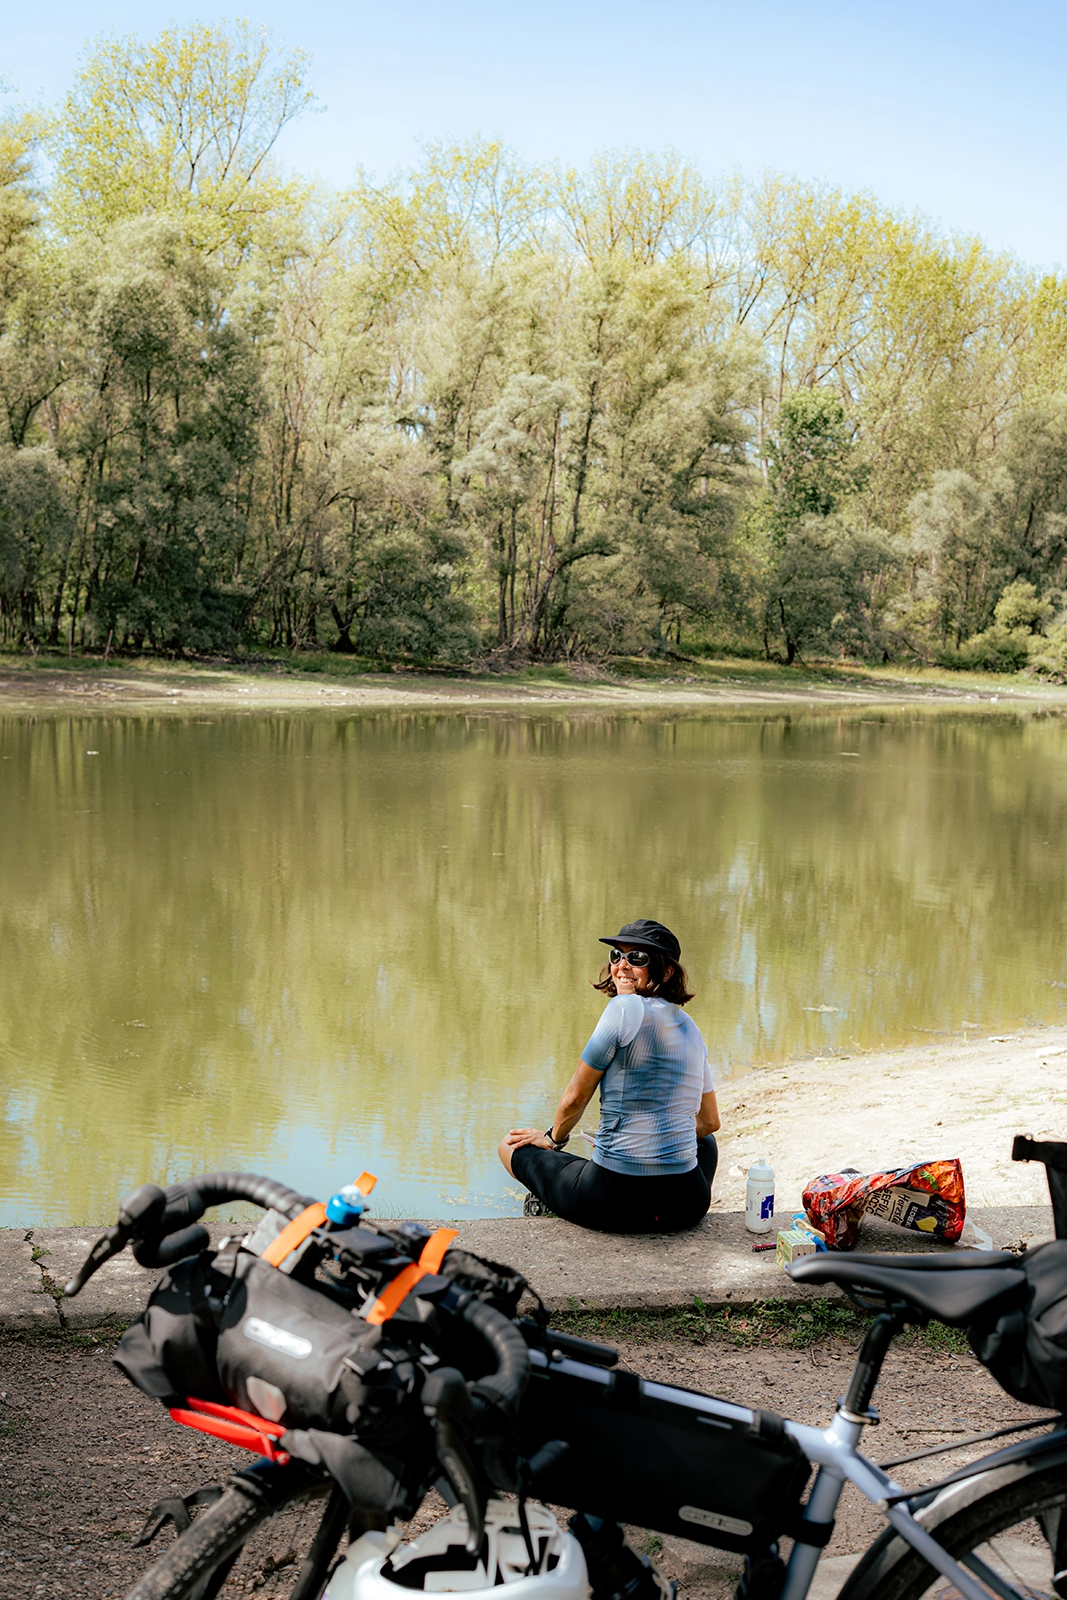
Lunch was almost always a picnic.

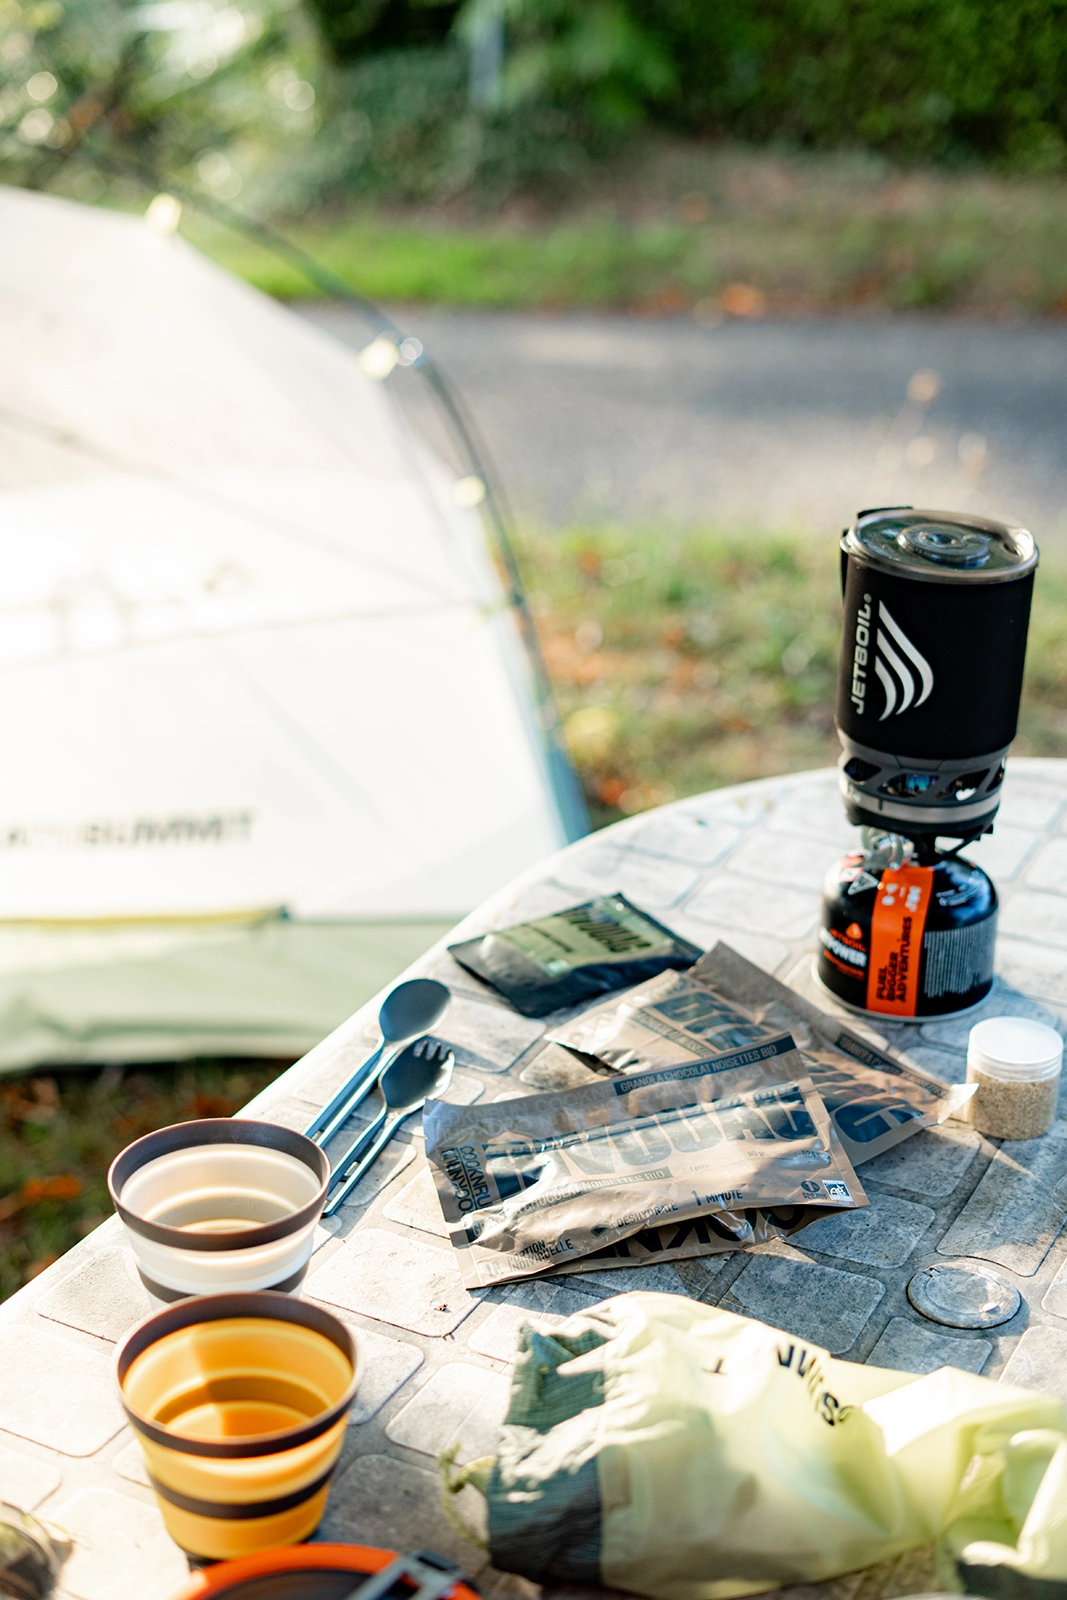
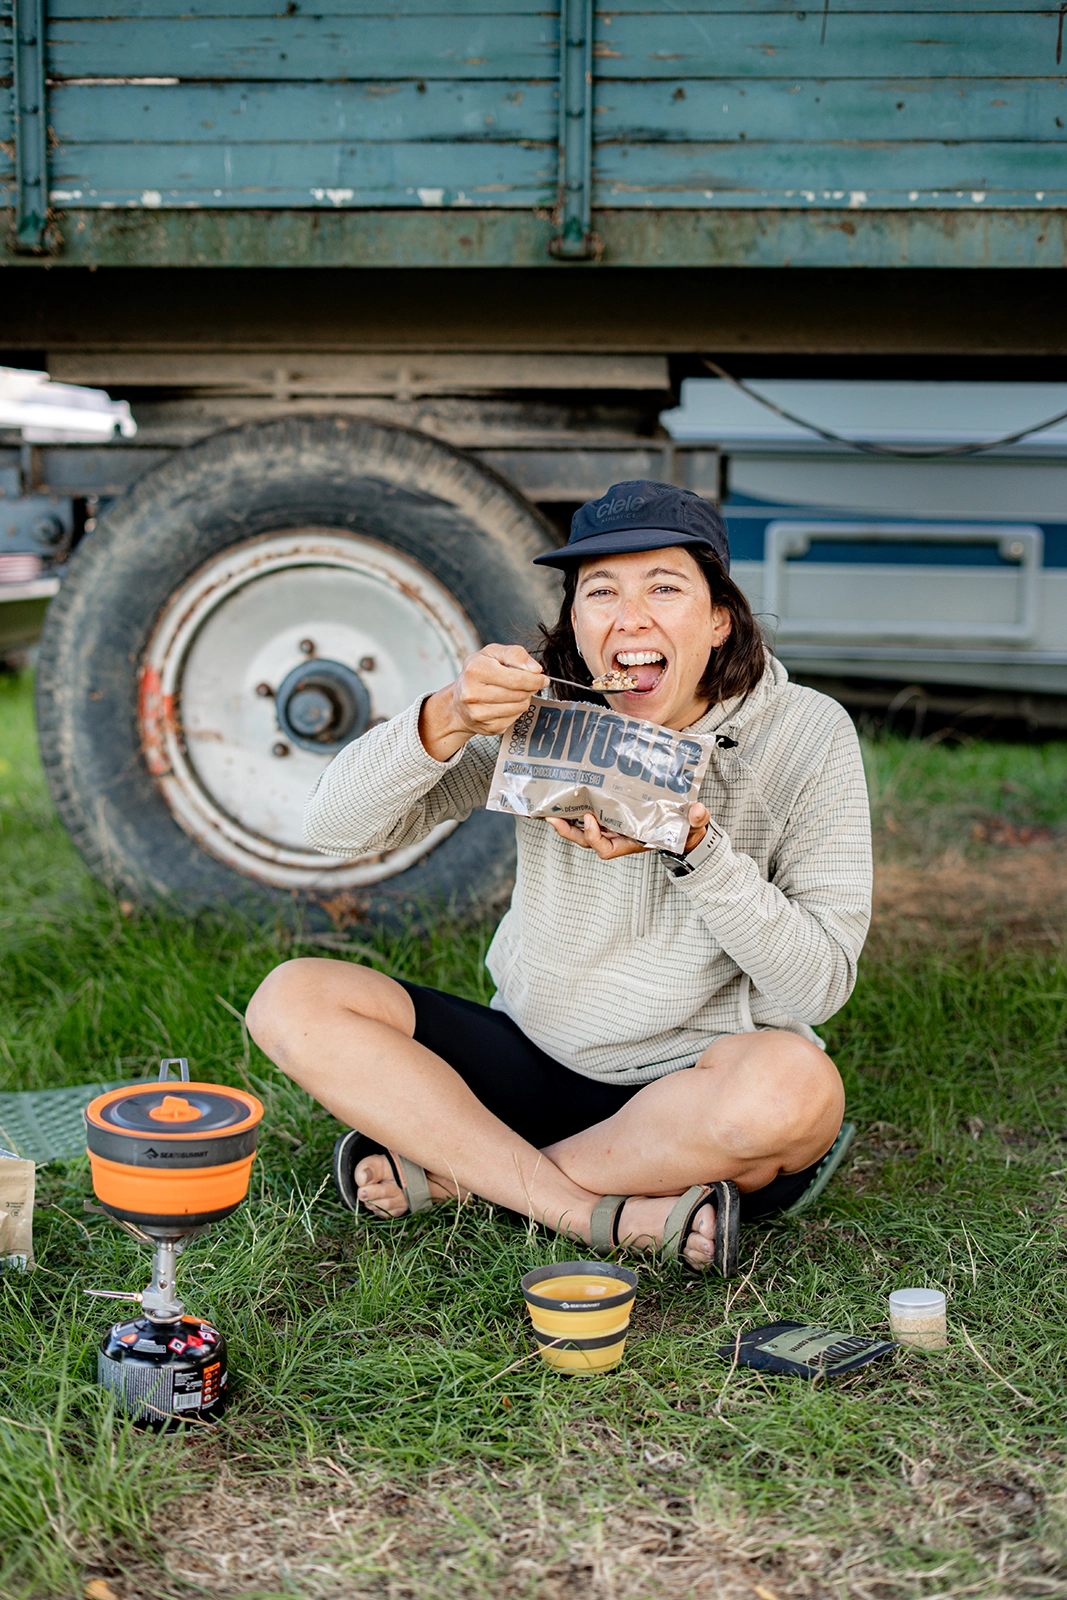
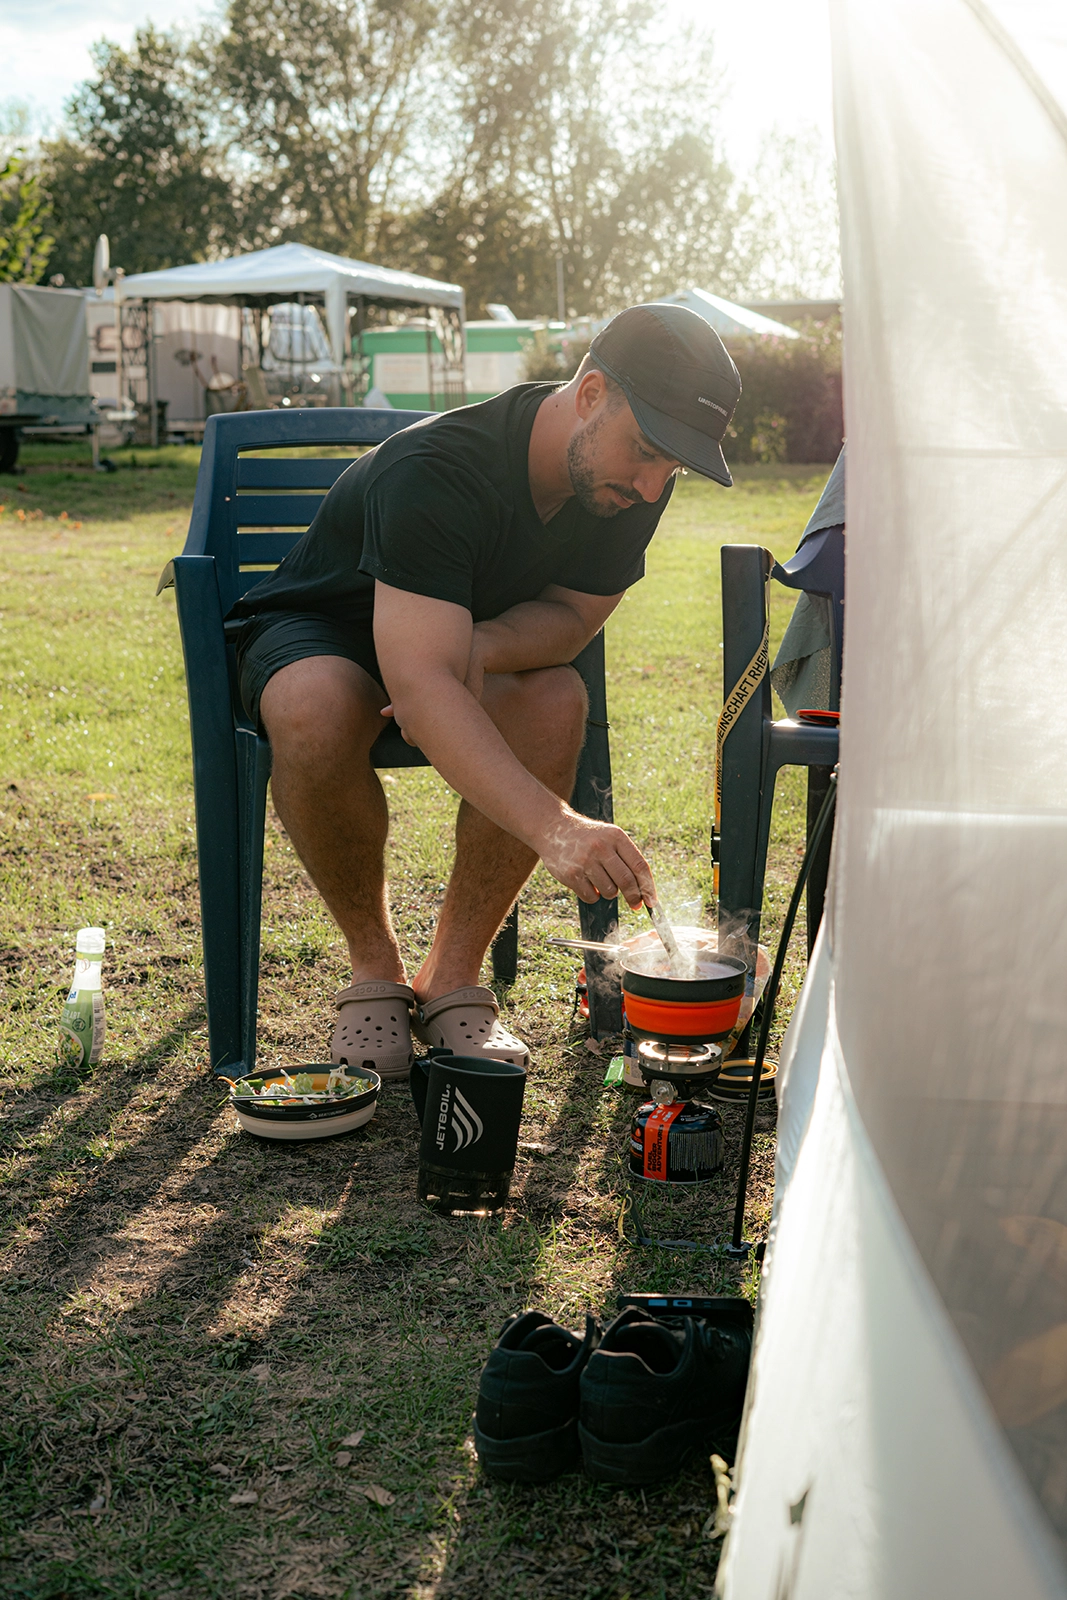
In the evenings, we regularly cooked at the campsite using our little camping stove.

And by regularly, we mostly mean pasta with sauce and a salad.

Nothing particularly fancy, but after a full day on the bike, it was exactly what we needed 😂

For breakfast, we’d usually have a protein bar, a small bowl of oatmeal, or a croissant from the supermarket.

And whenever we came across a nice café along the way, we obviously made time for a coffee stop.

One of the great things about this route is that you’re never really far from civilization for very long.

Even when you’re cycling through beautiful natural areas, you’ll regularly pass through villages and towns where you can easily stock up on supplies.

What's the best time of year to cycle the Rhine?

We traveled from August 28 to September 13, and honestly, we thought it was a great time of year for cycling along the Rhine.

Temperatures ranged from 15 to 30°C (59–86°F), gradually getting cooler as we approached the Netherlands.

We only had one proper rainy day, a few scattered showers, and very little wind.

Late August and early September still offer plenty of daylight and comfortable temperatures, but with fewer people than during the peak summer months.

The only small downside to camping at this time of year?

Morning dew.

There were a few mornings when we had to pack up our tent while it was still wet before getting back on the road.

What gear do you need for a bikepacking trip?

After 1,032 km (641 miles) of bikepacking, we realized we’d actually done a pretty good job packing.

We didn’t really miss anything essential.

There were, however, a few things we barely used, including our second camera lens, water filter, and cycling gloves.

On the other hand, some items turned out to be absolute essentials: good cycling clothes, warm layers for the evenings, chamois cream, and earplugs.

Yes, earplugs 😂

Between campgrounds, noisy neighbors, and random sounds during the night, they can seriously save you a few hours of sleep.

Our budget for bikepacking along the Rhine

Camping and buying groceries every day helped us keep our expenses relatively reasonable throughout the trip.

To give you a better idea of what the bikepacking journey itself cost, we’ve excluded our additional expenses in Amsterdam from the breakdown below.

Here’s what we spent for both of us:

CategoryCost for 2 people
Transportation (trains, ferries, etc.)€463
Campgrounds€398
Restaurants€373
Groceries€250
Gear€123
Drinks (beer)€99
Laundry€21
Health-related expenses€14
Miscellaneous€9
Total€1,750

That works out to approximately €875 per person for the entire trip.

A significant part of our transportation budget went toward getting from Martigny to Basel and then traveling from Amsterdam back to Basel and finally Martigny, including transportation for both bikes.

Once you’re actually on the road, it’s entirely possible to travel on a fairly small budget, especially if you cook most of your meals at camp and limit restaurant visits.

Including our night in Amsterdam, our 16 nights of camping cost €433 in total, averaging around €27 per night for two people.

We’d originally considered spending several nights in Amsterdam at the end of the trip.

But after checking accommodation prices, we quickly changed our minds.

We could barely find anything for under CHF 250 for two people, and even at that price, we were mostly looking at beds in shared hostel dorms.

So instead, we spent one night at a campground in Amsterdam for around €35.

For us, that was a pretty easy decision!

How to get to Basel and return from Amsterdam with your bikes

Getting to Basel with our bikes

We traveled from Martigny to Basel by train with SBB, the Swiss Federal Railways.

We booked discounted train tickets and made bike reservations whenever required.

Since bike transportation rules vary depending on the train, make sure to check the conditions when booking.

Traveling by train with fully loaded bikes is relatively straightforward, but we’d recommend avoiding tight connections.

Getting your bikes and panniers off the train, finding the next platform, and getting everything back on board can take longer than you’d expect.

And missing your connection because you’re juggling two bikes and a mountain of bags isn’t exactly the best way to start a trip!

Taking the Nightjet from Amsterdam to Basel with bikes

For our return journey, we booked the Amsterdam–Basel Nightjet well in advance, including couchette berths and dedicated bike spaces.

The journey cost us approximately €250 for two people, including our bikes.

The bikes were stored in a dedicated compartment, while we kept our panniers with us in the couchette.

We chose the most affordable sleeping option, which meant sharing a six-person couchette compartment.

We left Amsterdam at around 9 p.m. and arrived in Basel at approximately 6:30 a.m., before catching another train back to Martigny.

It’s a really convenient way to finish a bikepacking trip in Amsterdam without having to dismantle your bikes or fly home.

Just make sure to book your bike spaces early, as availability is limited.

You can book both your train tickets and bike reservations directly on the Nightjet website.

Our top tips for cycling along the Rhine

After more than 1,000 km of bikepacking, these are the main things we’d recommend keeping in mind:

  • Choose a gravel bike for more flexibility. Around 40% of our route was unpaved, and our 40 mm tires were a great fit for the terrain.
  • Plan for 60–80 km (37–50 miles) per day. This gives you enough time for coffee breaks, sightseeing, and actually enjoying the journey.
  • Keep your itinerary flexible. Adjust your daily stages as you go, especially depending on where you can find campsites.
  • Download offline maps. Komoot and Organic Maps were both incredibly useful throughout our trip.
  • Check campsites ahead of time. Some don’t accept tents, and others close as early as late September.
  • Always carry some cash. Not every campground accepts credit or debit cards.
  • Plan how you’ll charge your electronics. Electrical outlets aren’t always available near tent pitches.
  • Invest in good padded cycling shorts. And don’t underestimate the importance of eating enough, staying hydrated, and getting proper rest.

Would we recommend bikepacking along the Rhine?

Absolutely!

For our first bikepacking adventure, cycling along the Rhine turned out to be a great choice.

The route is mostly flat, easy to adapt to your own pace, and passes through enough towns and villages that finding food, water, and supplies is rarely a problem.

We loved watching the scenery change as we cycled from Basel through Alsace, Germany, and the Netherlands, all the way to the North Sea, before extending our adventure to Amsterdam.

In the end, it was 1,032 km, one flat tire, 16 nights in a tent, and a whole lot of pasta and candy 😂

But more than anything, this trip showed us that with the right pace and a little preparation, a long-distance cycling adventure is much more accessible than we ever imagined.


Did you like the article ?
Pin it !

Leave a Reply

Your email address will not be published. Required fields are marked *